
A very very basic guide to creating your own custom I.M.P merc. Unfortunately you can only use in game assets atm due to full modding support not being available.
Guide to Create/Edit a Custom IMP Merc
Set Up
To start off you’ll need modding enabler by Kavu.
Once in game make sure it enabled in mods and press either ~ or ALT + SHIFT + M.

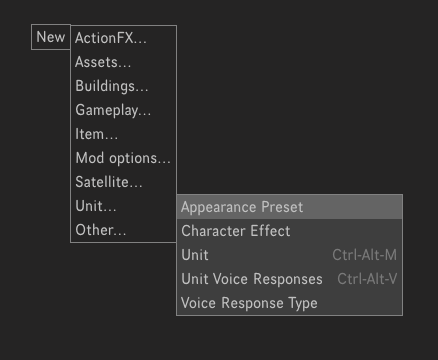
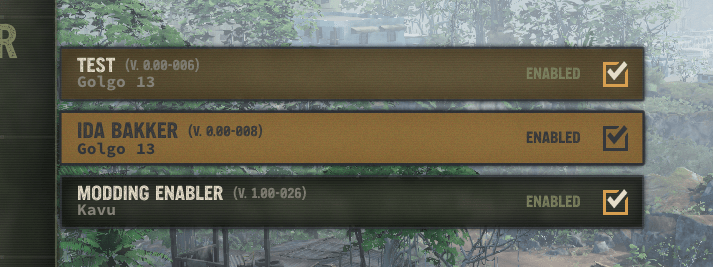
A menu like this should open (yours will only have modding enabler unless you have other mods on already).
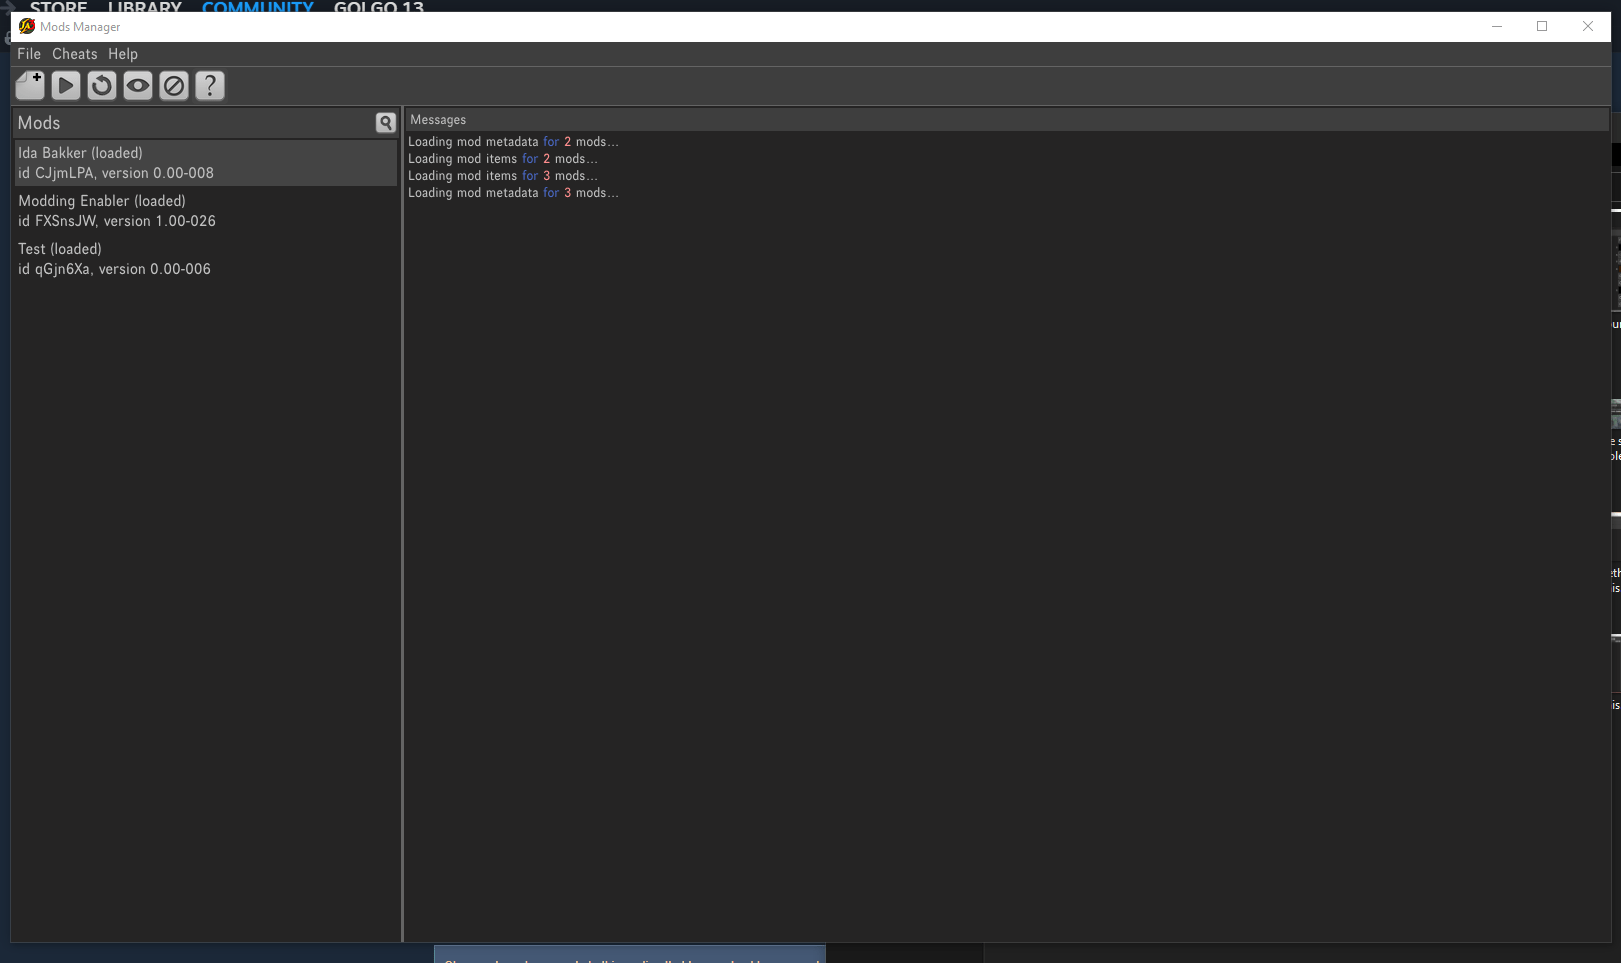
To start a new mod go File, New mod or click the paper icon with a corner folded and a plus.

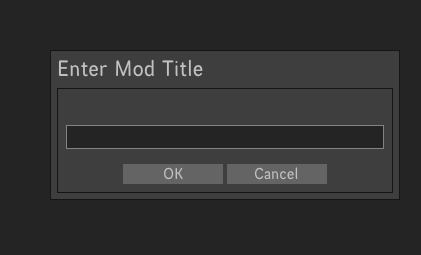
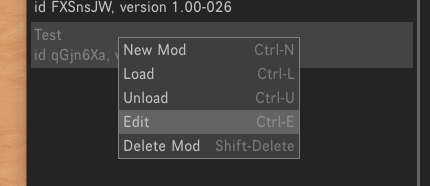
You’ll be prompted to name mod you can call it whatever (I just called it test for the purposes of the guide) right click and select edit.
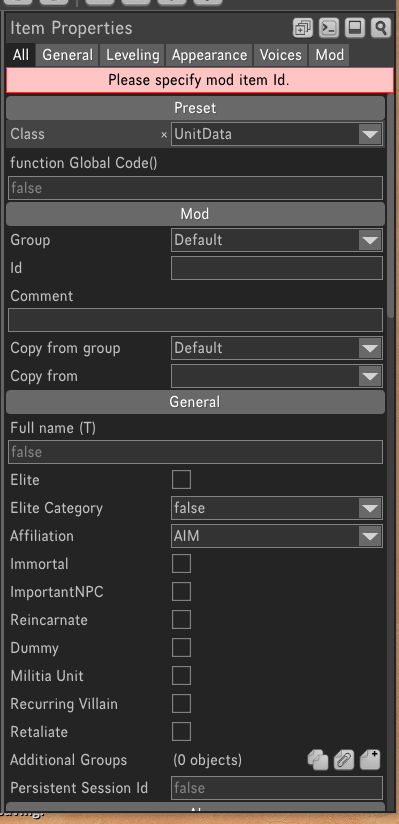
It should then go to this menu, from here you can actually start editing things, you can also set a description .etc from this bit.
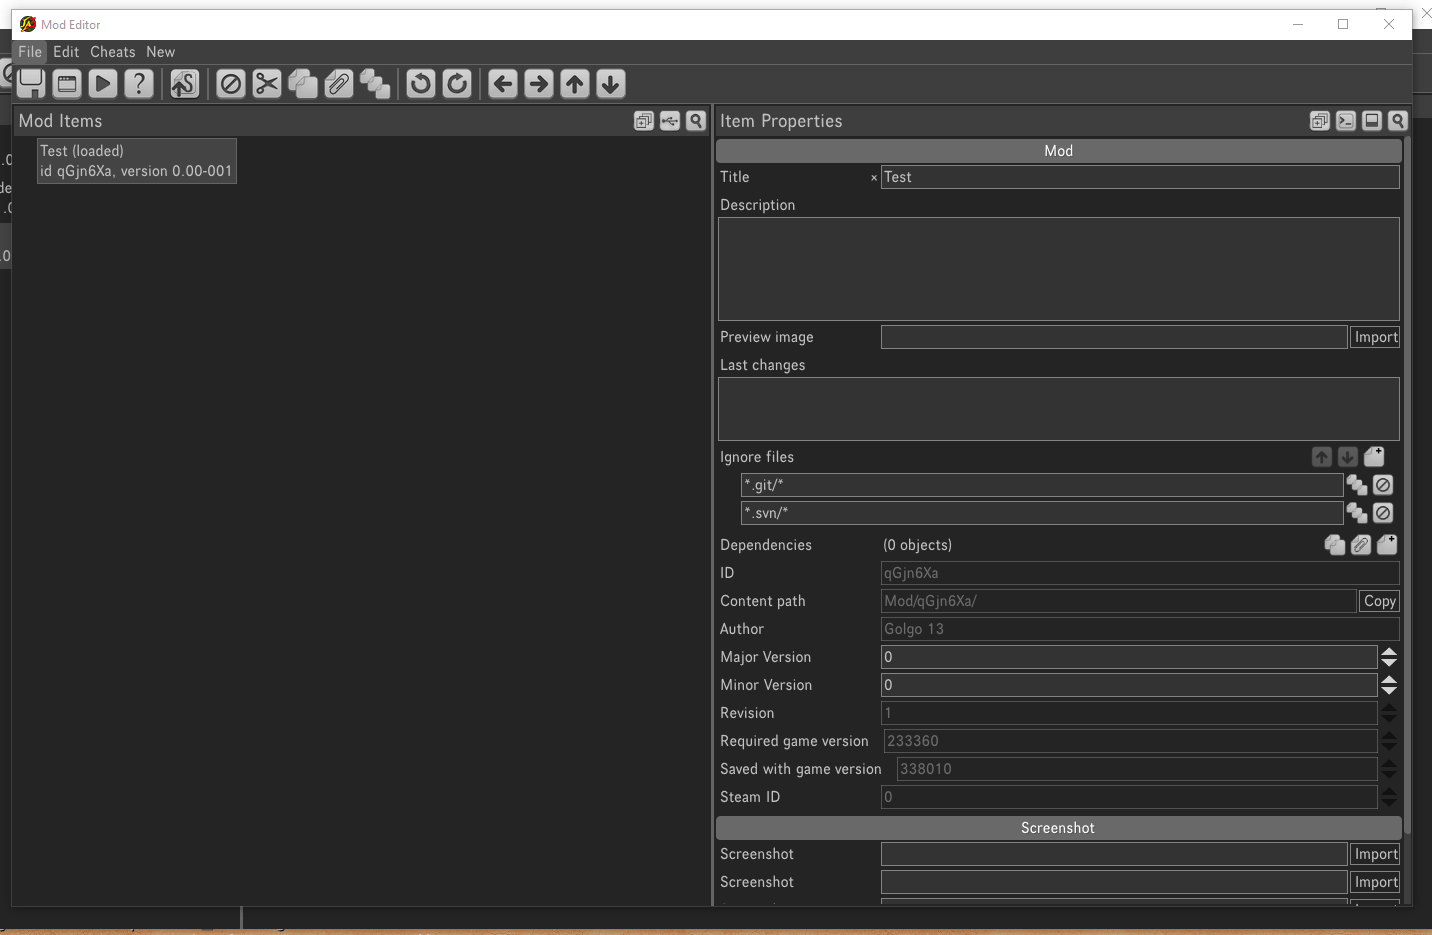
Remember to save regularly so no progress is accidentally lost!
Character Model
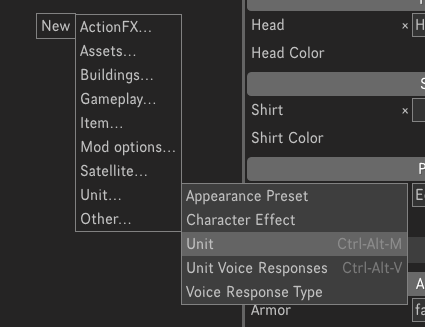
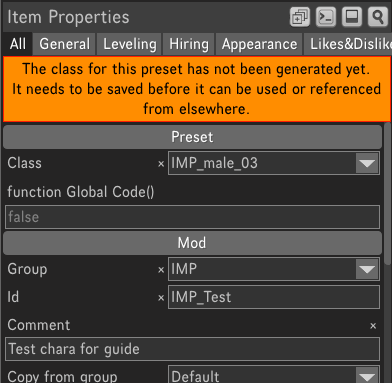
To edit the player model first you need to create an appearance preset.
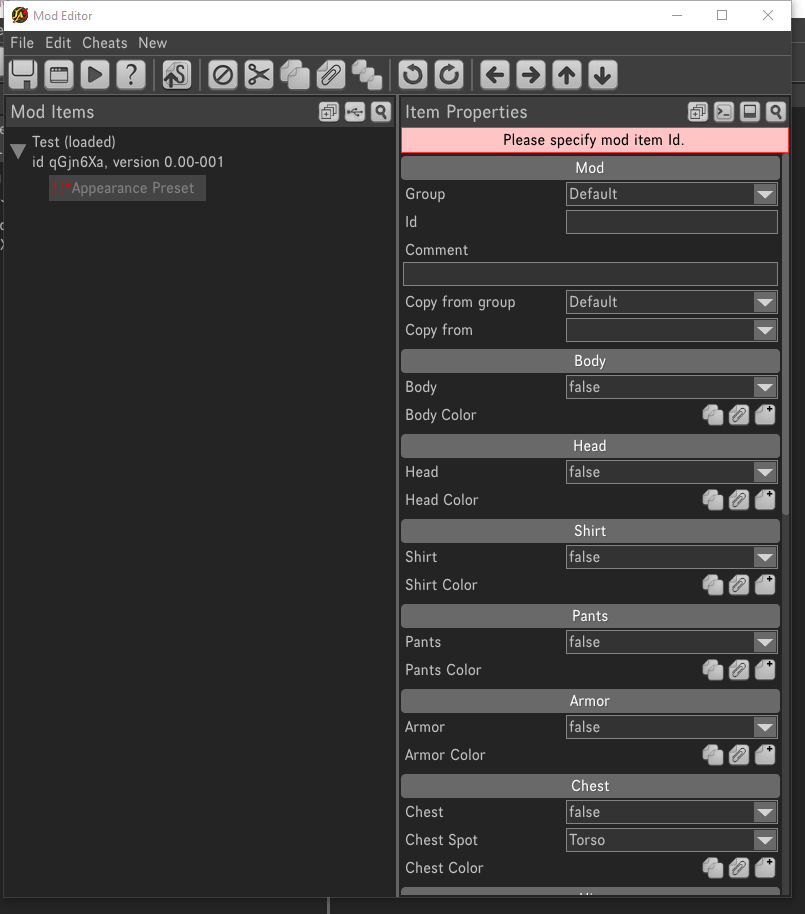
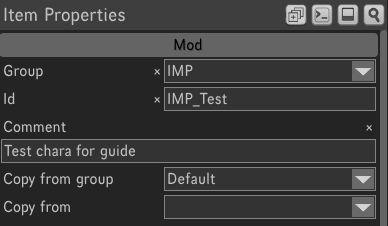
Set Group to IMP and Id to whatever you like preferably IMP_”name here” to find it easier later.
You could start making changes here but with no way to view them. To get a live character preview scroll down to the bottom where it says Misc and click view in Anim Metadata Editor.

You may need to move through some tabs but there should be a blank plane with a man and one thats the Editor.
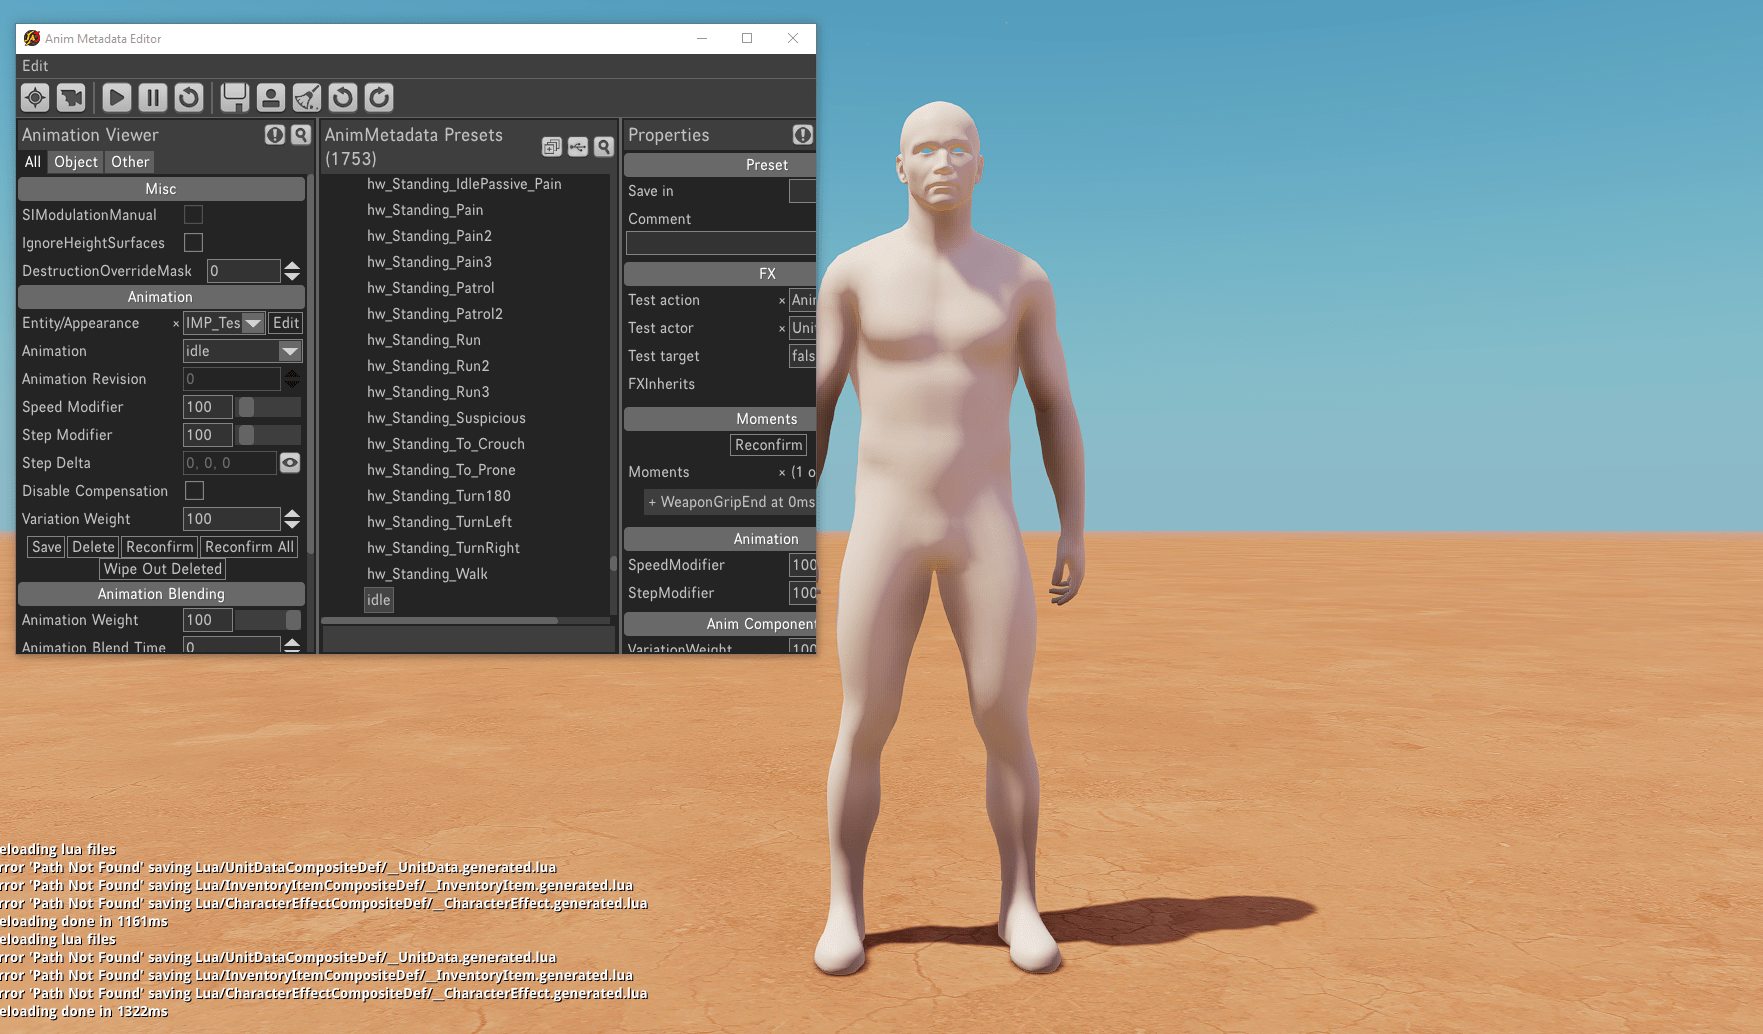
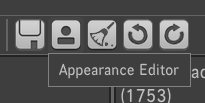
From the animation editor select the Appearance editor (the man icon) and scroll down to the IMP section and select your appearance preset, editing from this menu will give a live preview as you change things
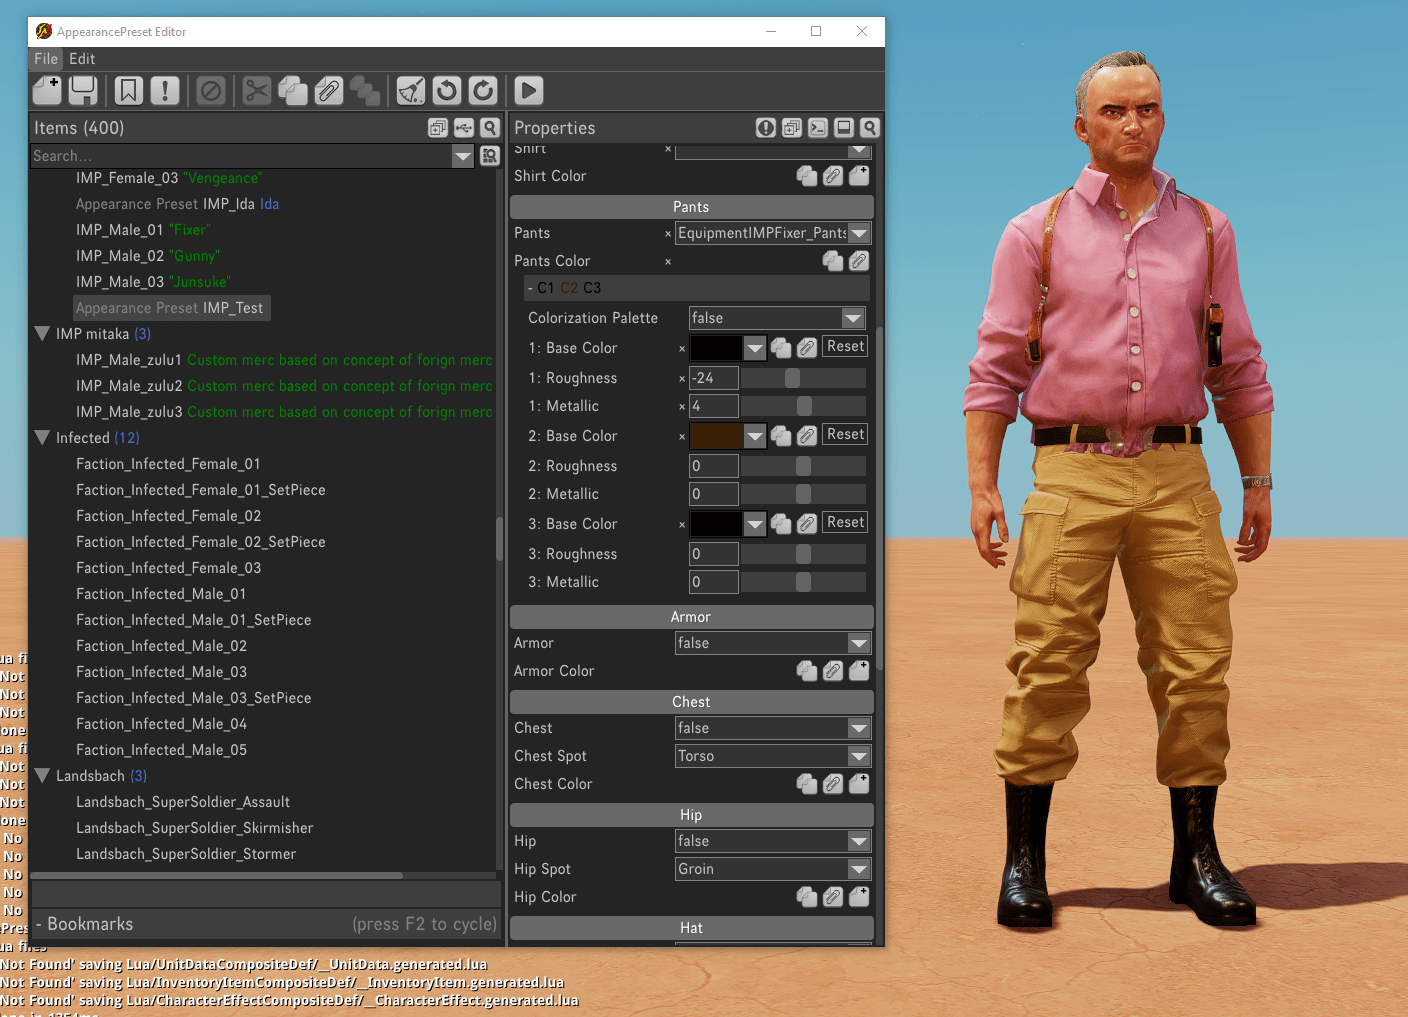
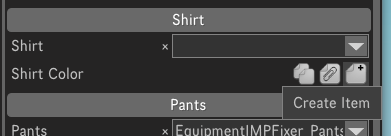
Some items may appear white have changeable colours, to add the colours menu press the page with the plus next to the Color section E.G Shirt Color. some items have separate parts to be coloured differently like some trousers have belts and boots the can be changed separately.

Then make sure you save before closing the window so it saves over to the preset.

You can now return to the mod editor window to start step 2.
Profile
OK before going onto creating a unit to apply the appearance onto save again.
Right click and create a unit.
Luckily everything is done through this window.
Set your class as IMP_”Gender”_0 1, 2 or 3 this’ll determine what gets overridden at the end of the quiz and again set group to IMP and Id to match the preset.
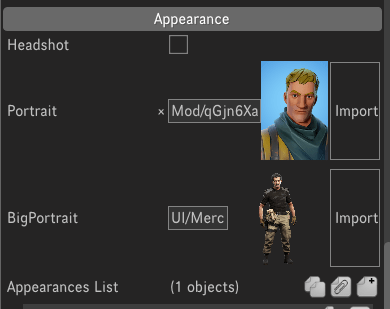
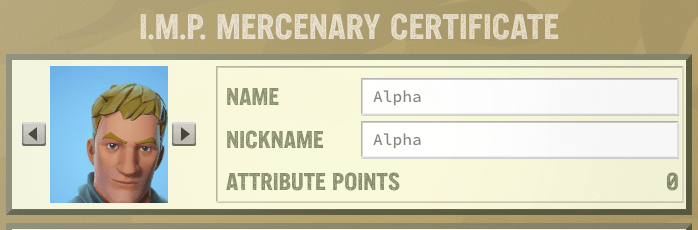
To set custom images for your merc move them to the local mod folder then use the import feature for the appropriate one. I think face wants to be 300 X 300 and body 2000 X 2000 (I have like no images save on my PC but for some reason I have fortnite Jonesy so I’ll use him).
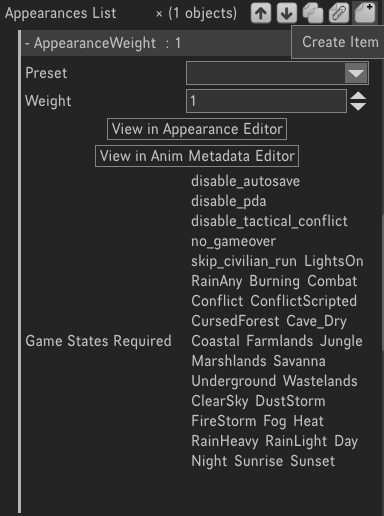
Now the important bit assigning the preset, click the create icon next to Appearances List then Preset, this should bring up a list of all available ones, select the one you made earlier then save, that should be it, it may prompt you to enter a name, you can either do so or just clear the first name box and hit enter it’ll clear the prompt.
Back out to the main menu and ensure the mod you created is enabled.
Congratulations! If all went well you should be able to see your custom merc at the end of the IMP quiz!
If you want you can upload yours to the workshop by hitting the S with an up arrow.


Be the first to comment