
Tired of dying? Wondering why you keep getting kicked? Nuked your entire team and feel the guilt of treason? This guide is for you!
Tips and Tricks for New Players
Know your primary targets
The first key to not dying is knowing your targets. There are two main bugs from the scout family that will kill your team just by infinite spawning more bugs.
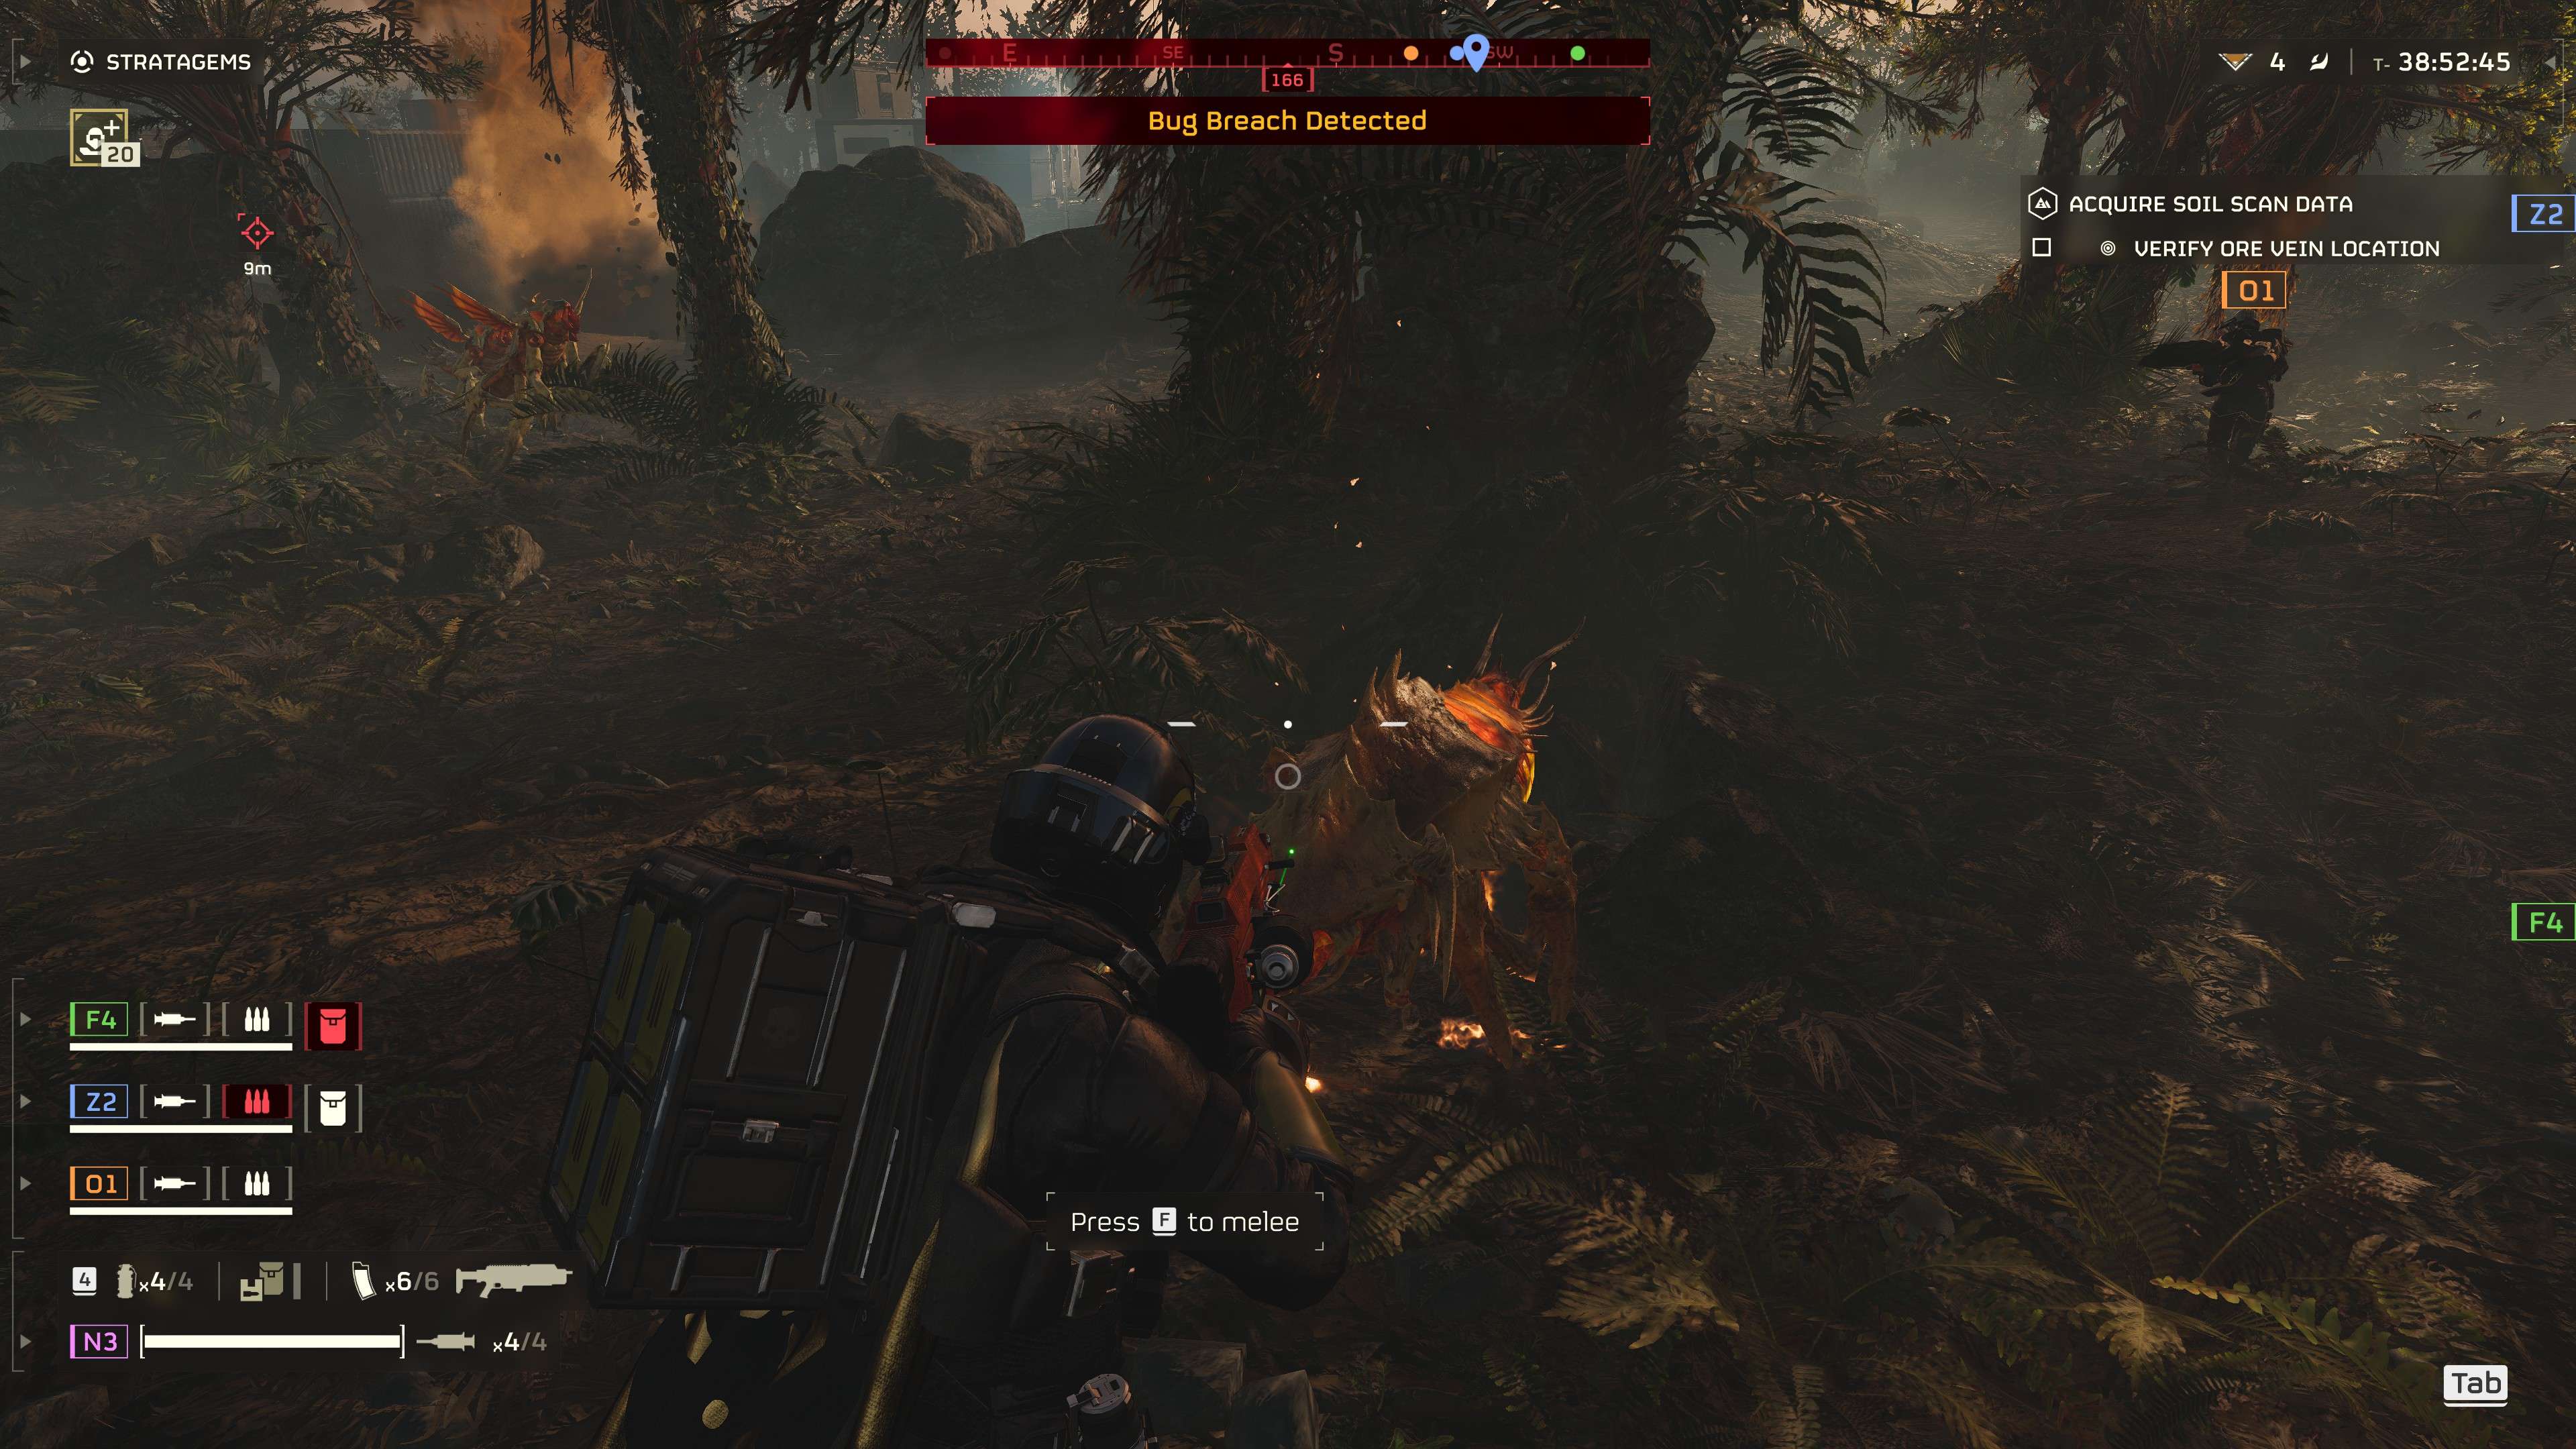
They will stop to emit an orange cloud in to the air, this summons more bugs to your area. Kill them first.
How to kill that tank without heavy weapons
The tail or the joints are the weak unarmored points of this team killer. It’s best to have one person run with agro and another person shoot their behind. If you are trying to solo this beast, dodge to the side when it charges and shoot while prone.
How to get samples for upgrading your ship modules
The rule for which resources are available and how many are available are difficulty based. You will see at the bottom of the mission screen anything grayed out is not available for that difficulty.
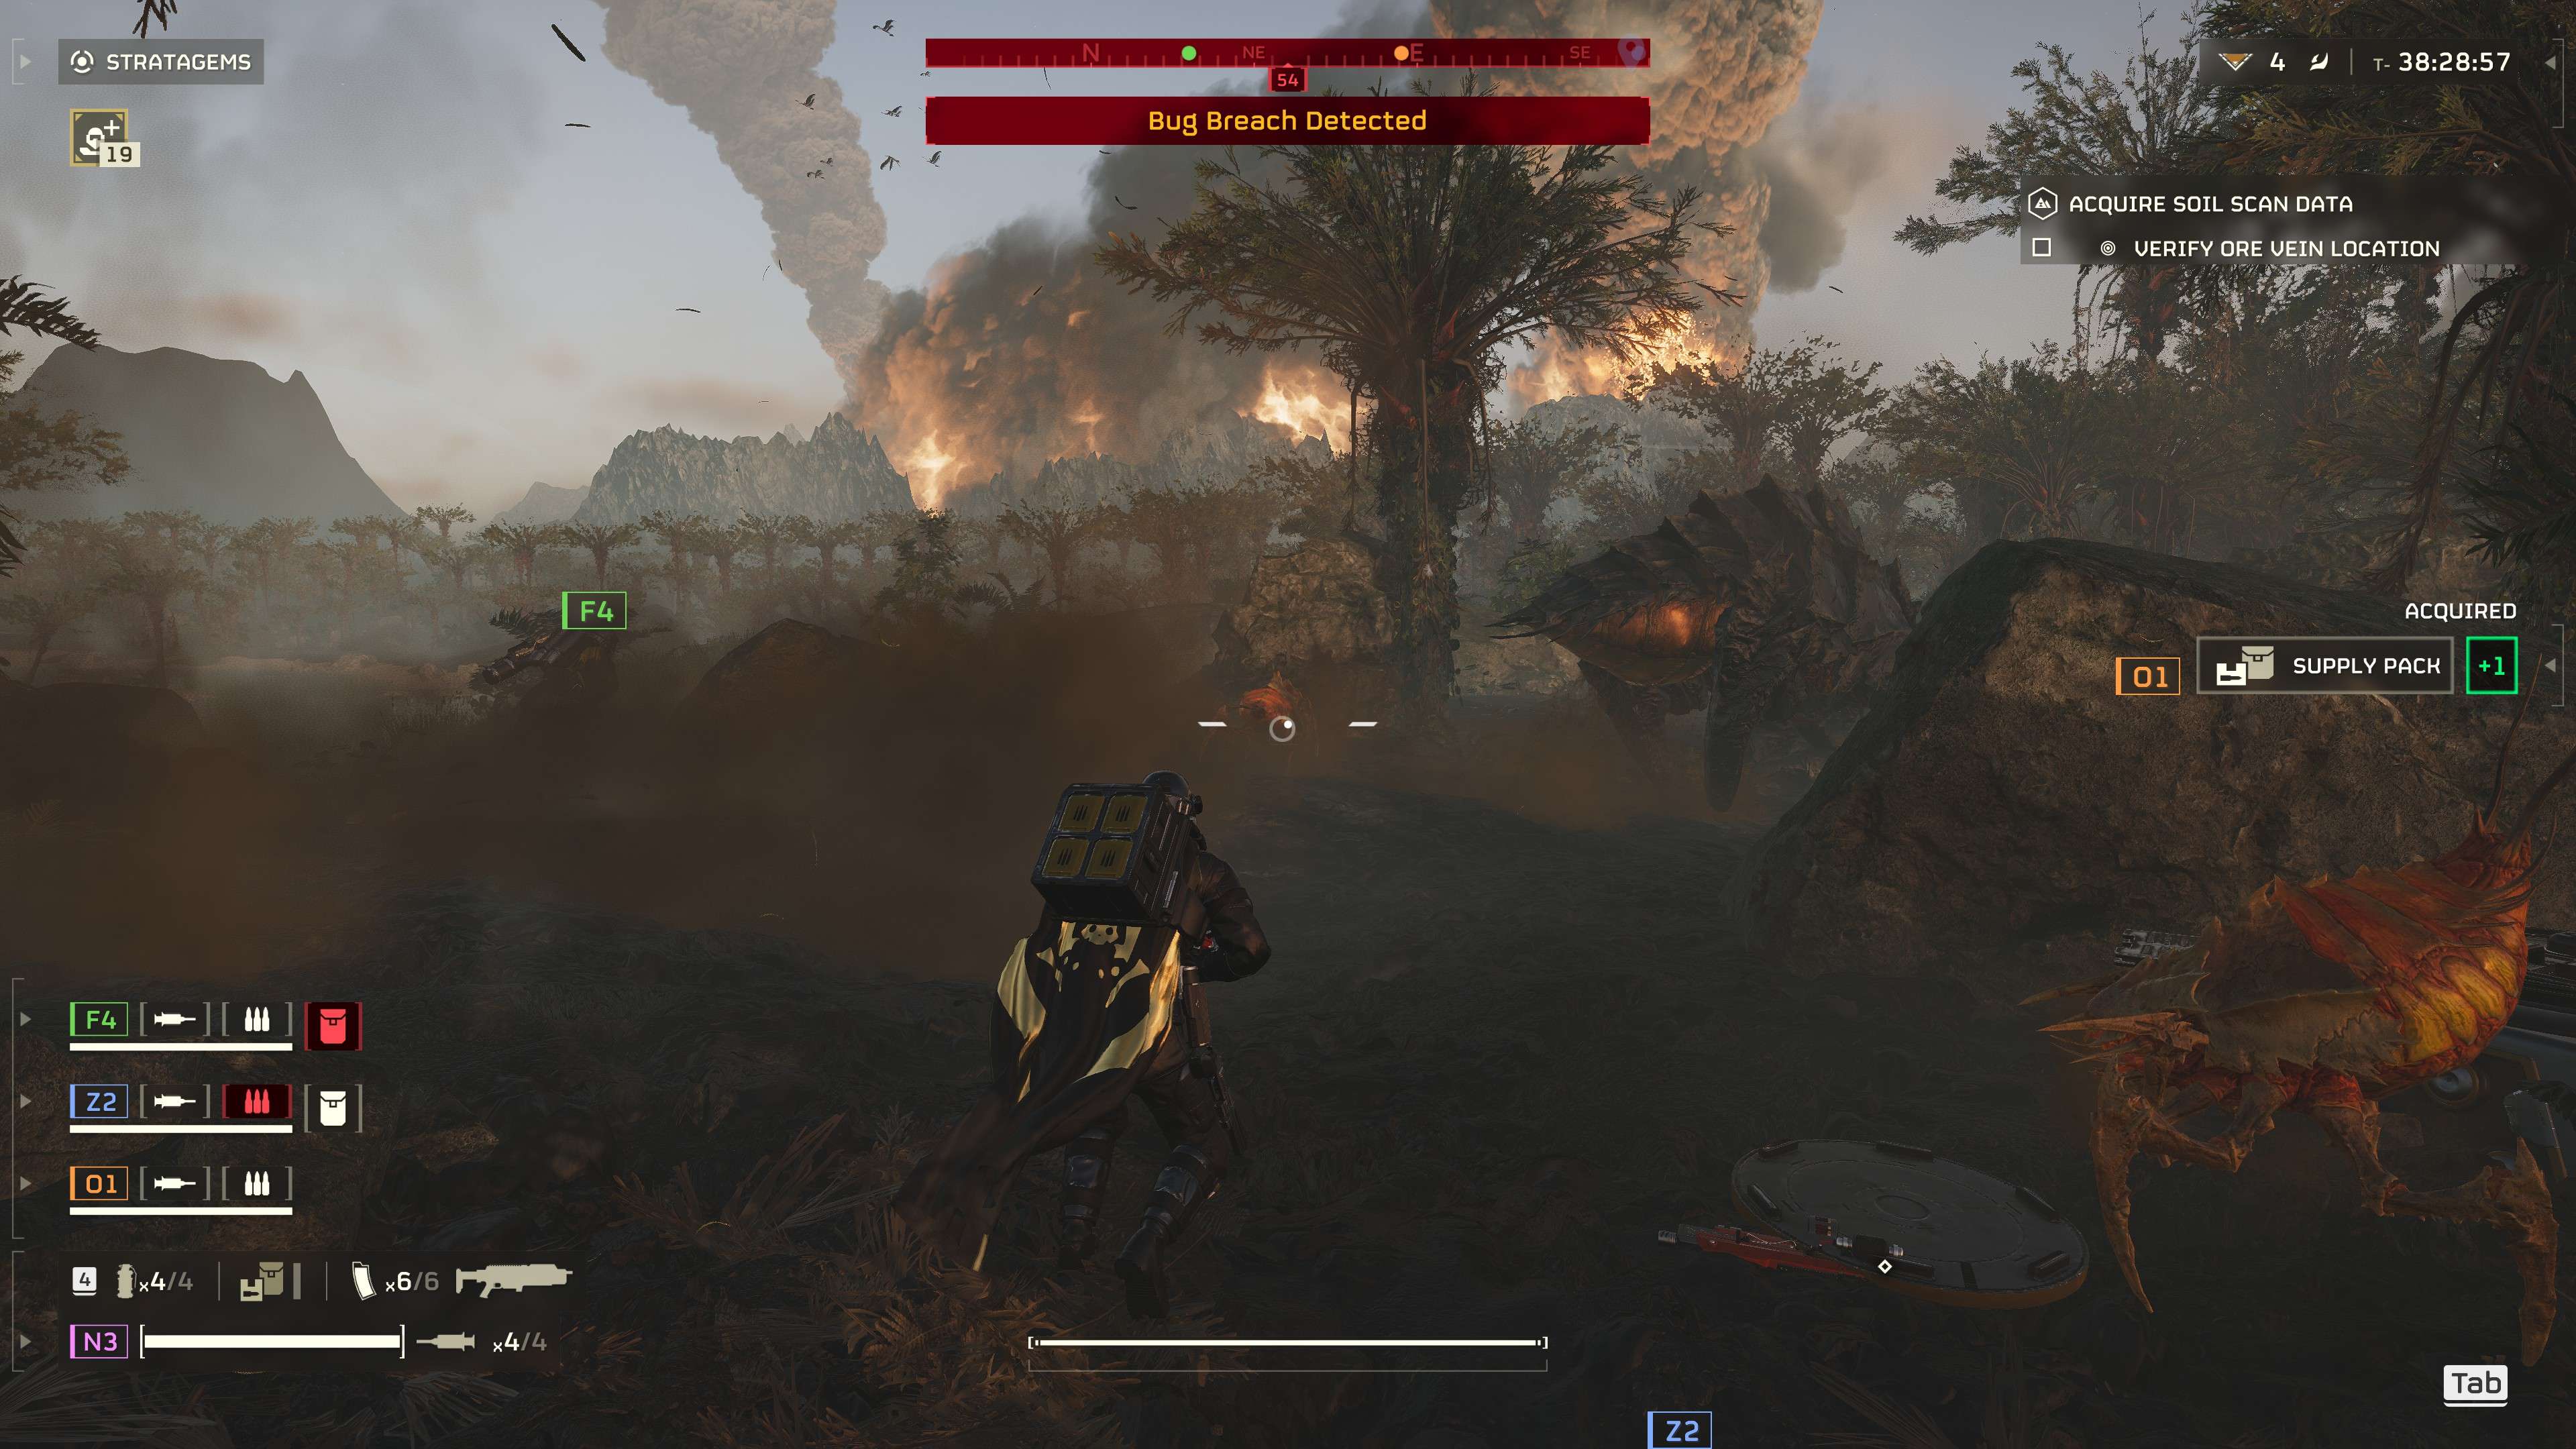
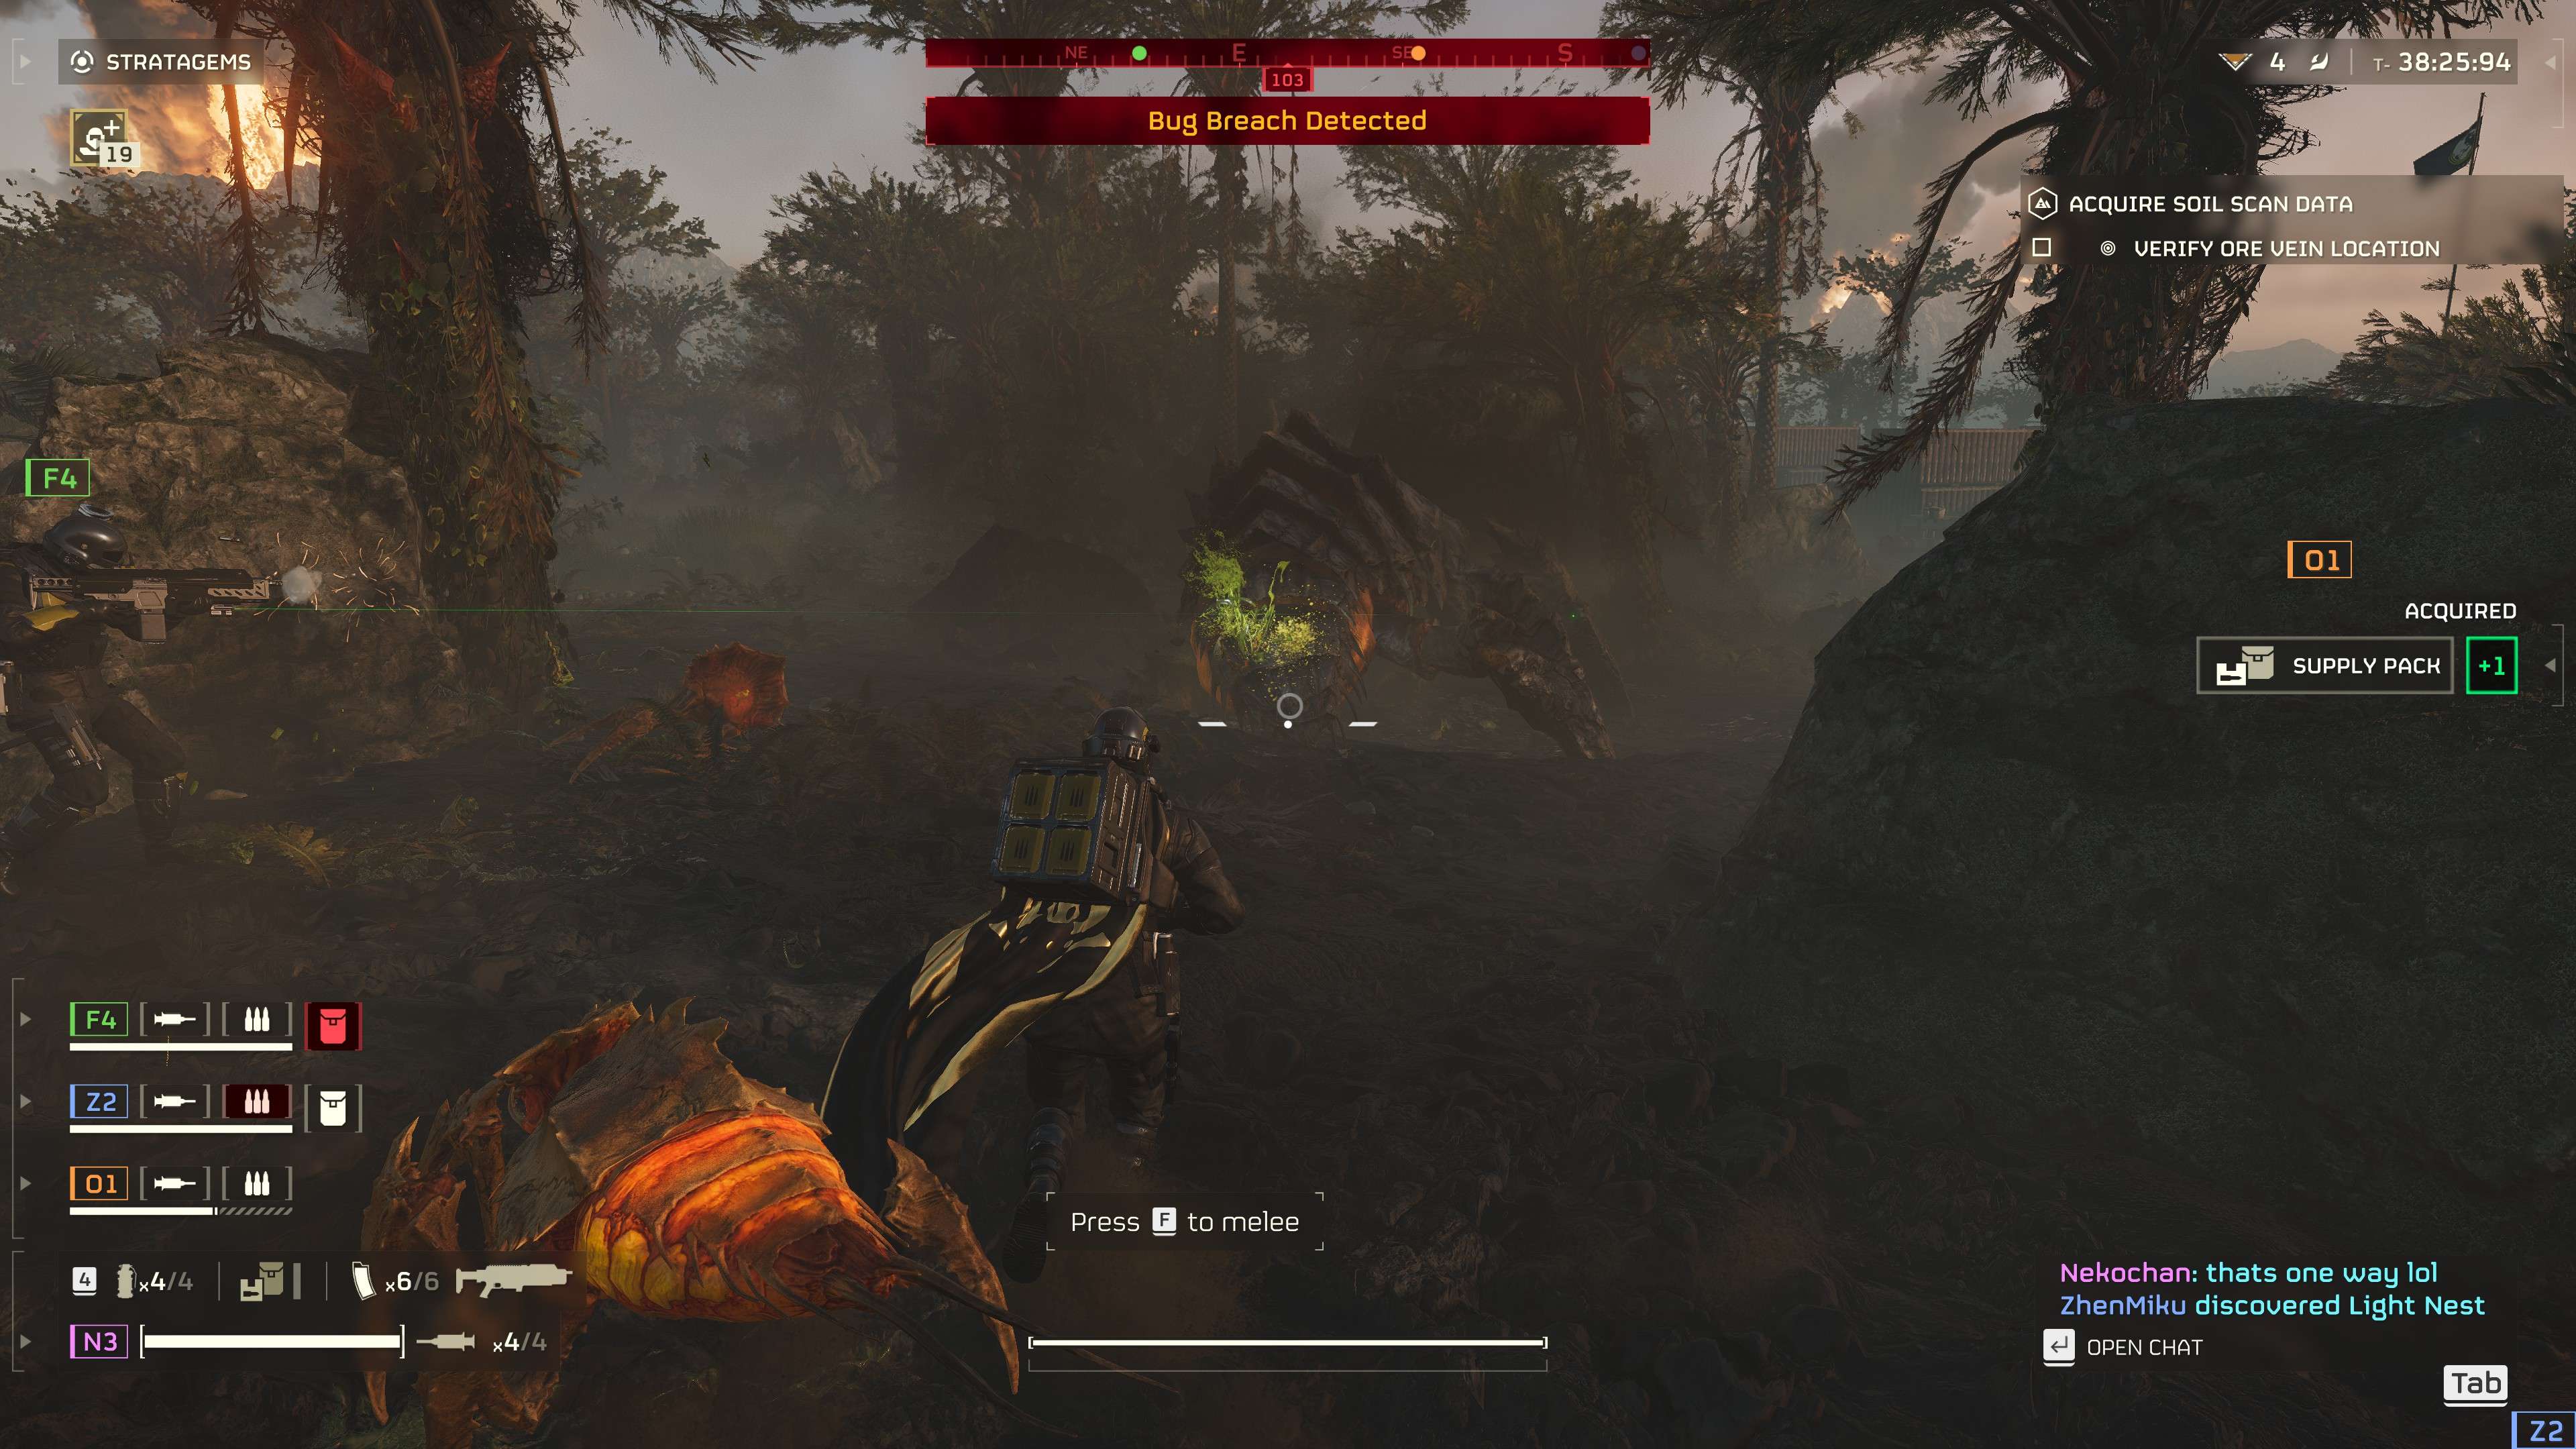
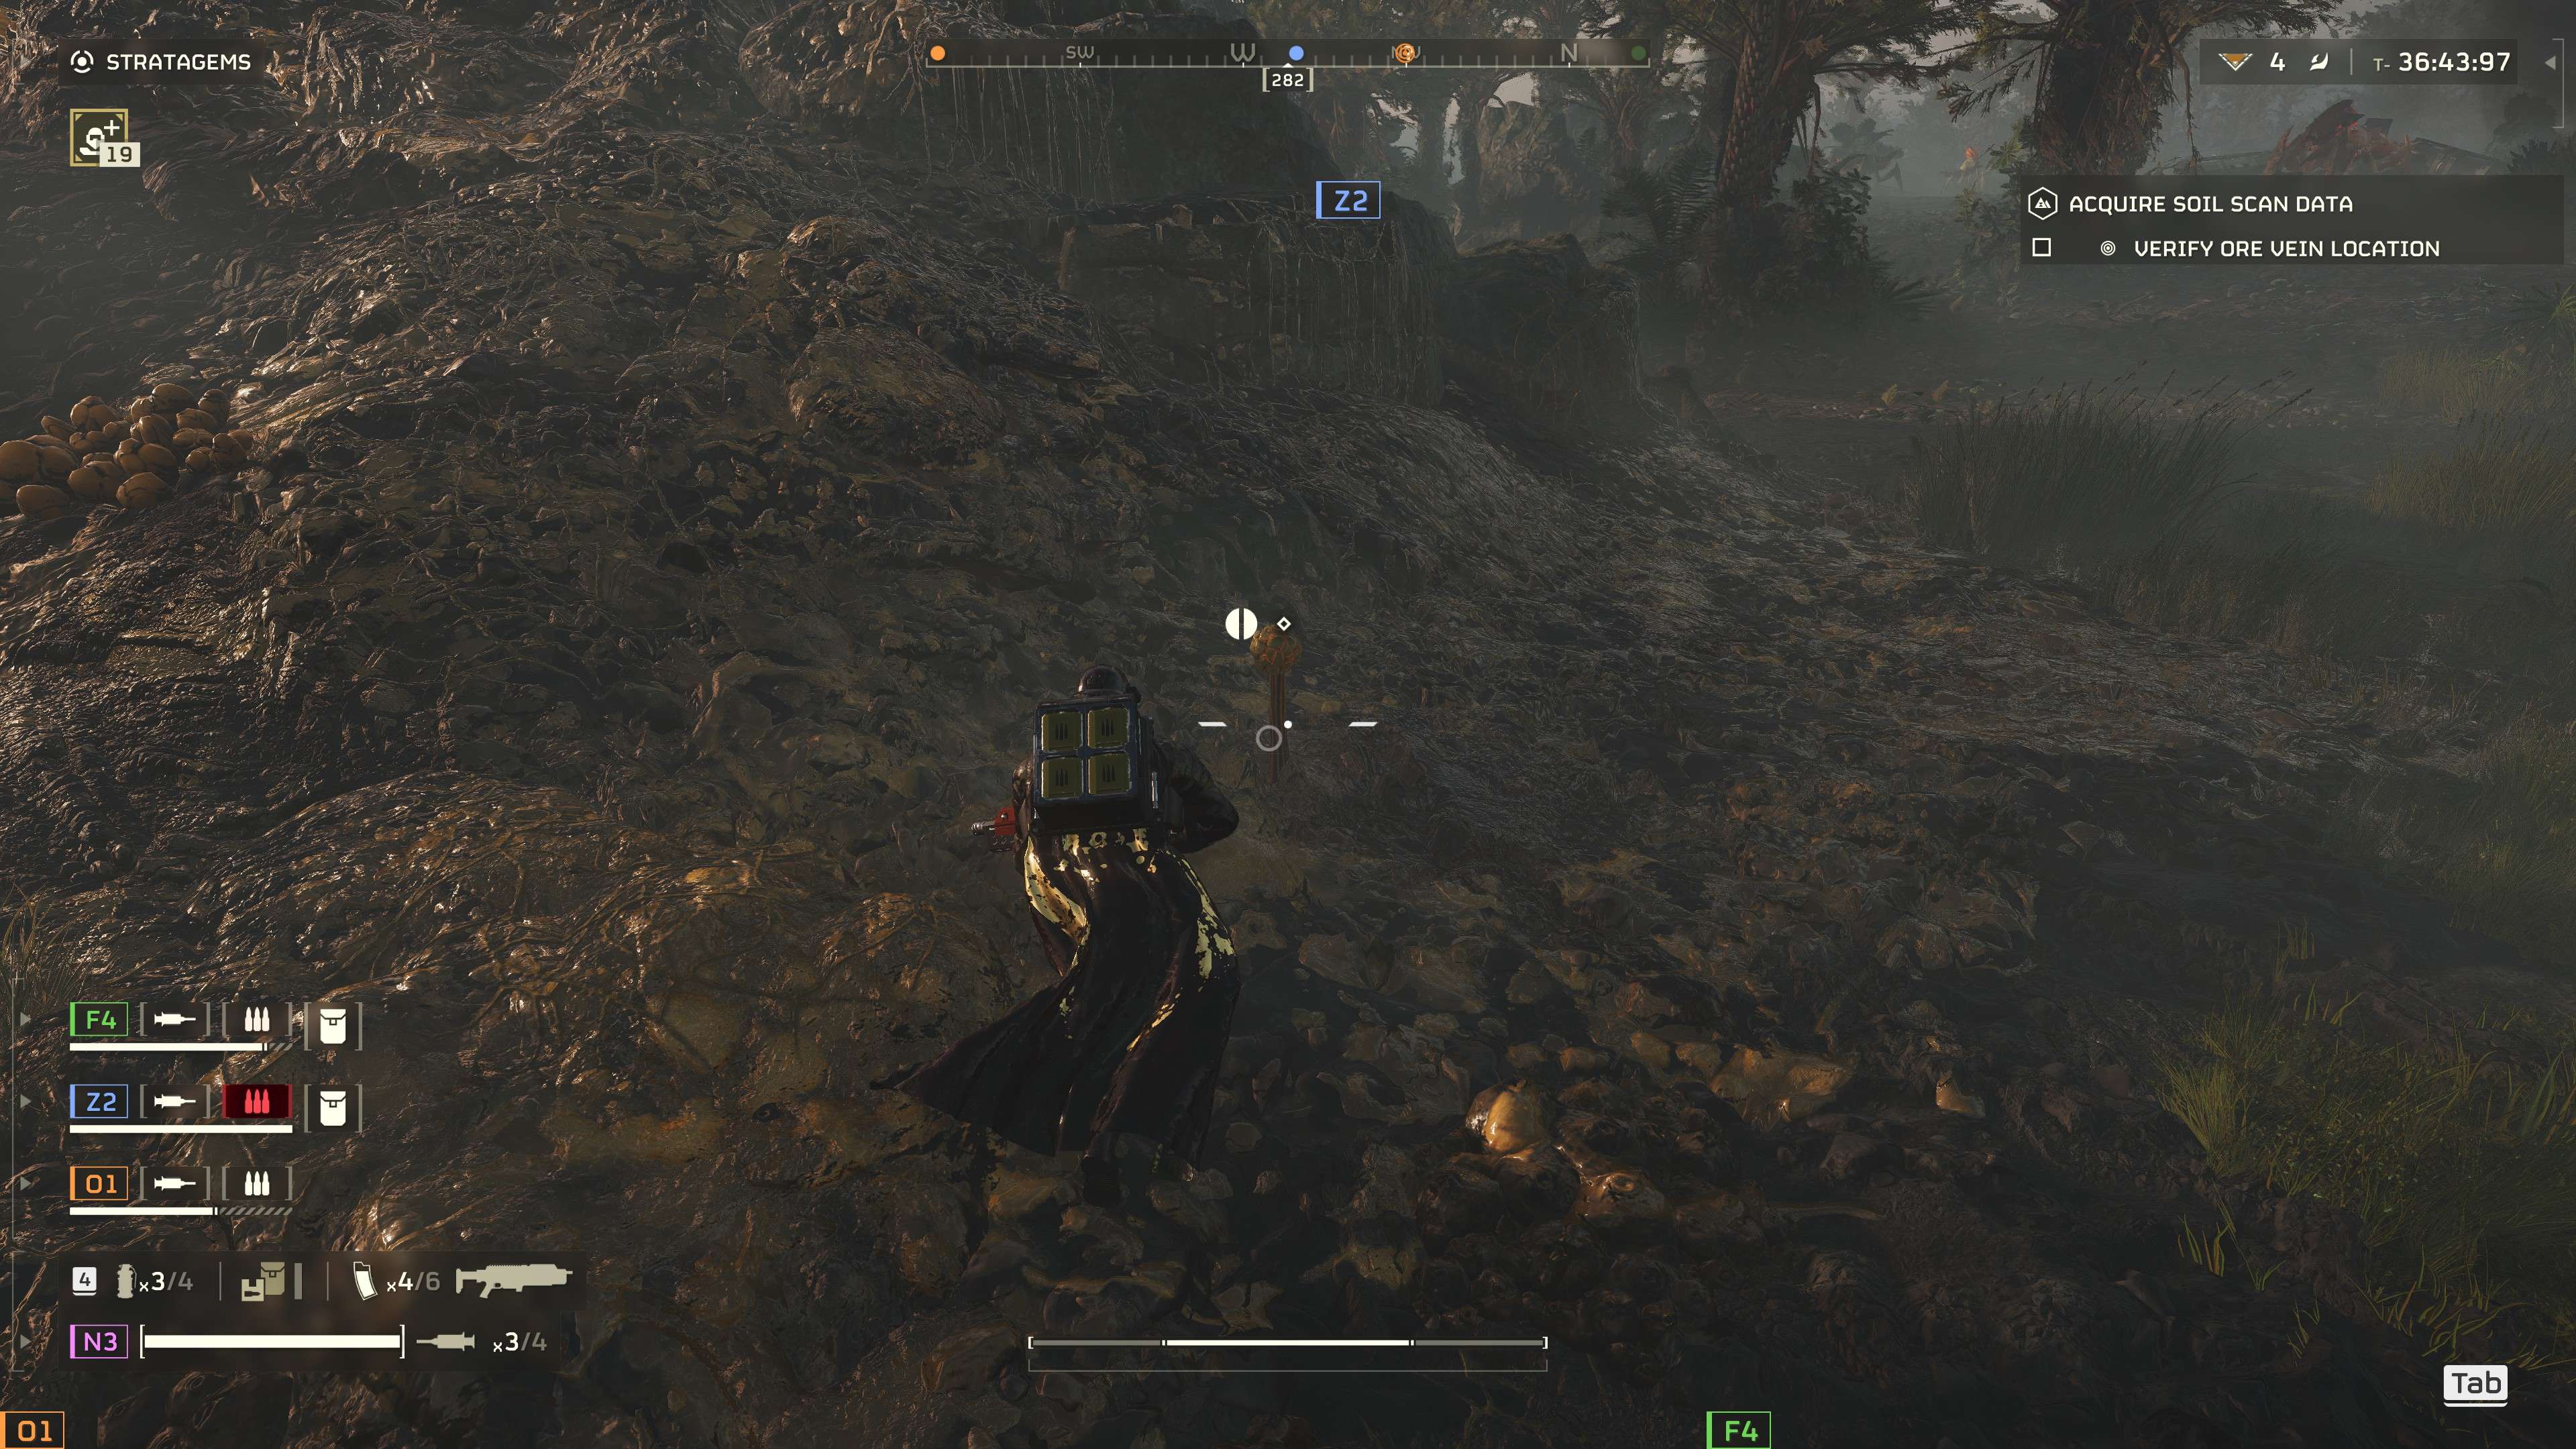
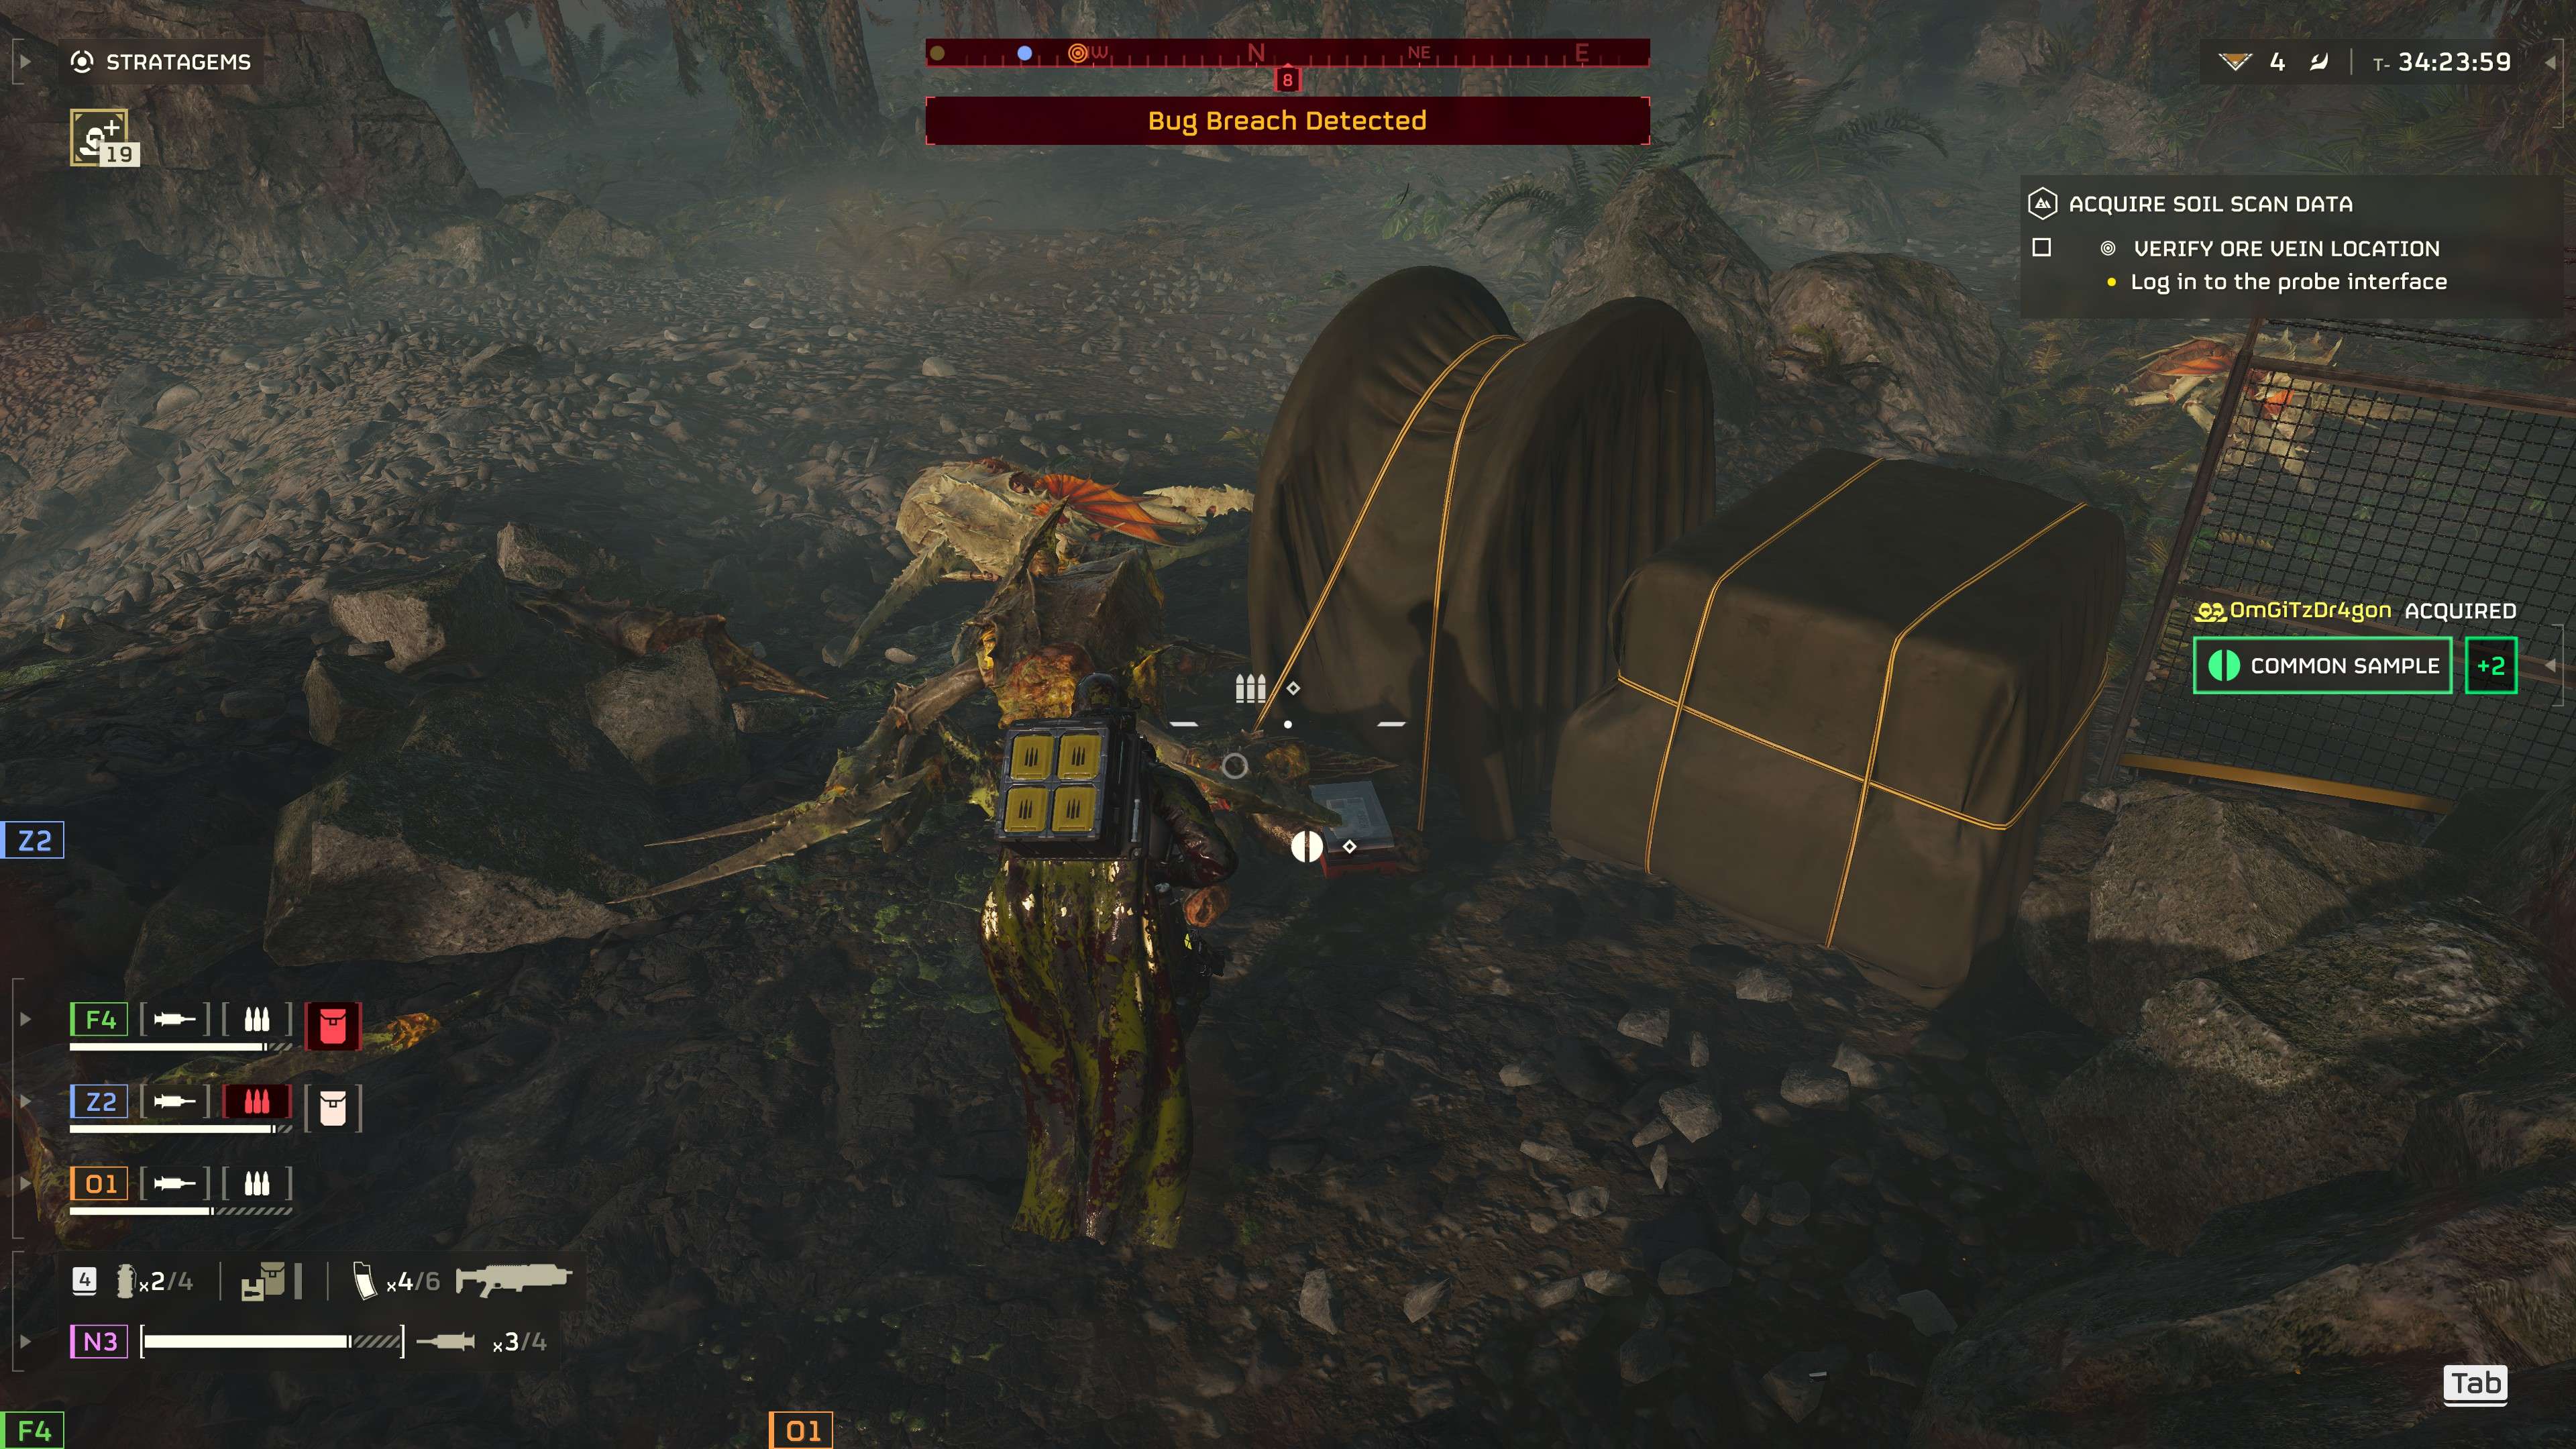
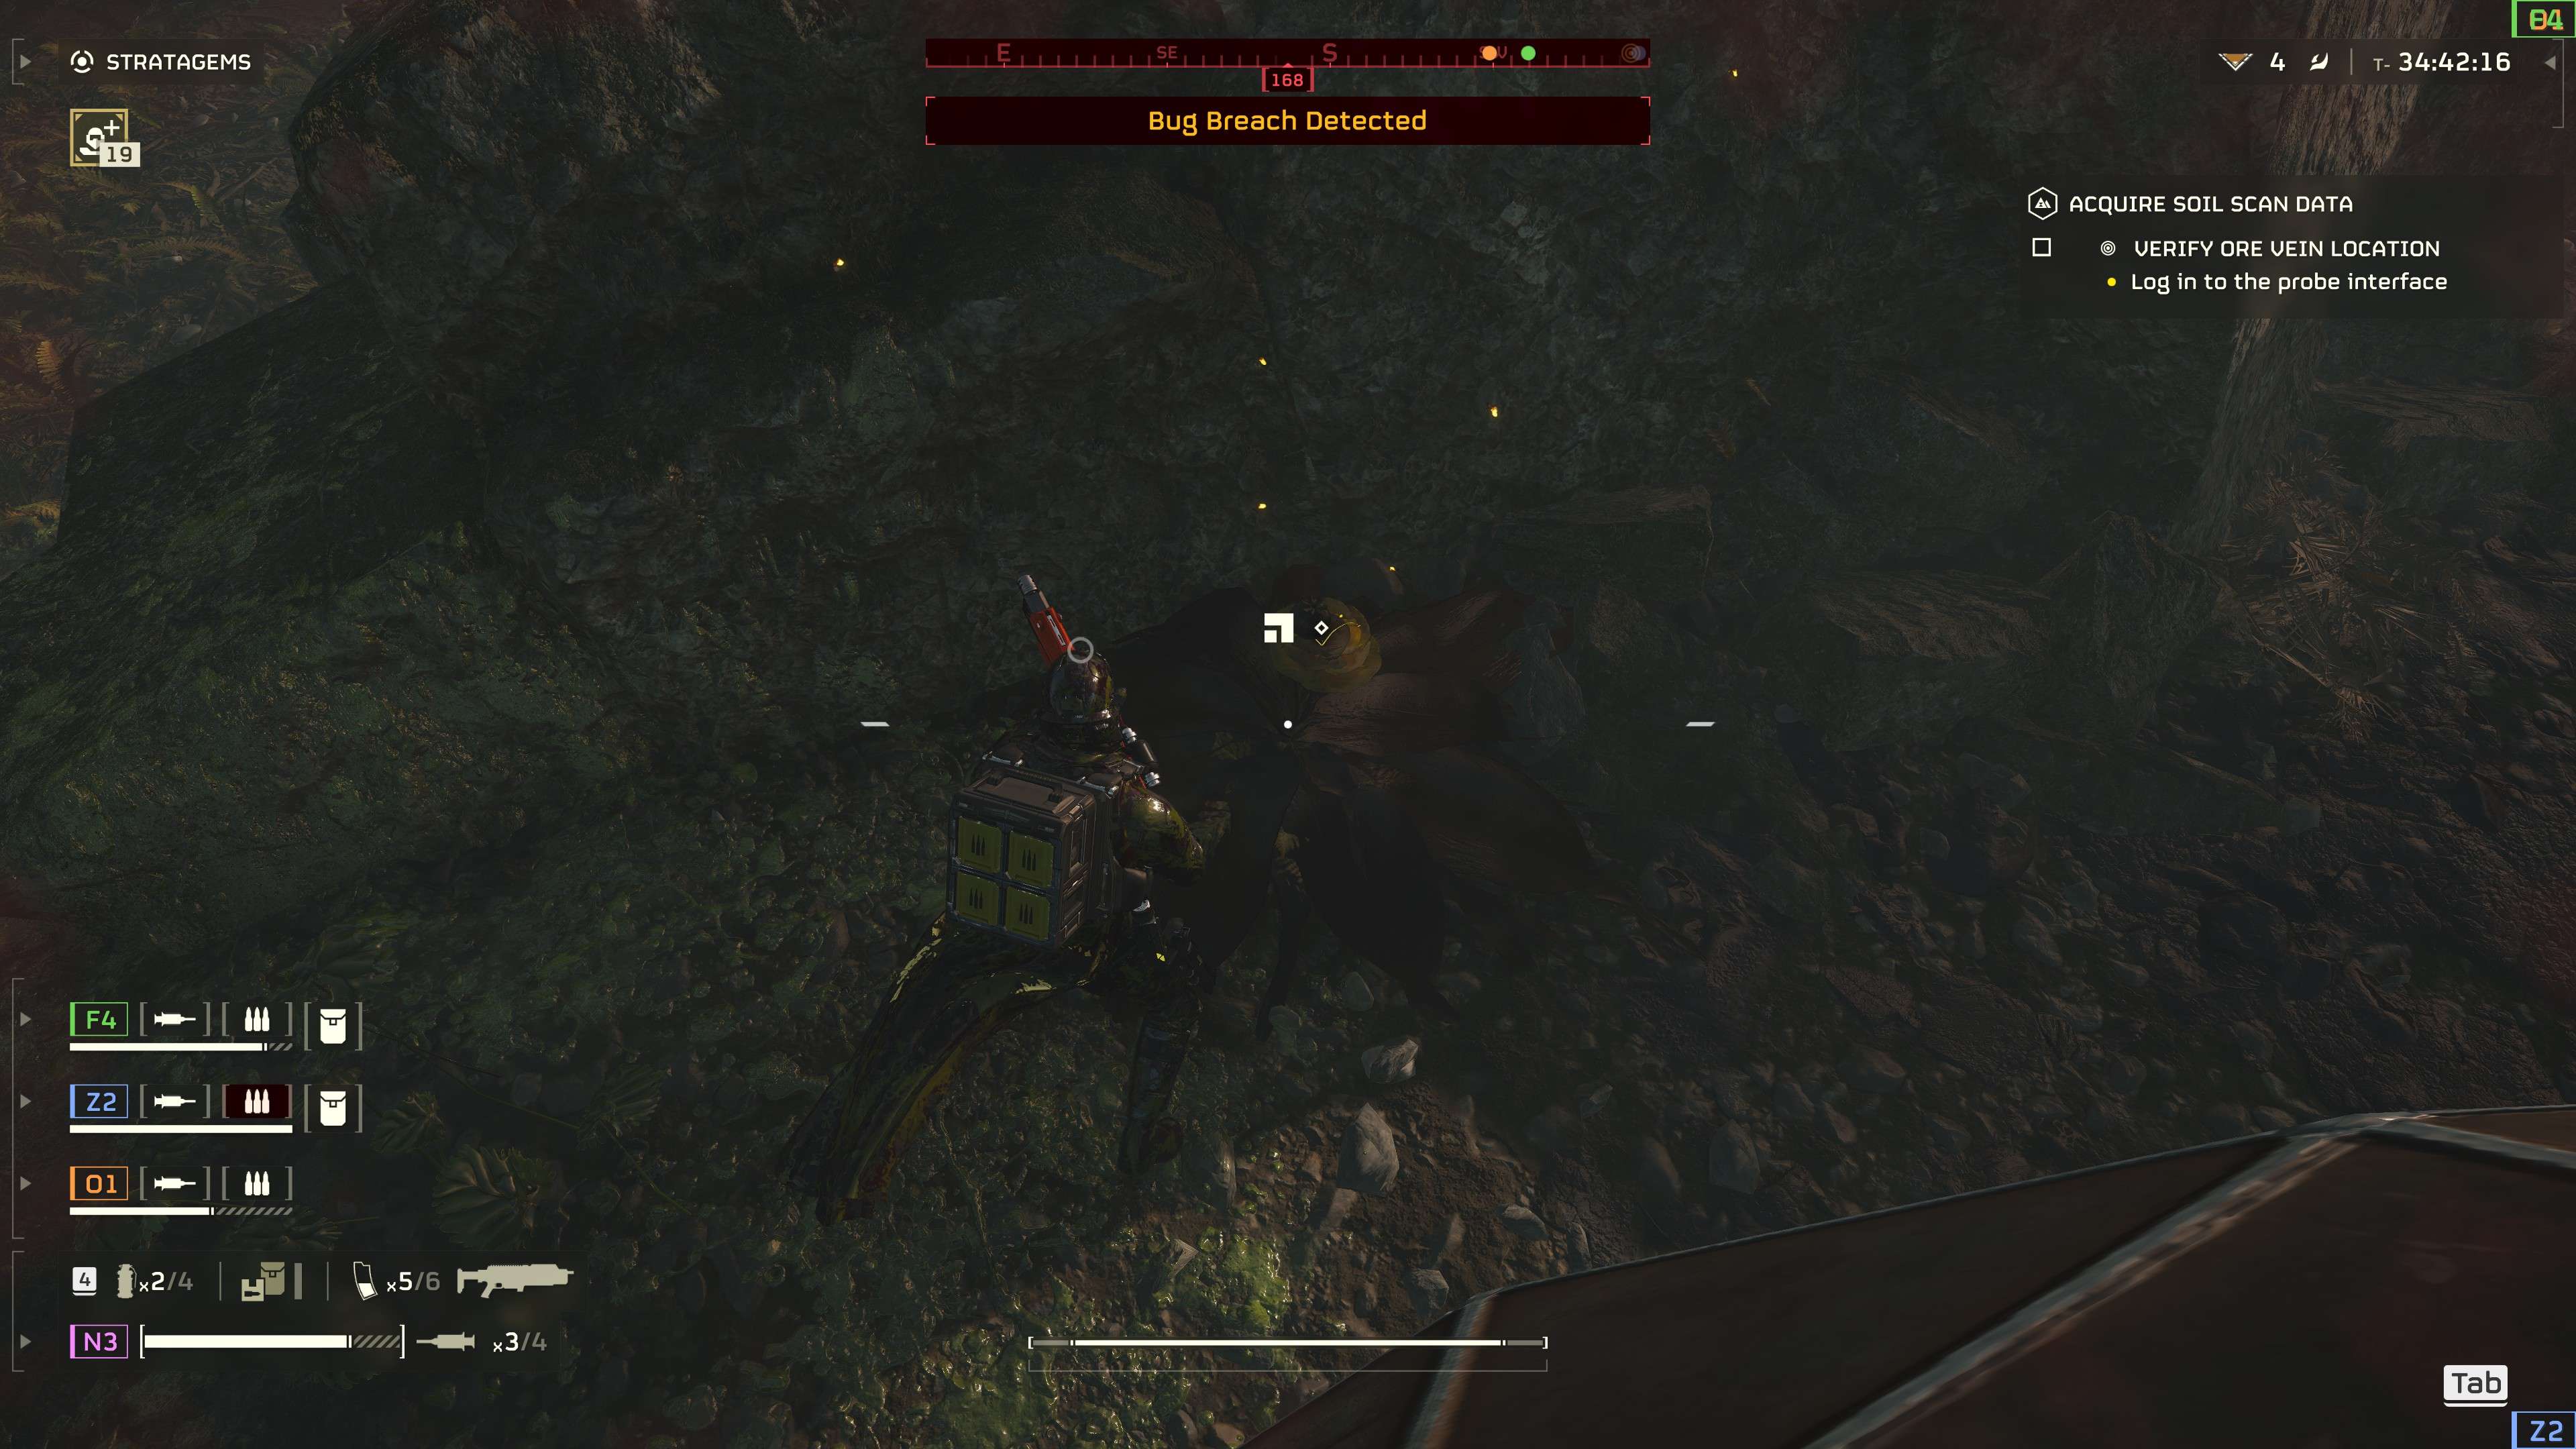
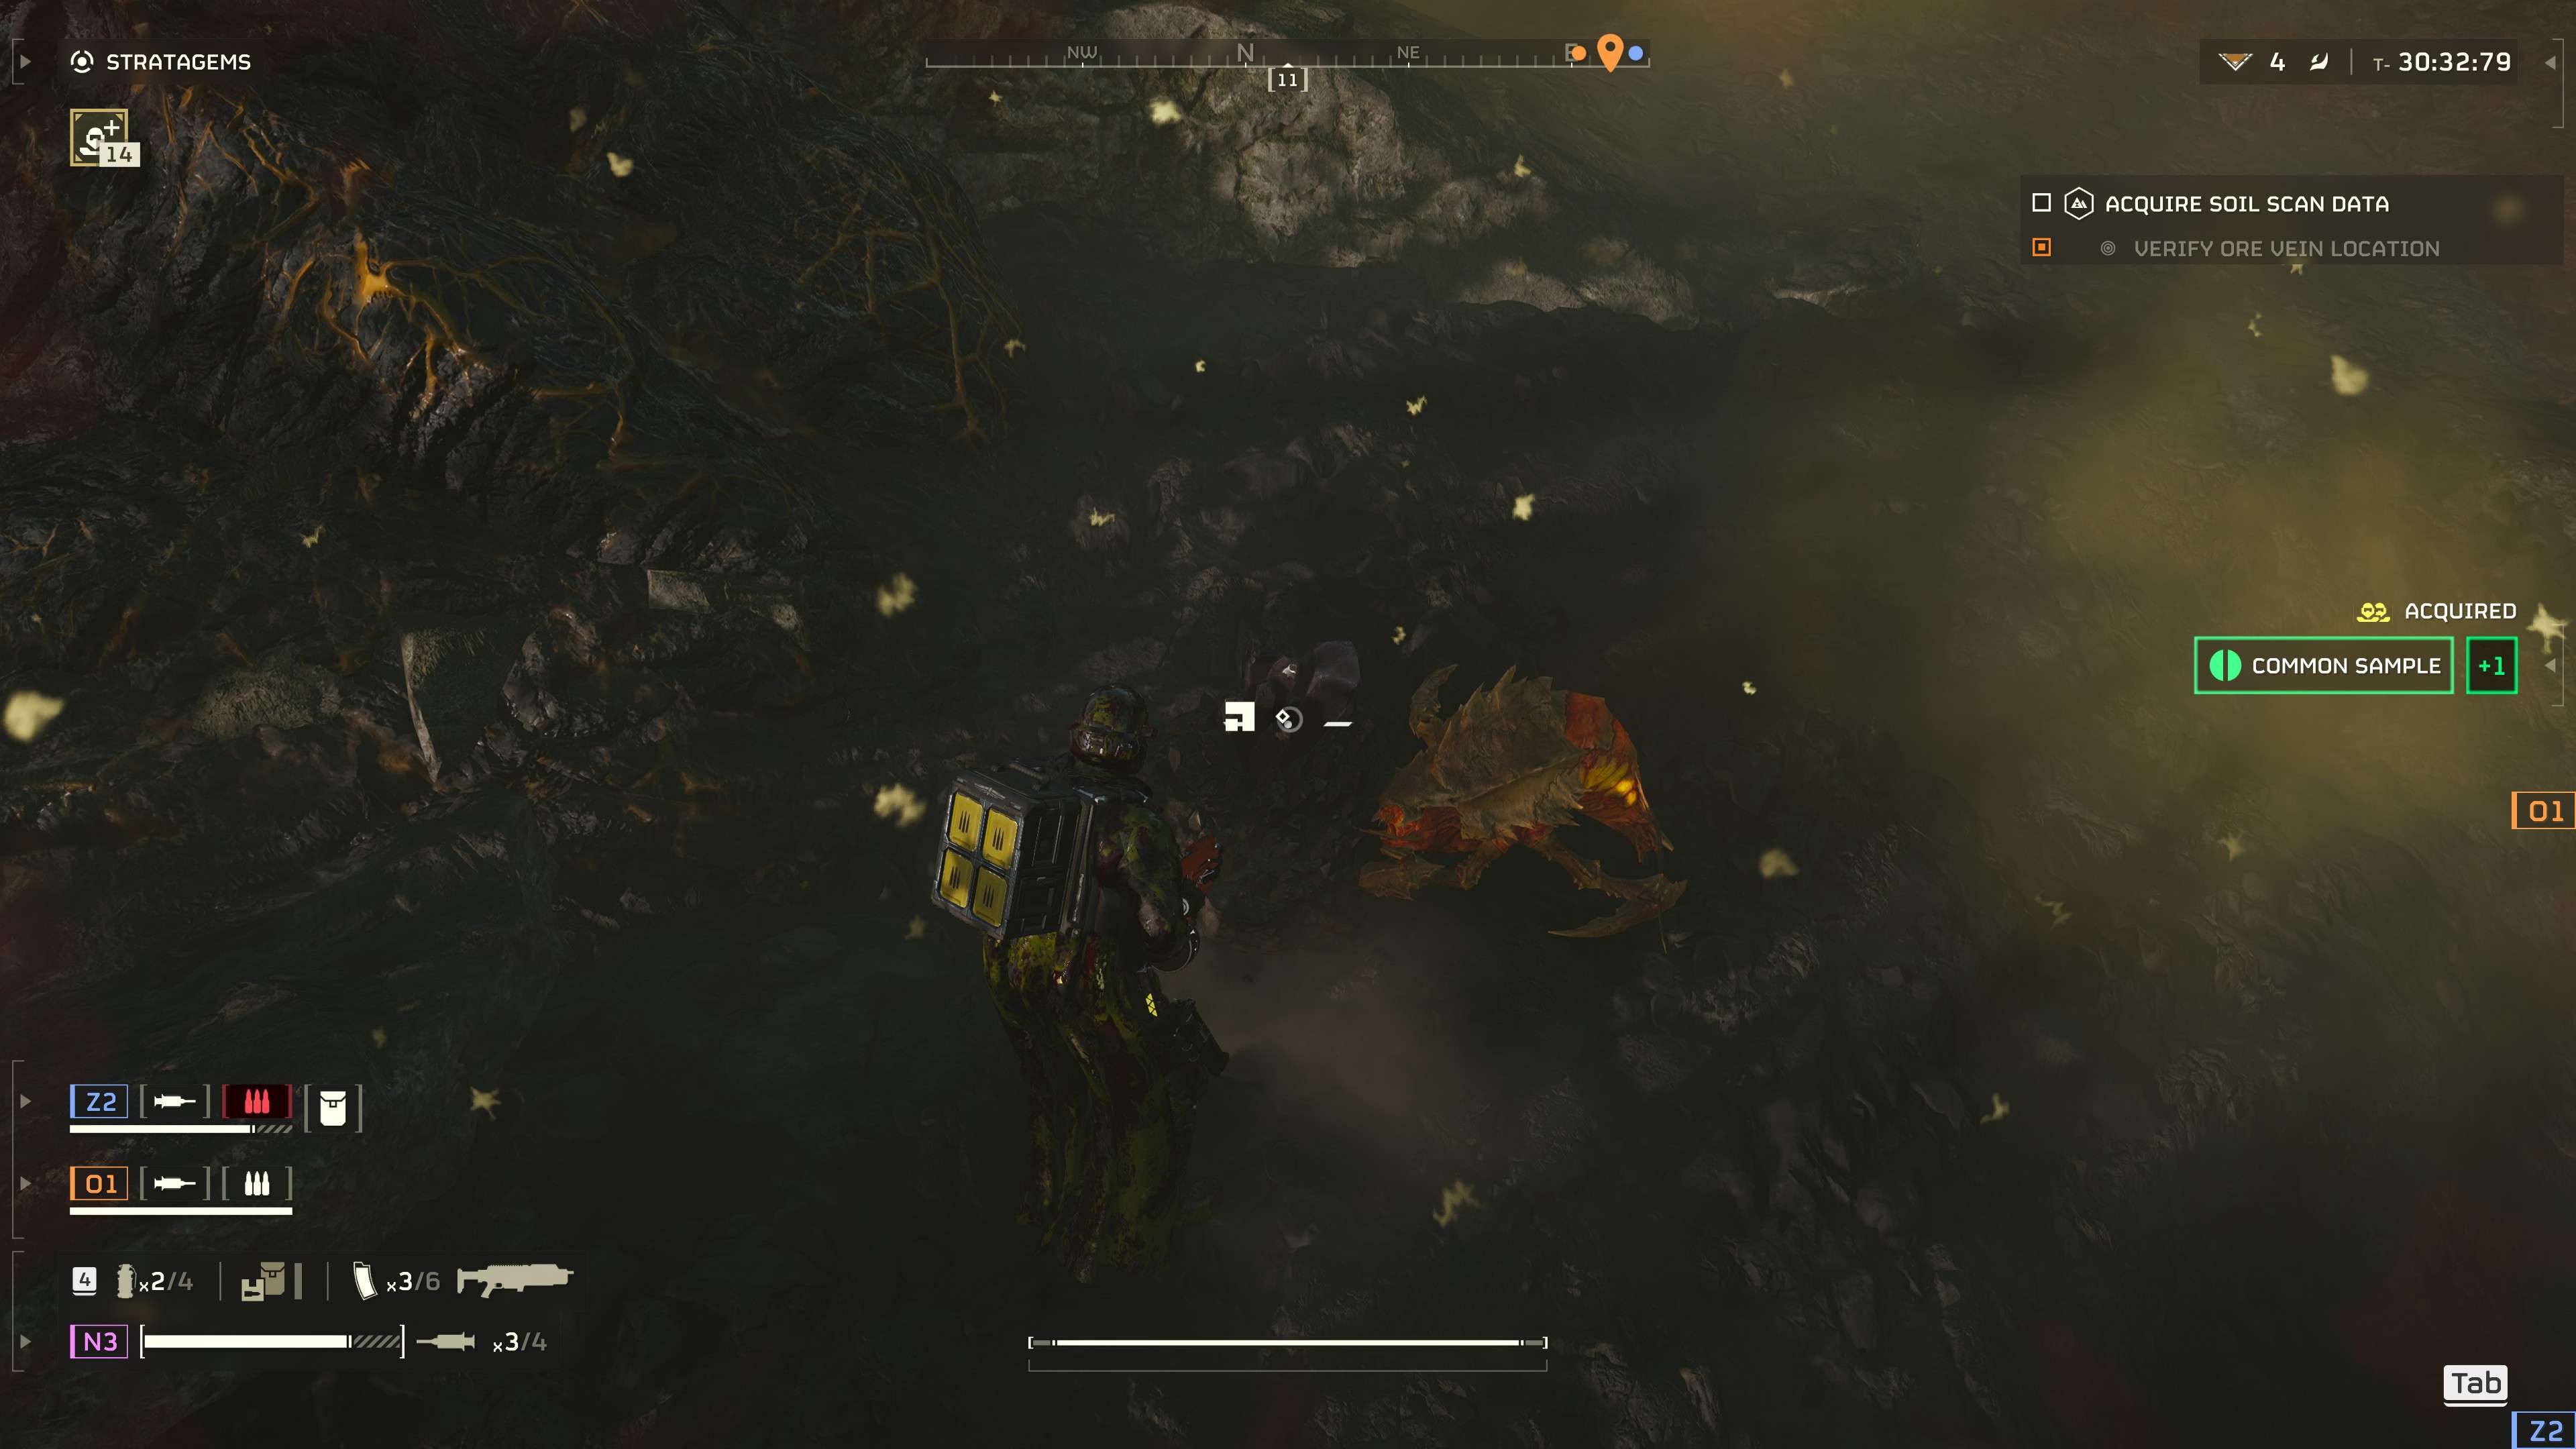
The most common resources are found near bug nests or destroyed outputs. They can look like plants, rocks, or flat containers. Any resources collected are for the entire team, so 4 common samples means each player gets 4 of the same sample.
There is no need to be greedy against your team. If you die than your current samples get dropped and you or someone from your team needs to pick them up again.
Common samples
Rare samples
Commonly missed loot
Throughout the map you will encounter containers and boxes that look like they do nothing. WRONG. Chuck a grenade at one of them to blow it up and collect all those loot goodies.
Large container
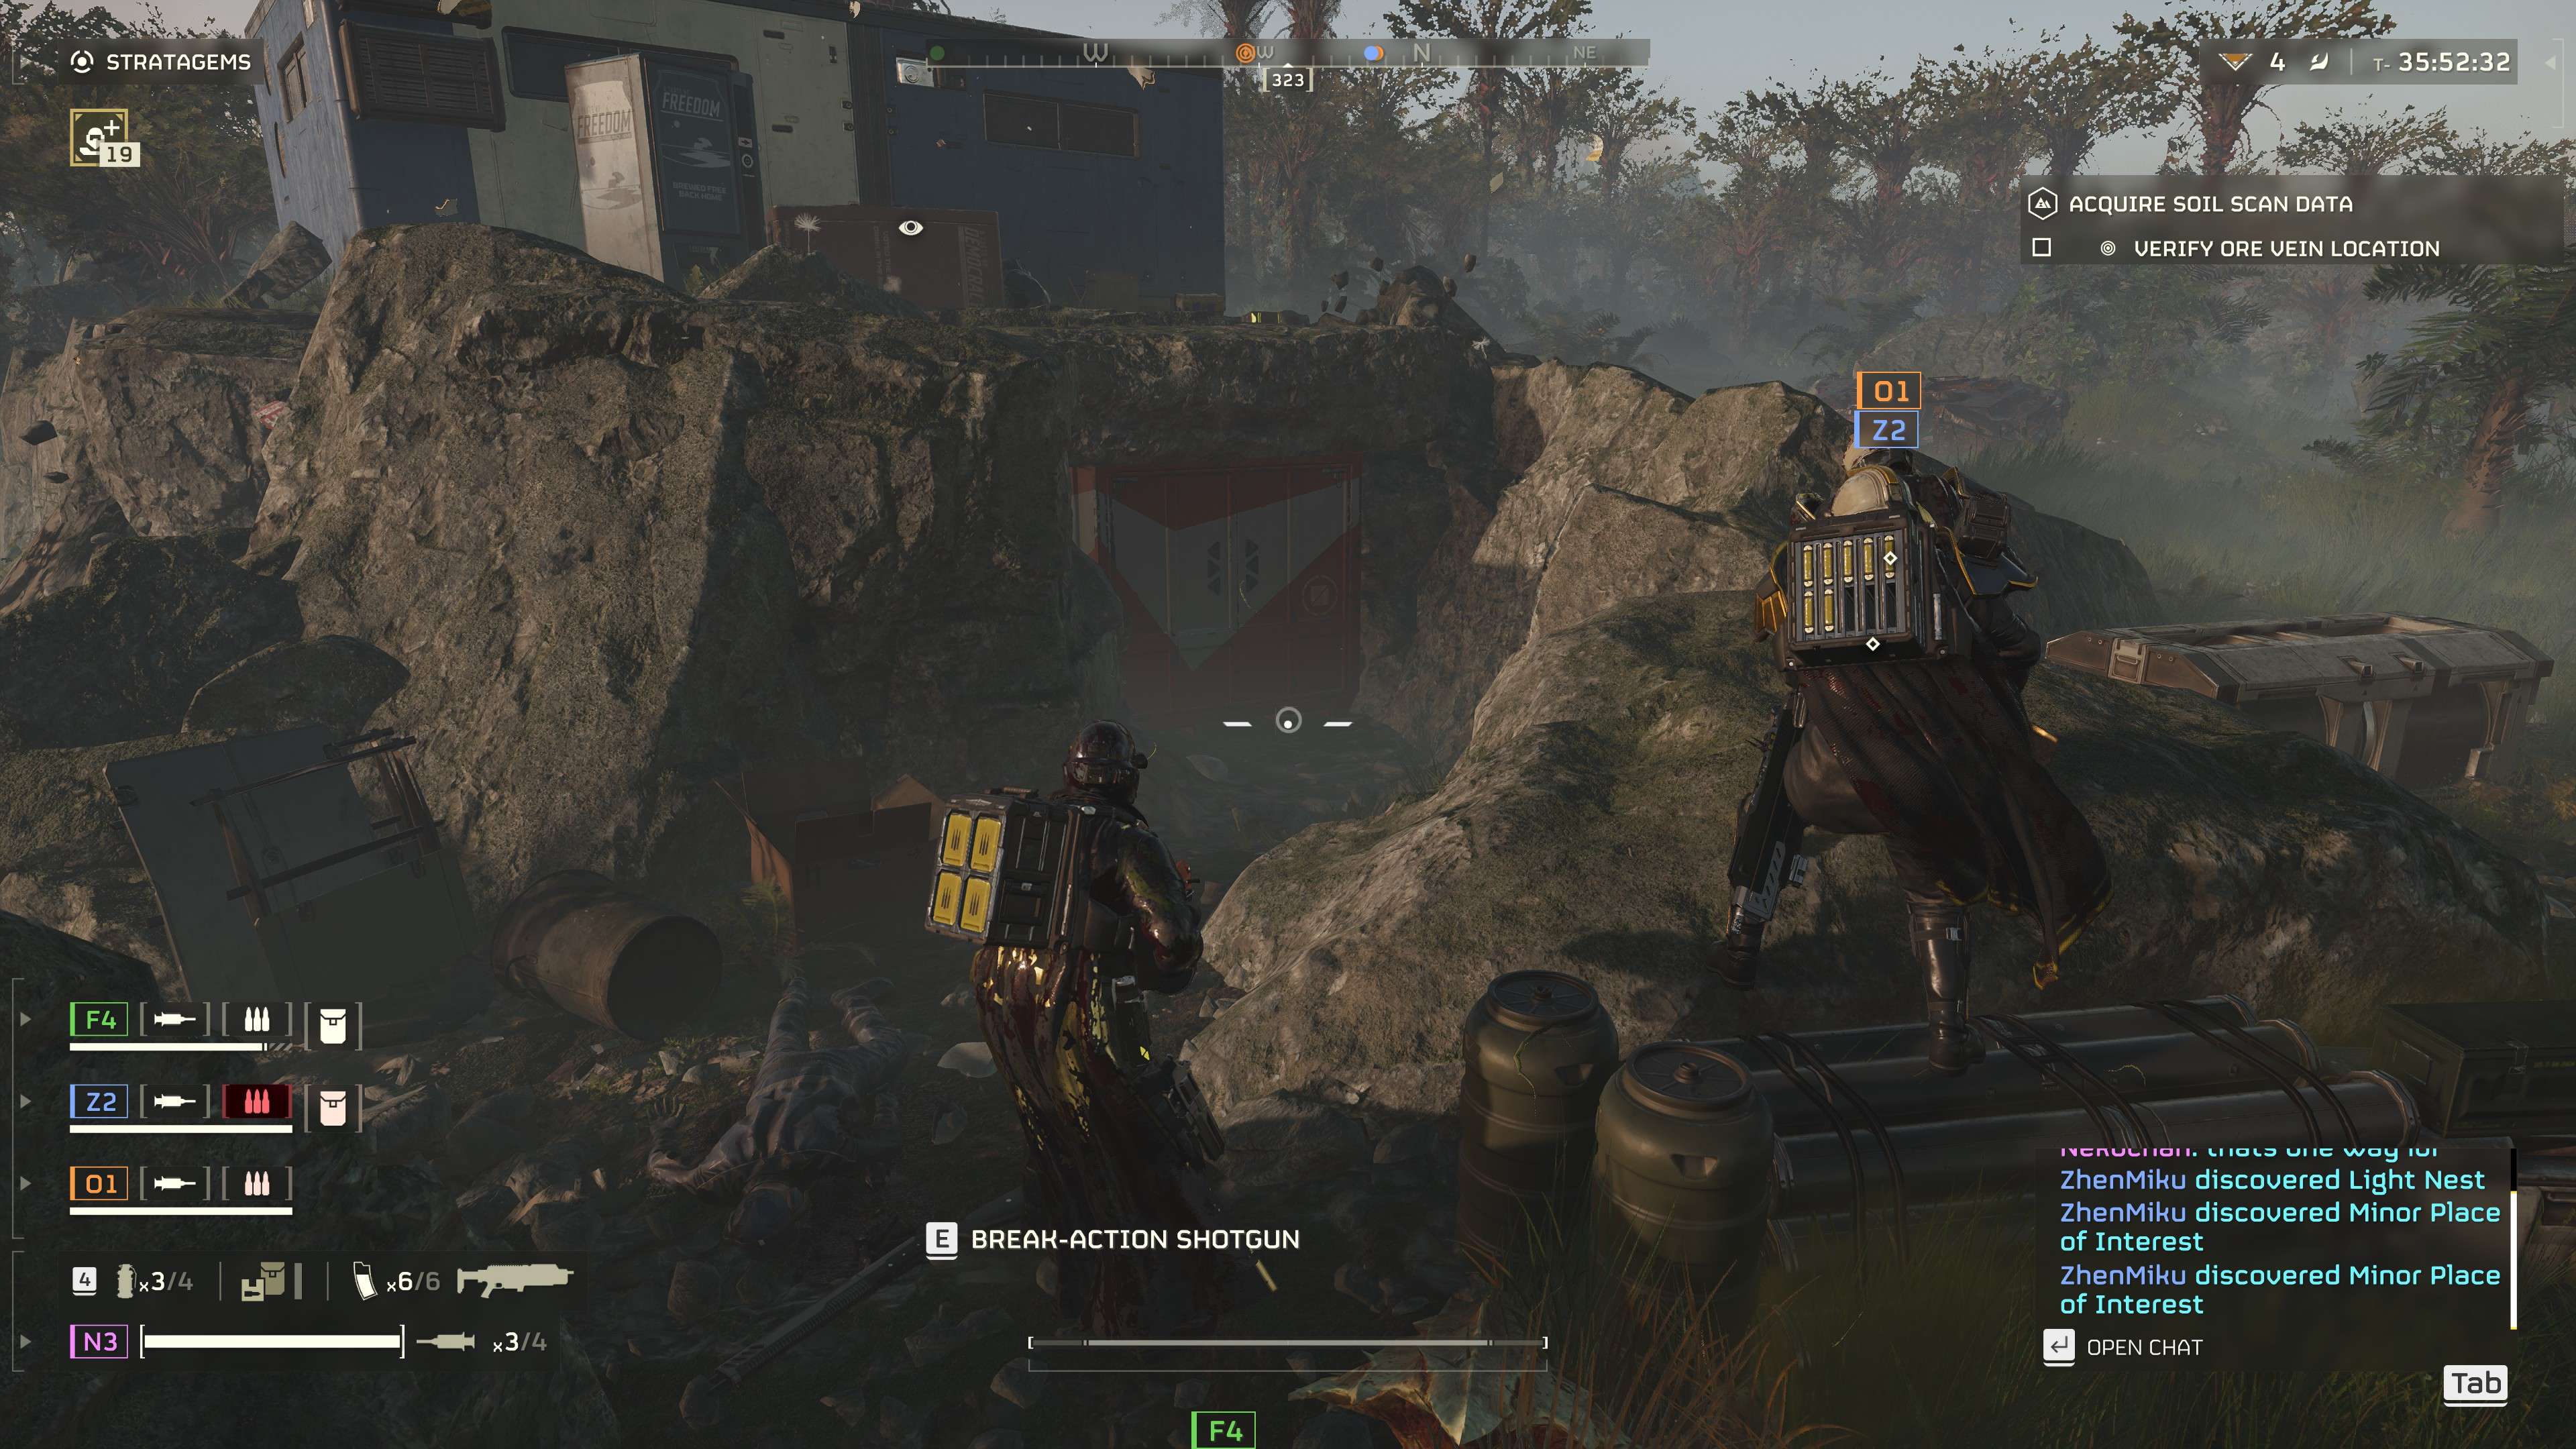
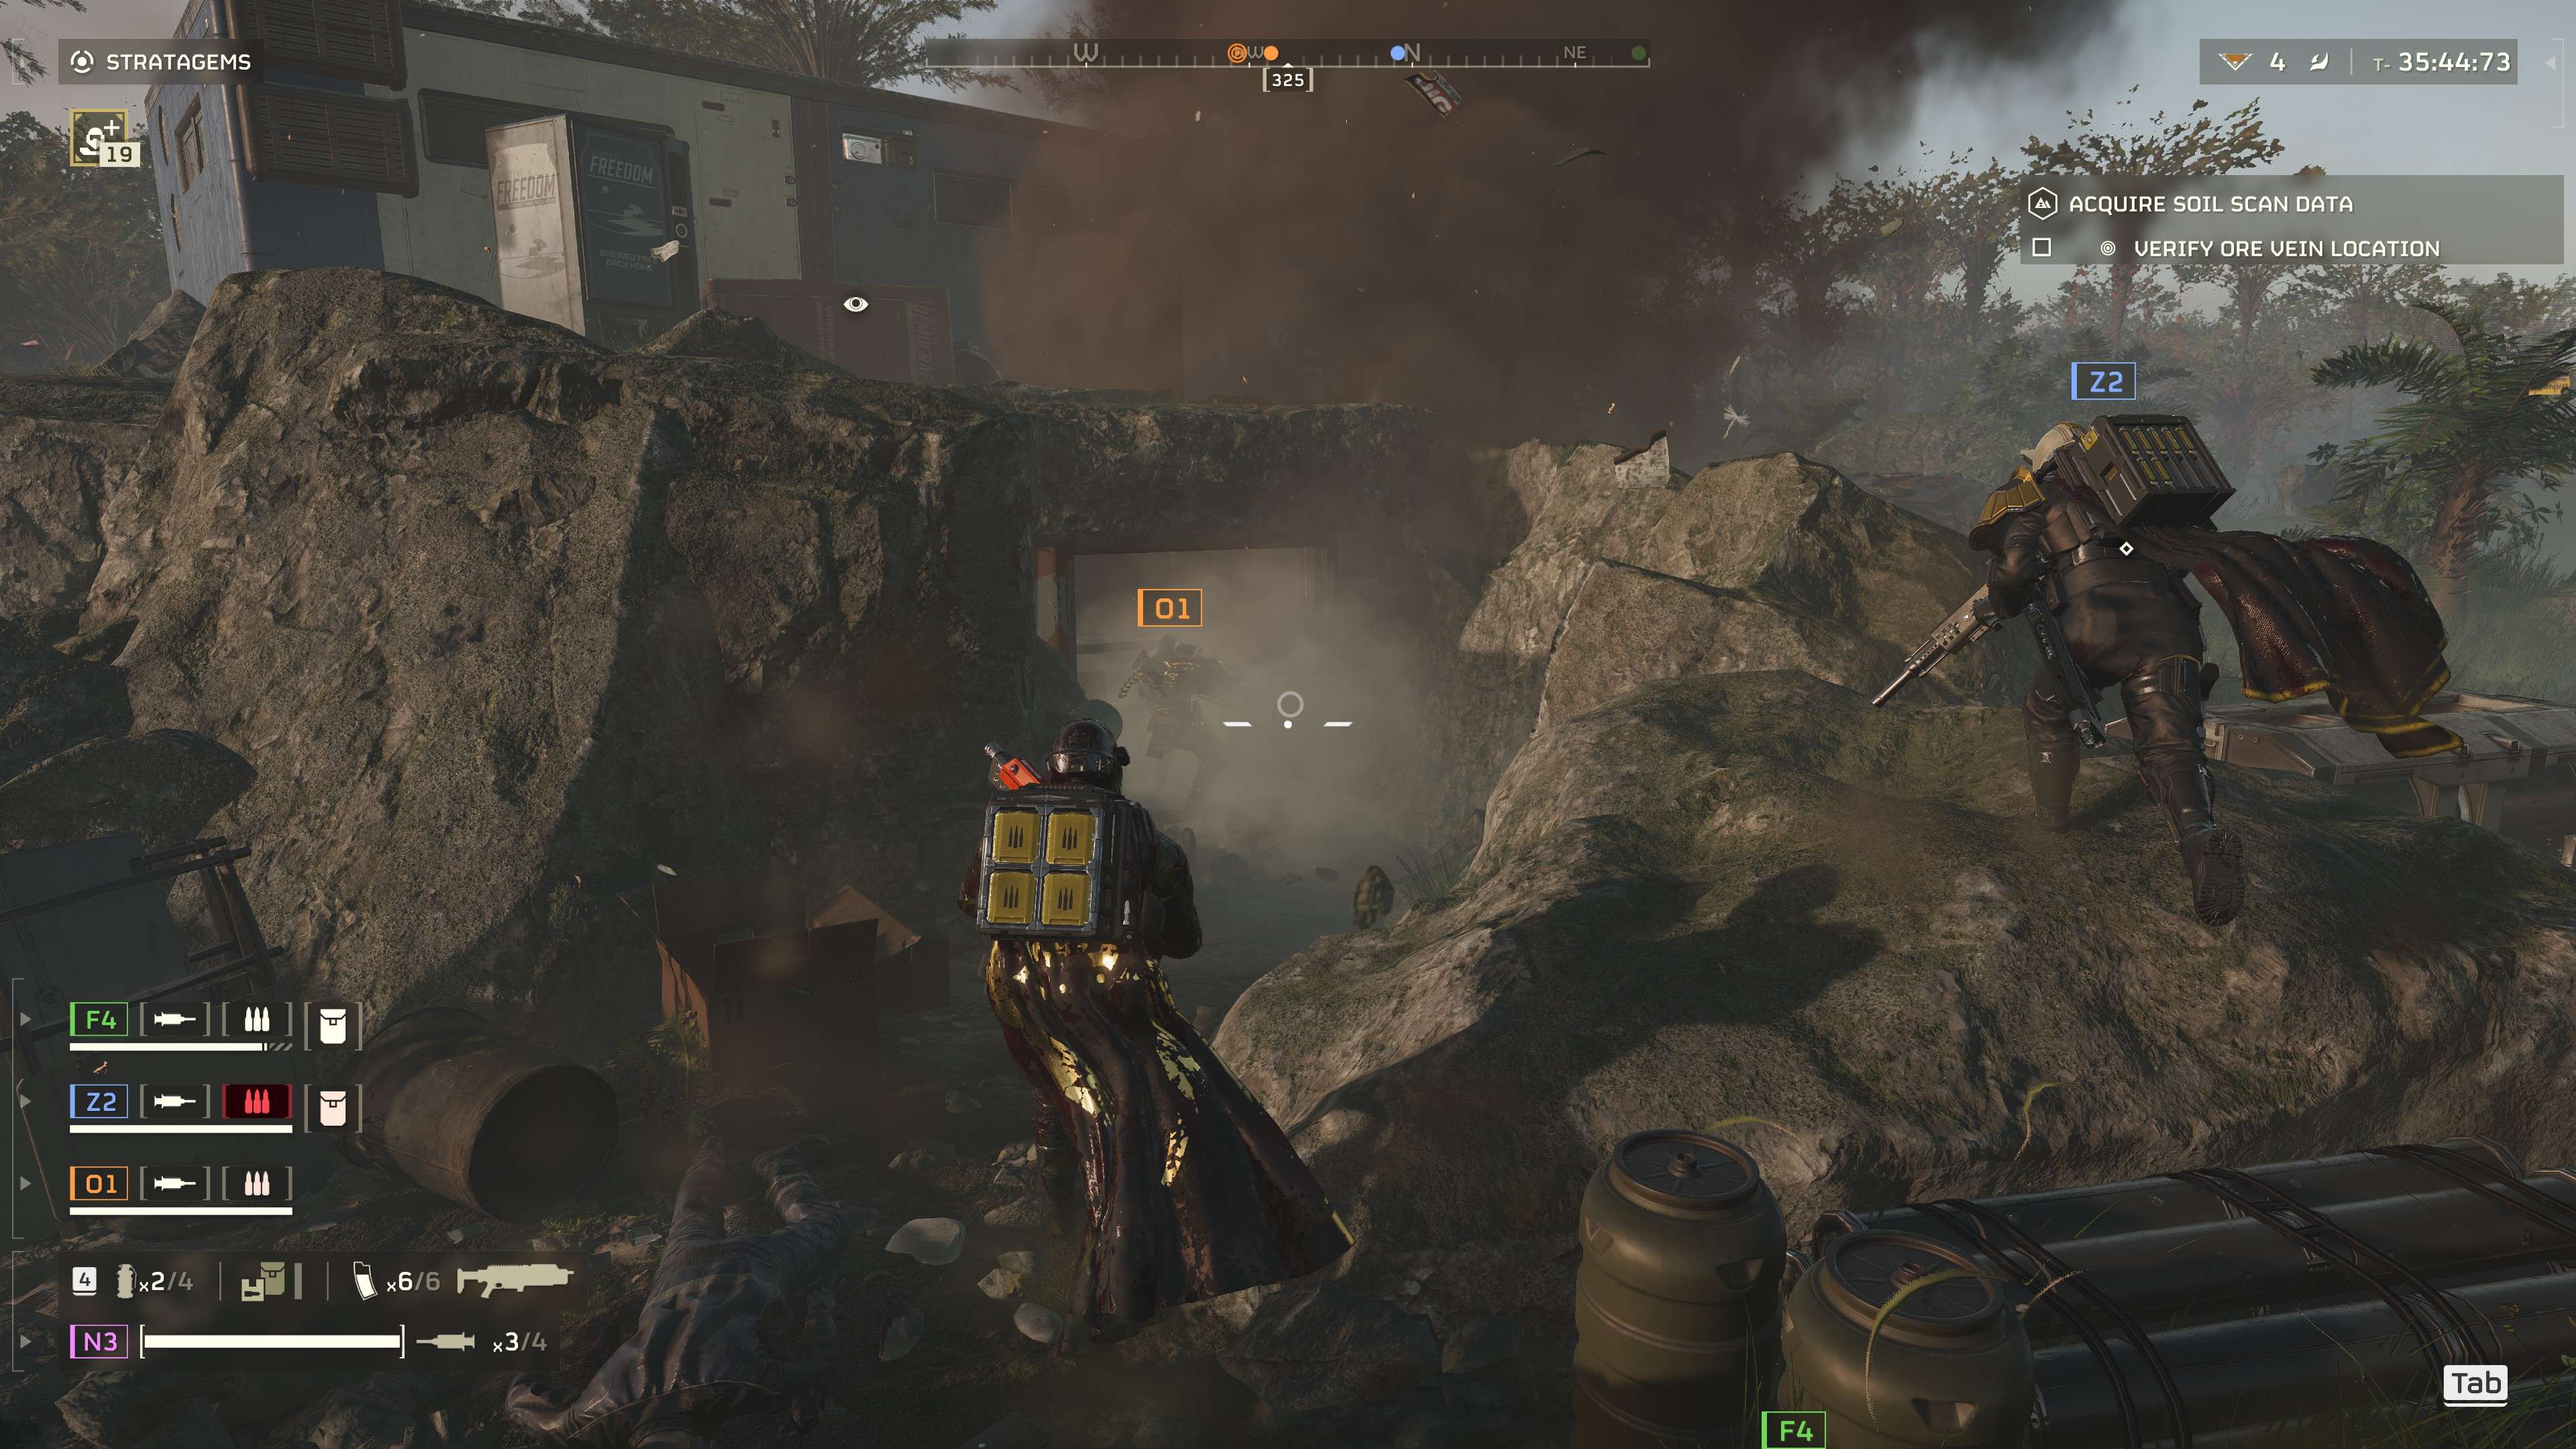
Small containers near SEAF
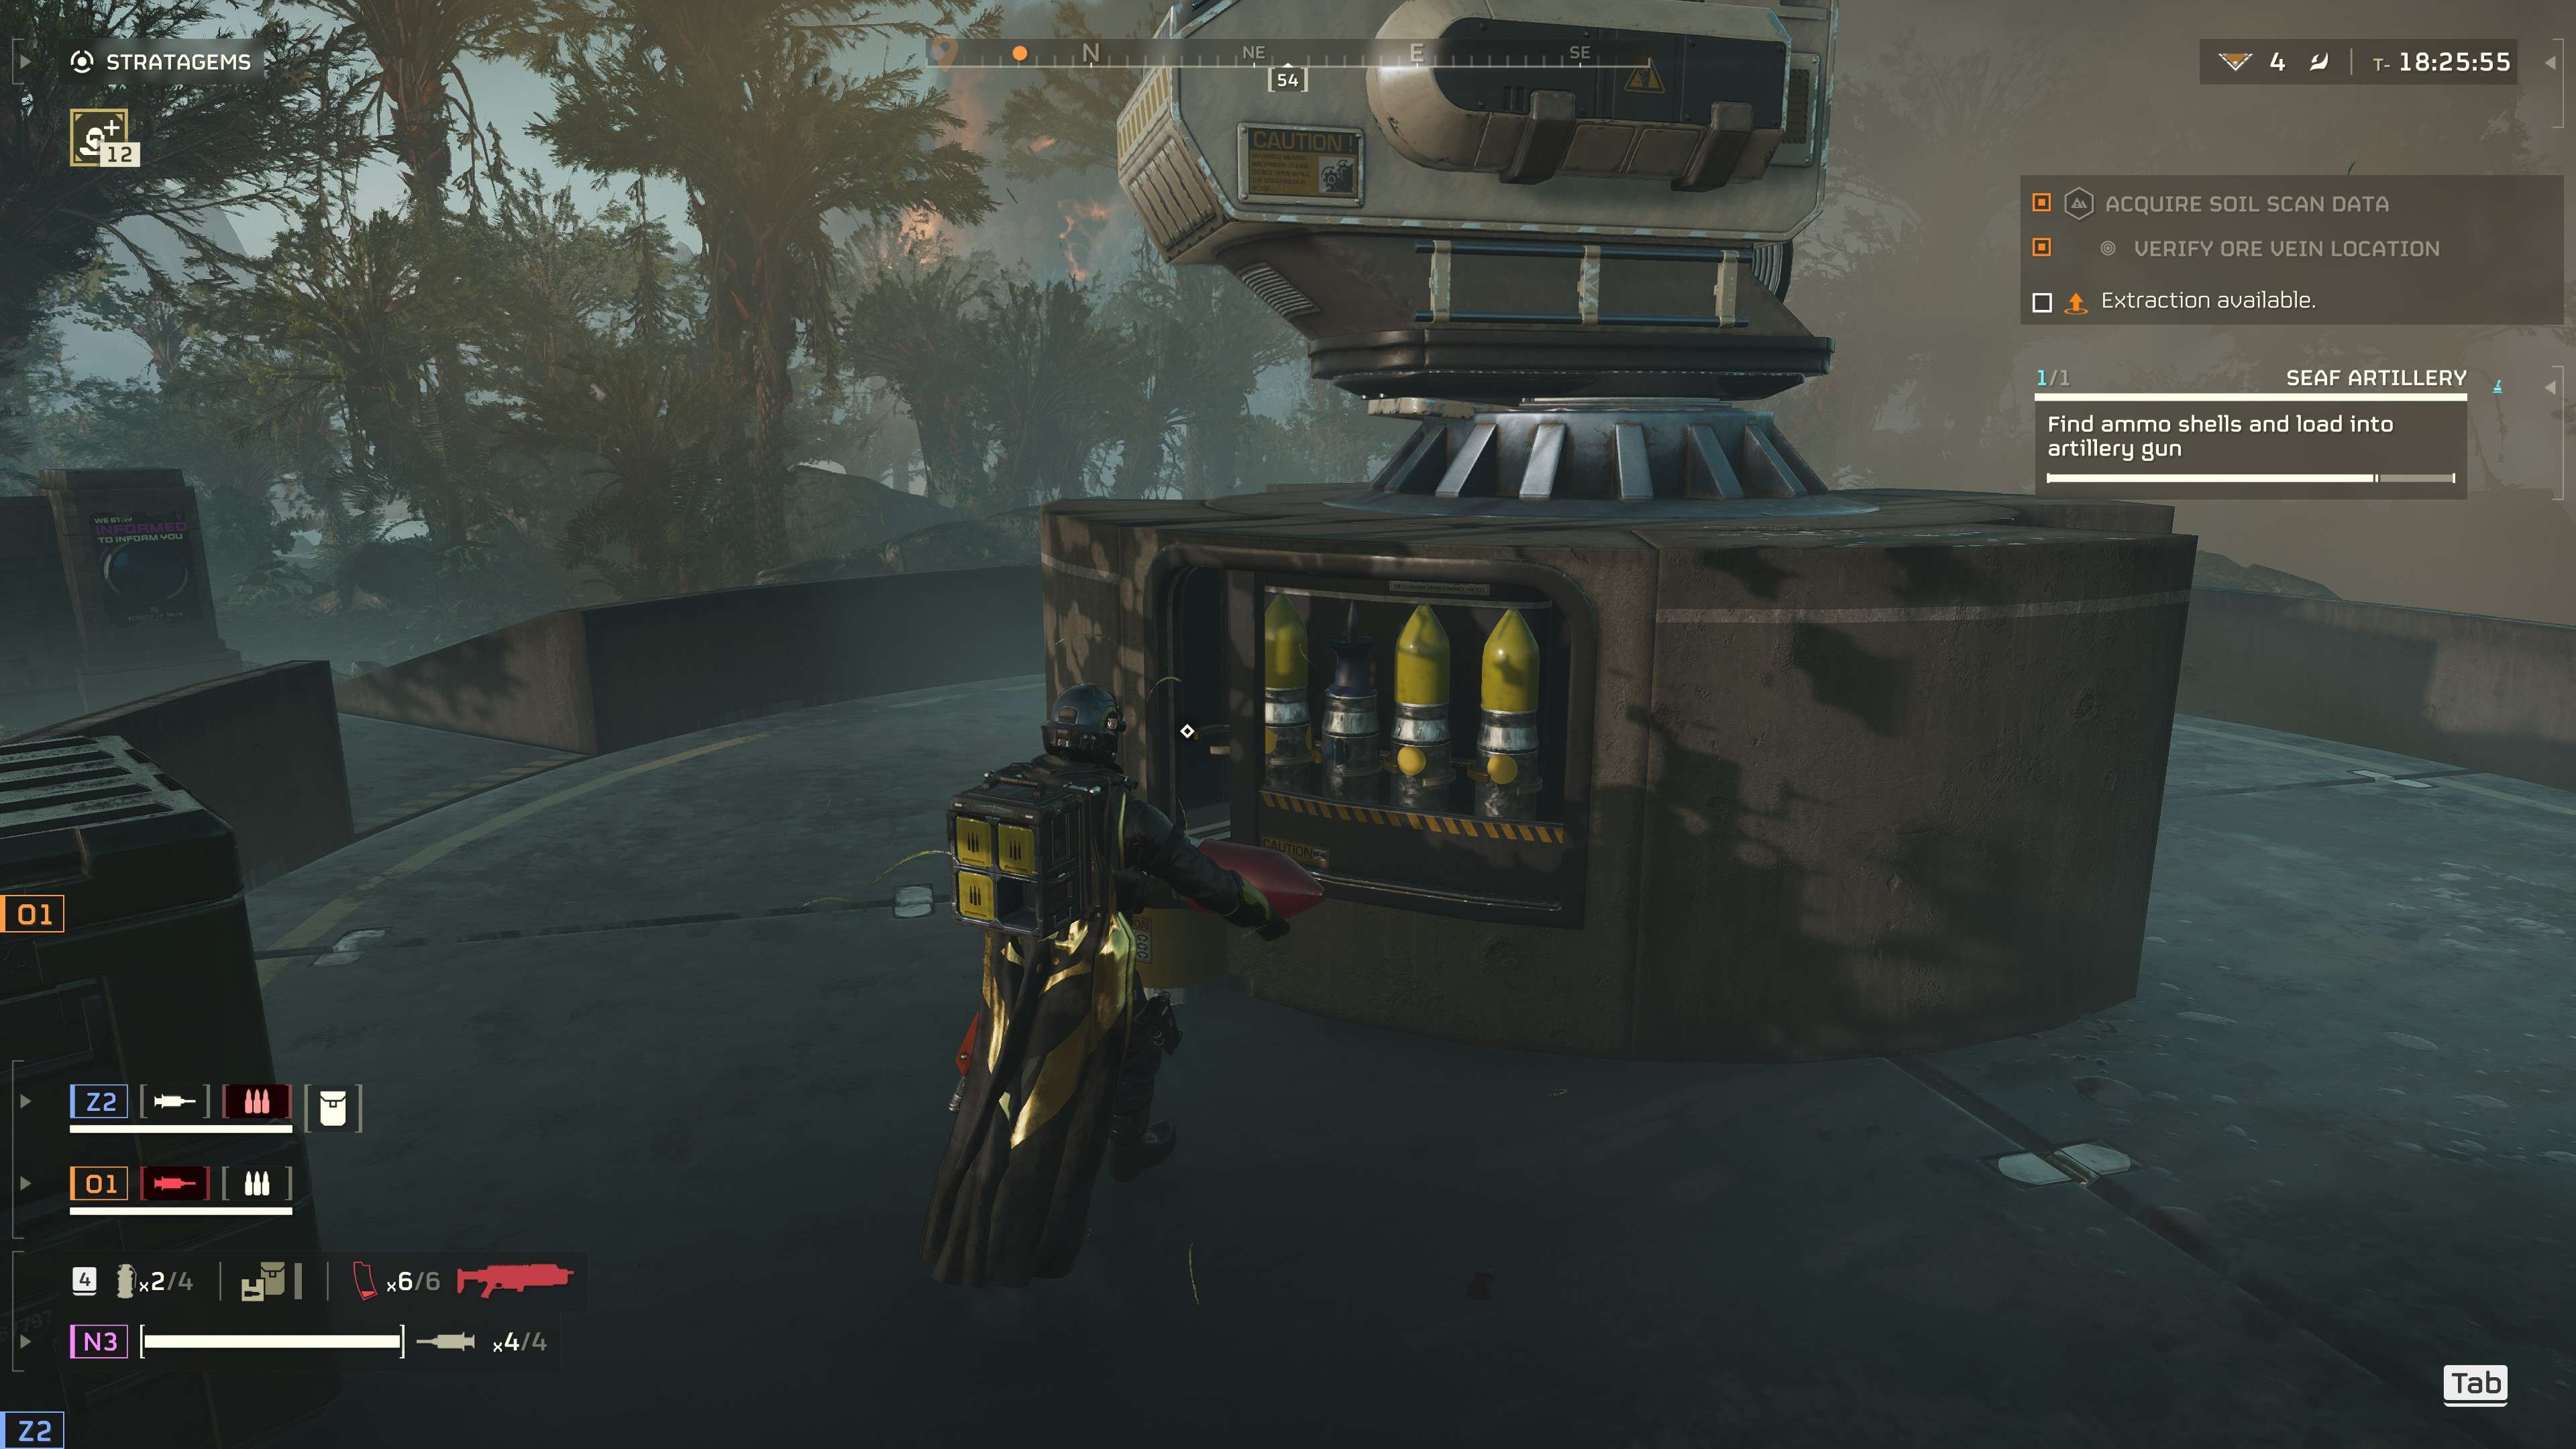
Special note, SEAF containers sometimes contain mortor rounds.
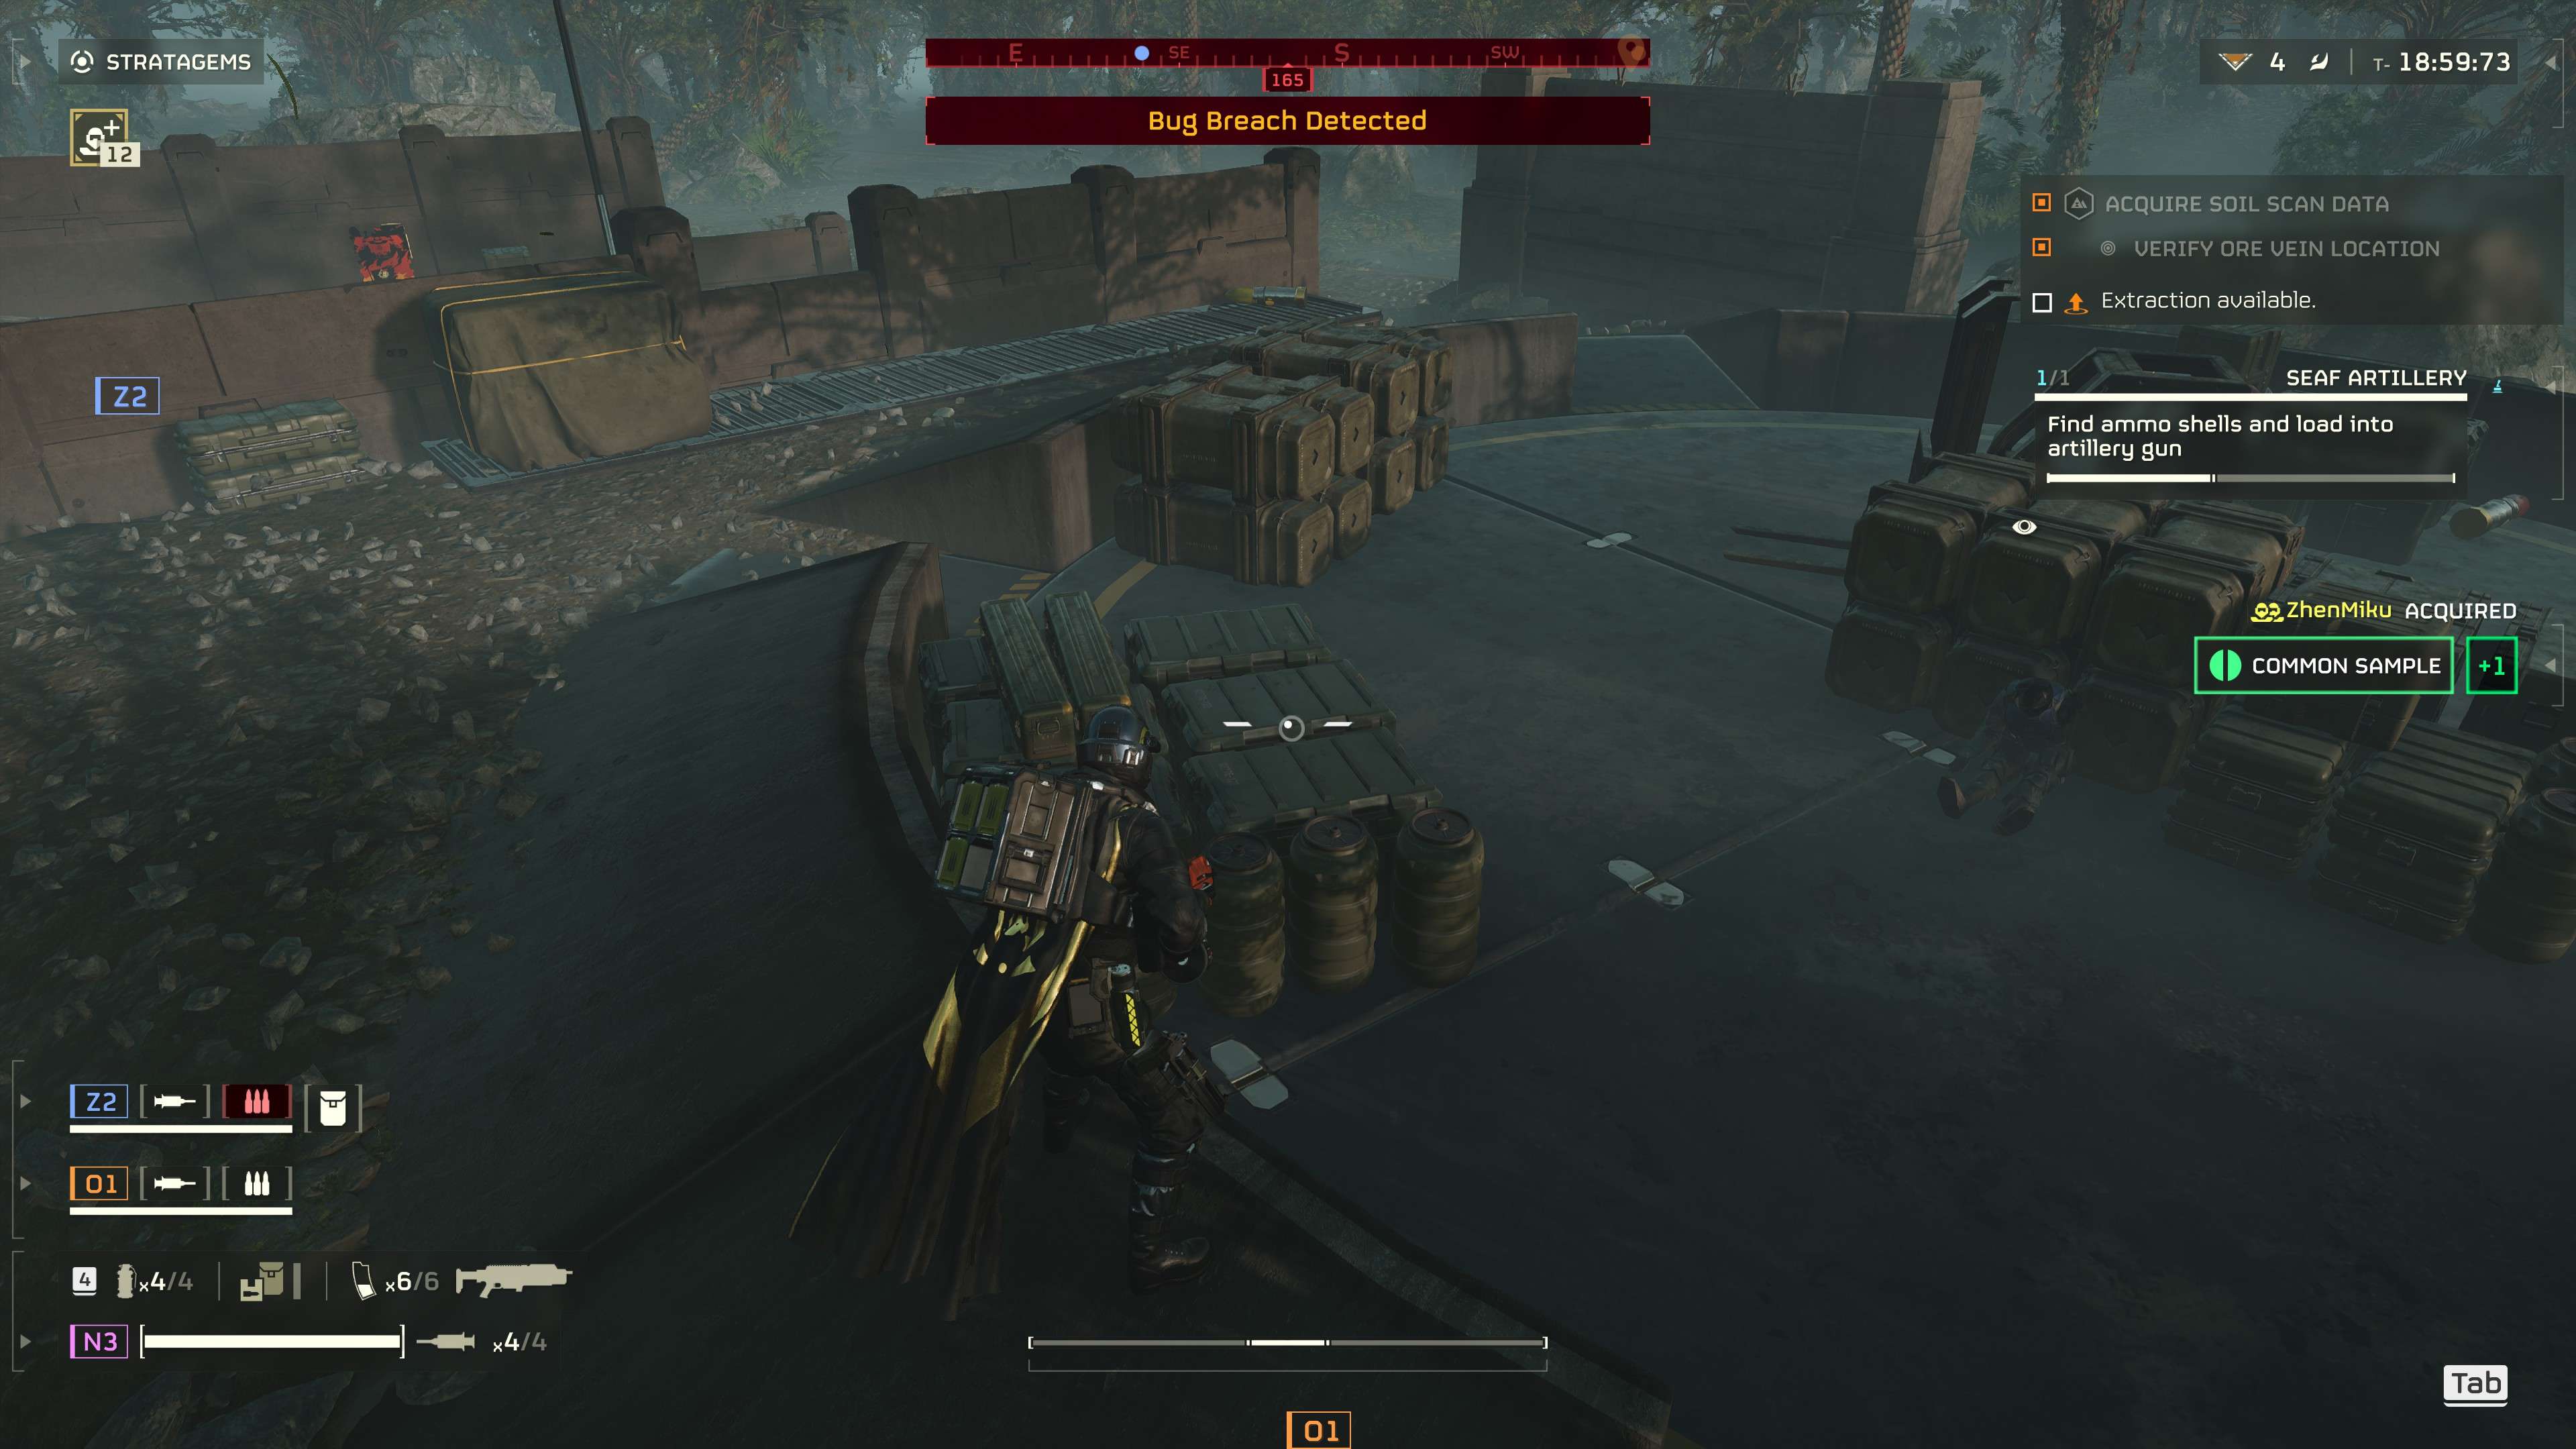
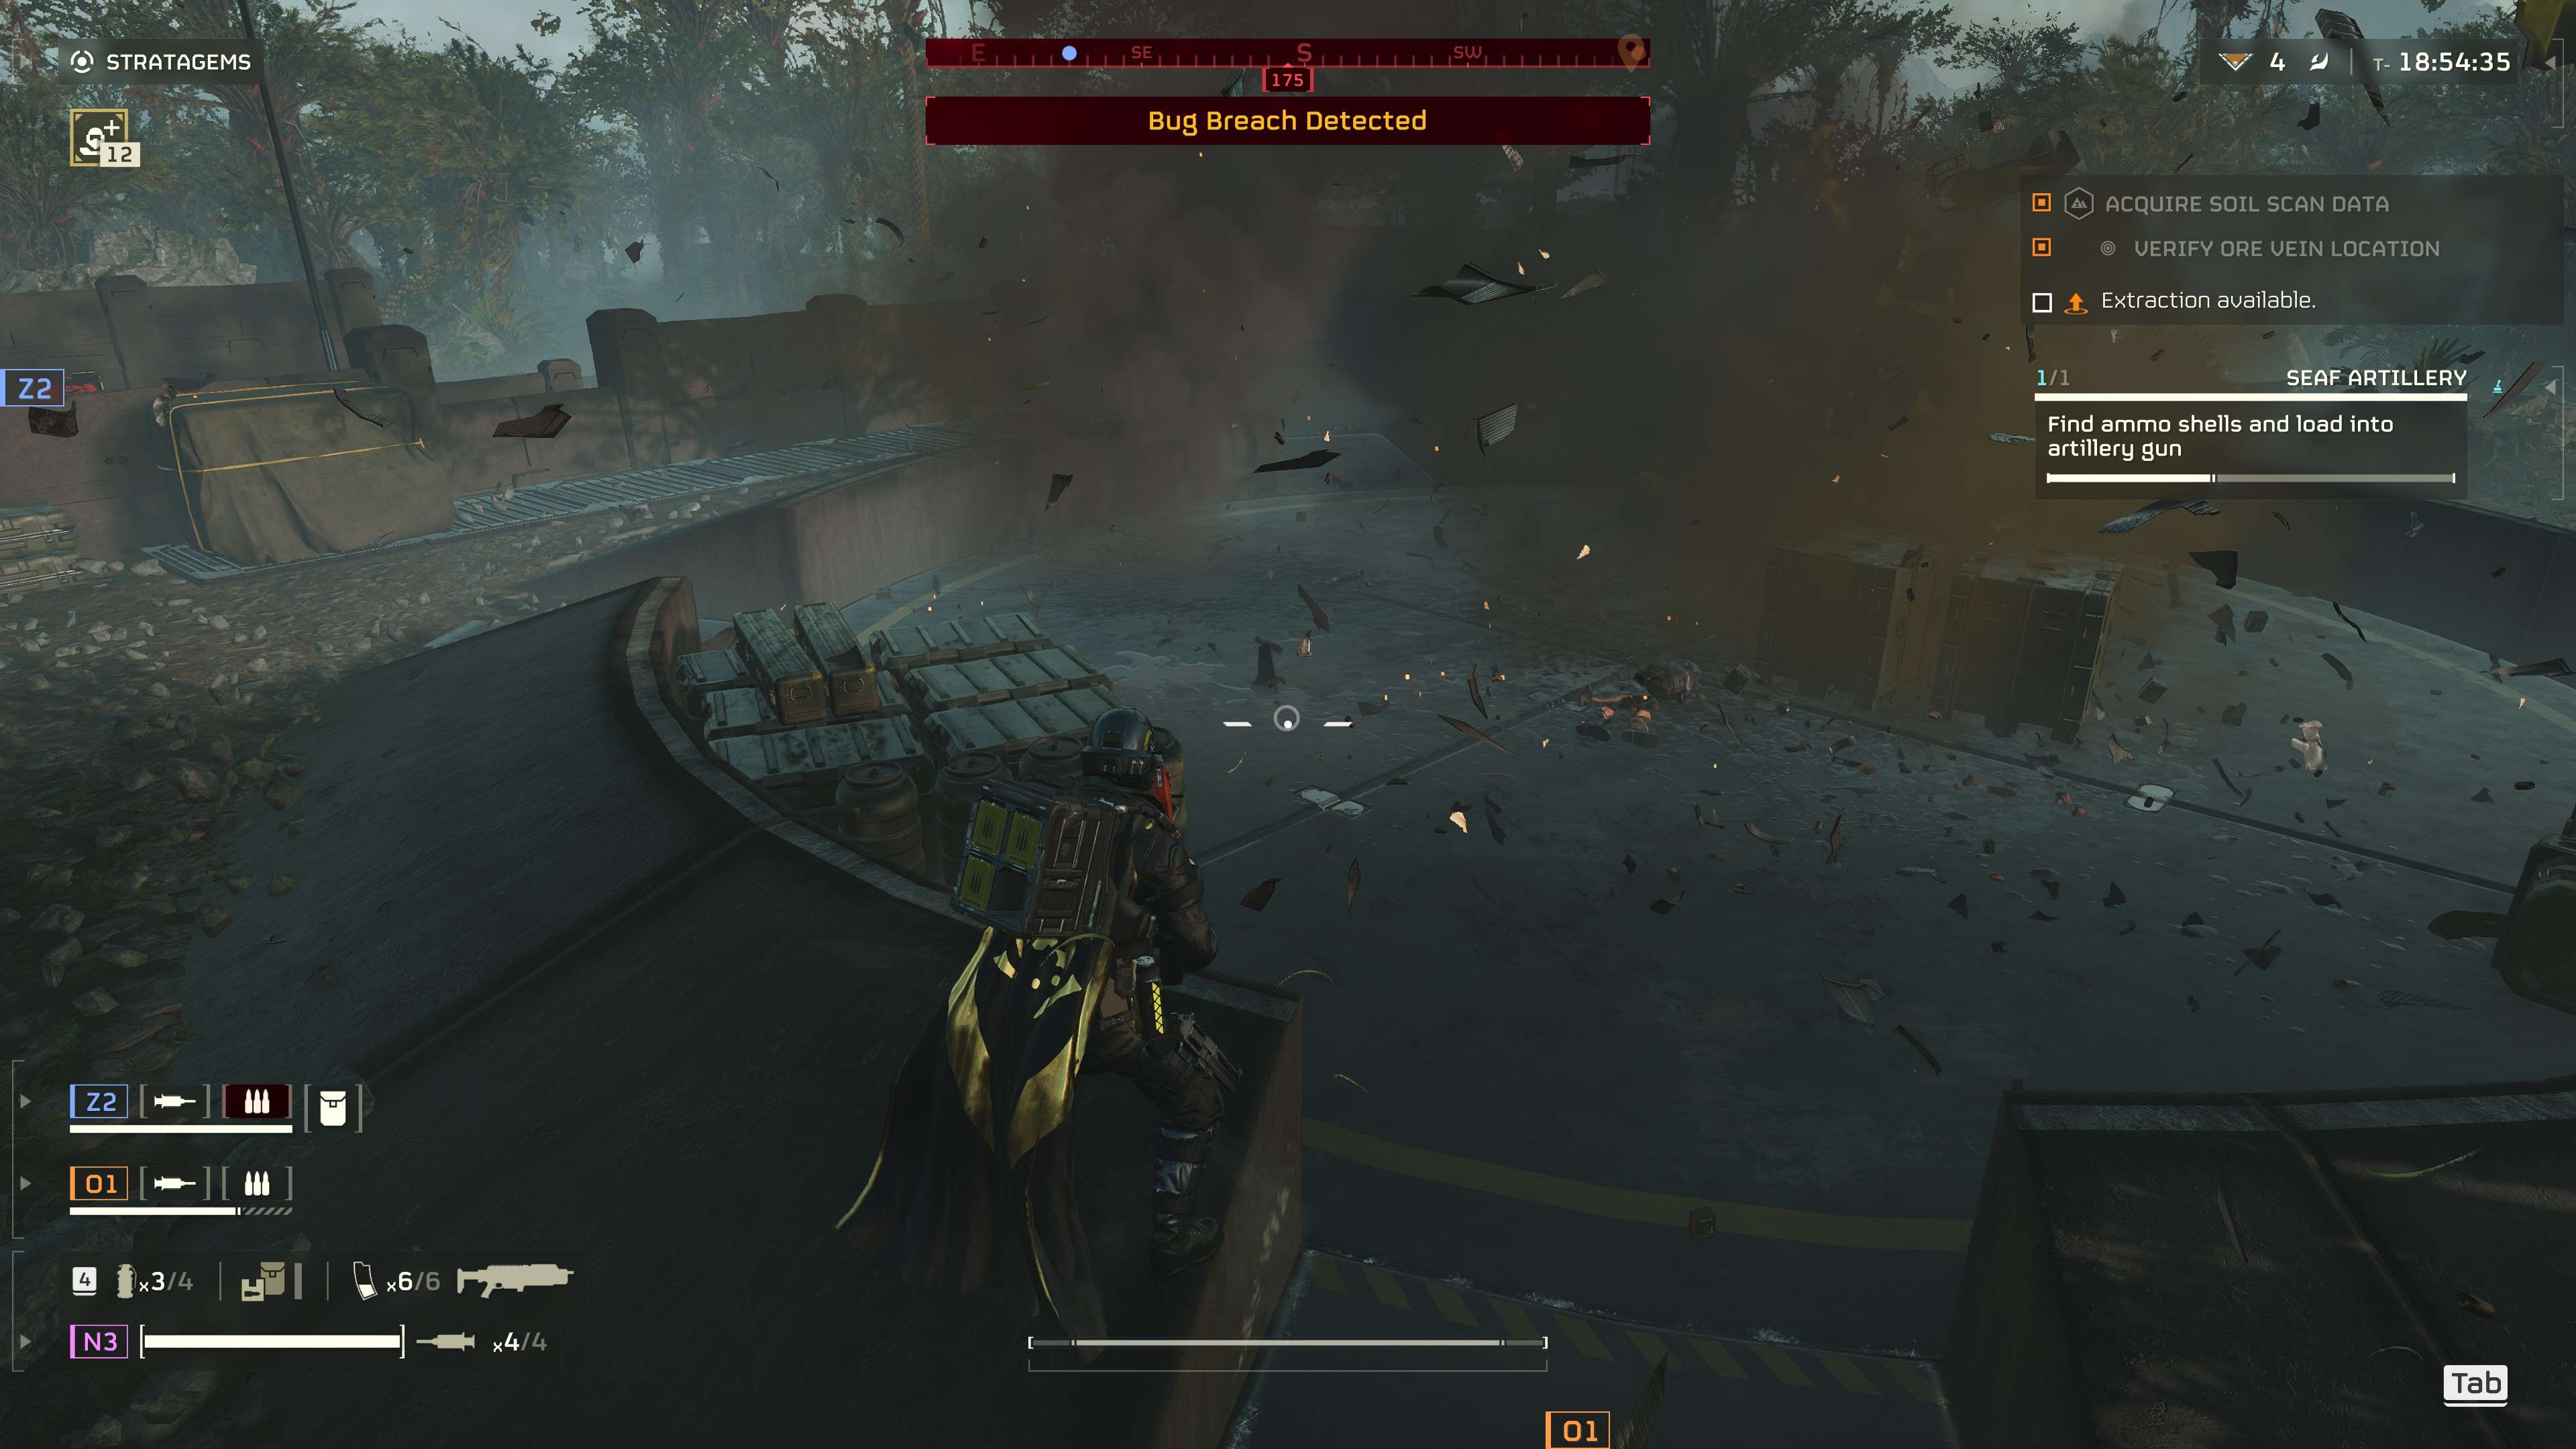
SEAF and how to not tick off your team
Nearly every map has a SEAF on it, very rarely do I not see one. This is coming under the category of personal opinion. Do NOT load the SEAF with static or smoke rounds unless you have no choice.
They really don’t help much. You want to look for red tipped rounds for explosive or napalm.
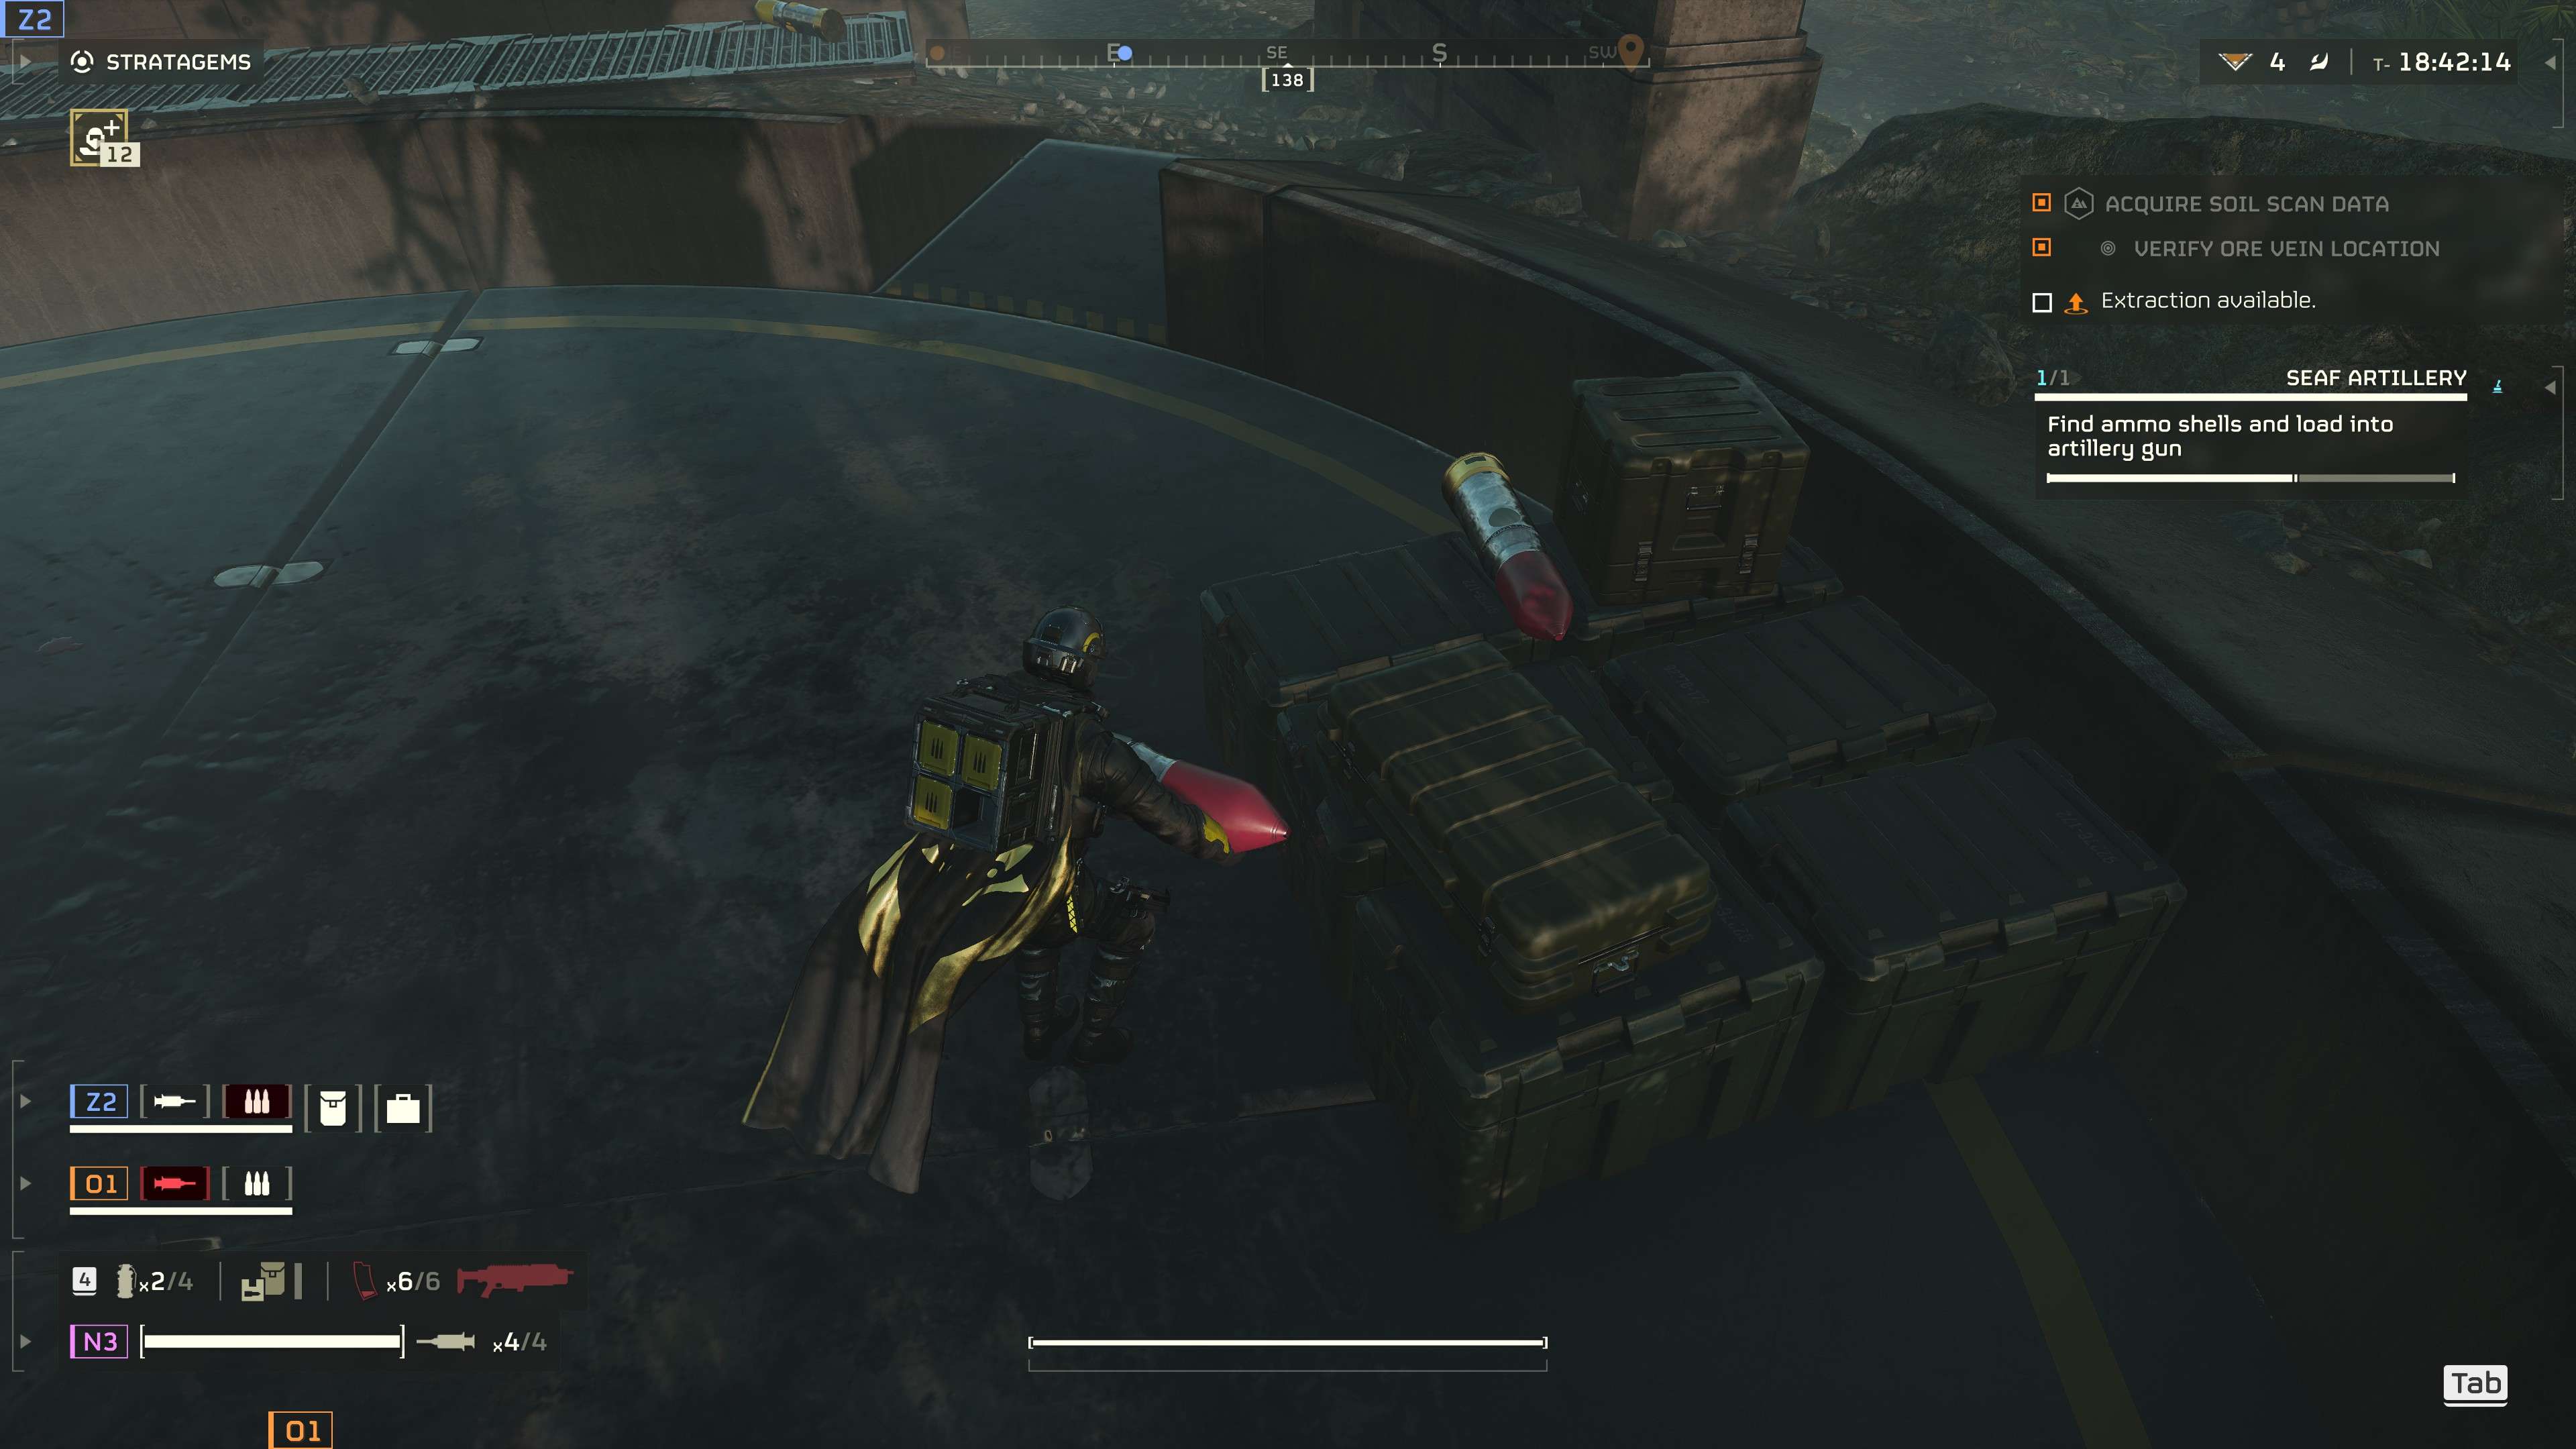
Do Not do this!
How to get premium currency and badges for free!
You don’t need to spend a dime on this game to get badges or premium currency. They are freely available for the most liberty minded individual. All you need to do is look for a gold beam in the air.
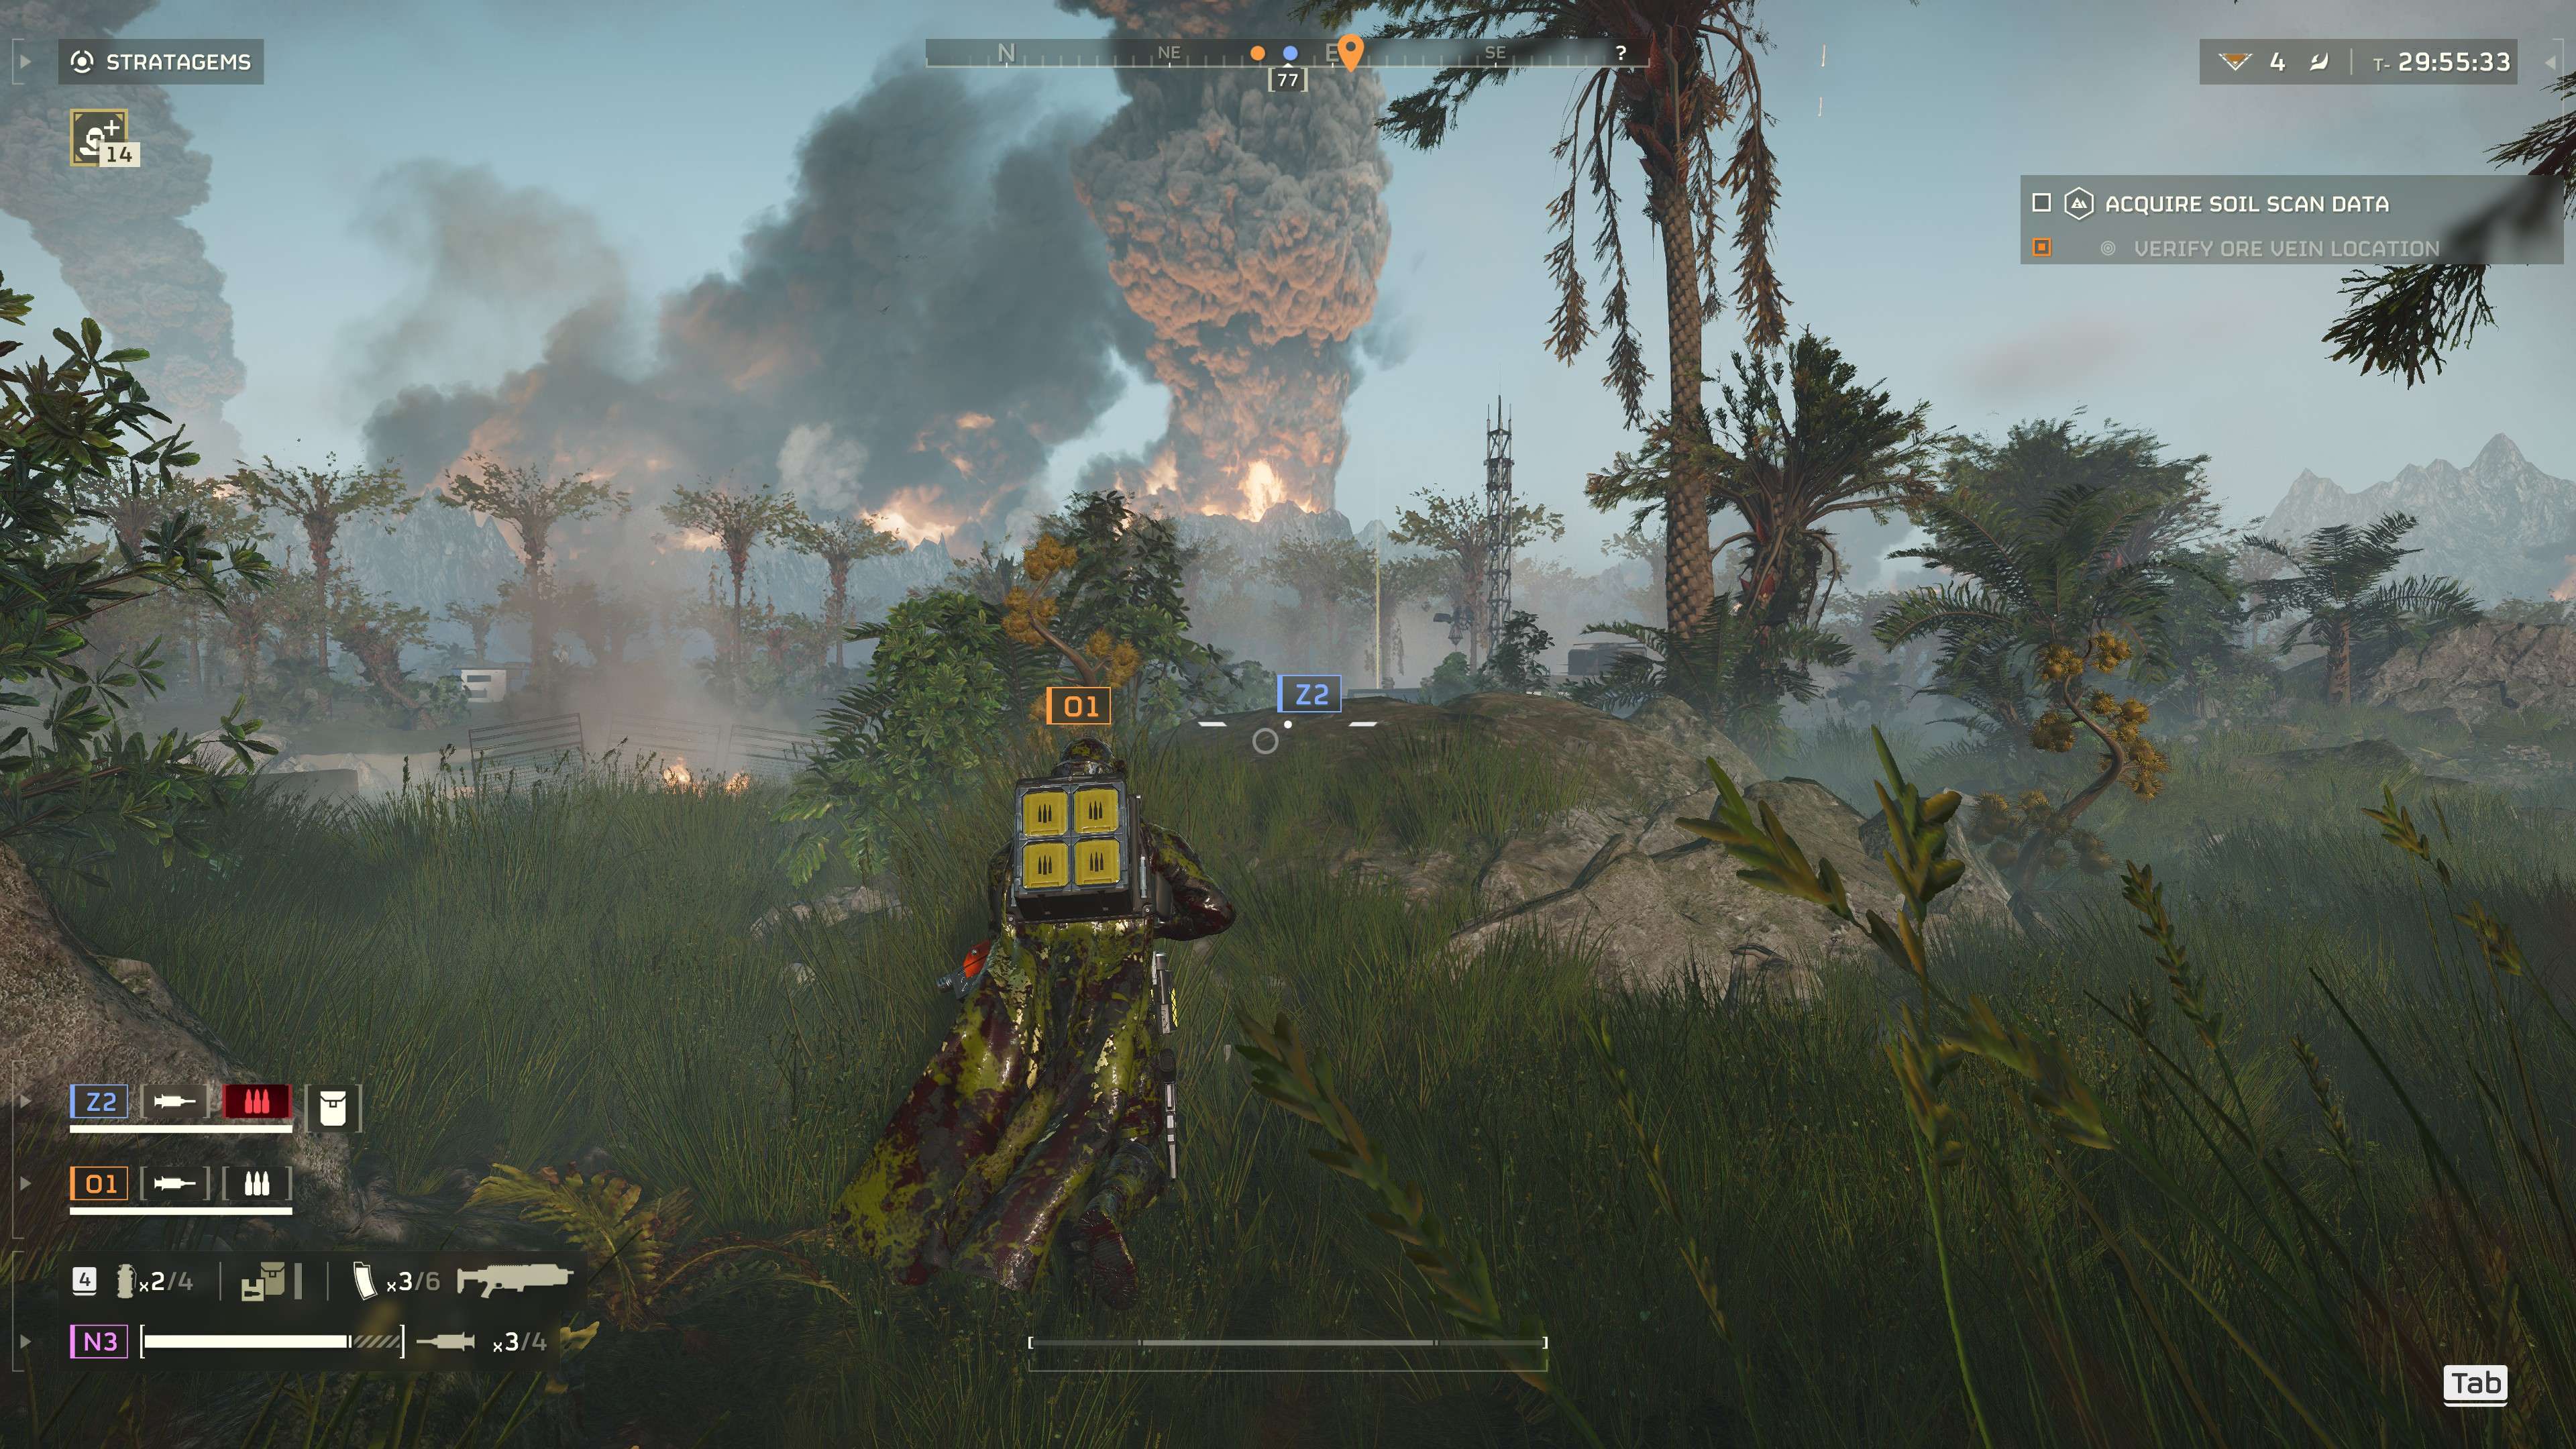
Once found you will find a larger container provided by super earth to make your killing sprees even more fun. They can contain anything from badges, premium currency, special weapons etc.
Clear those nests!
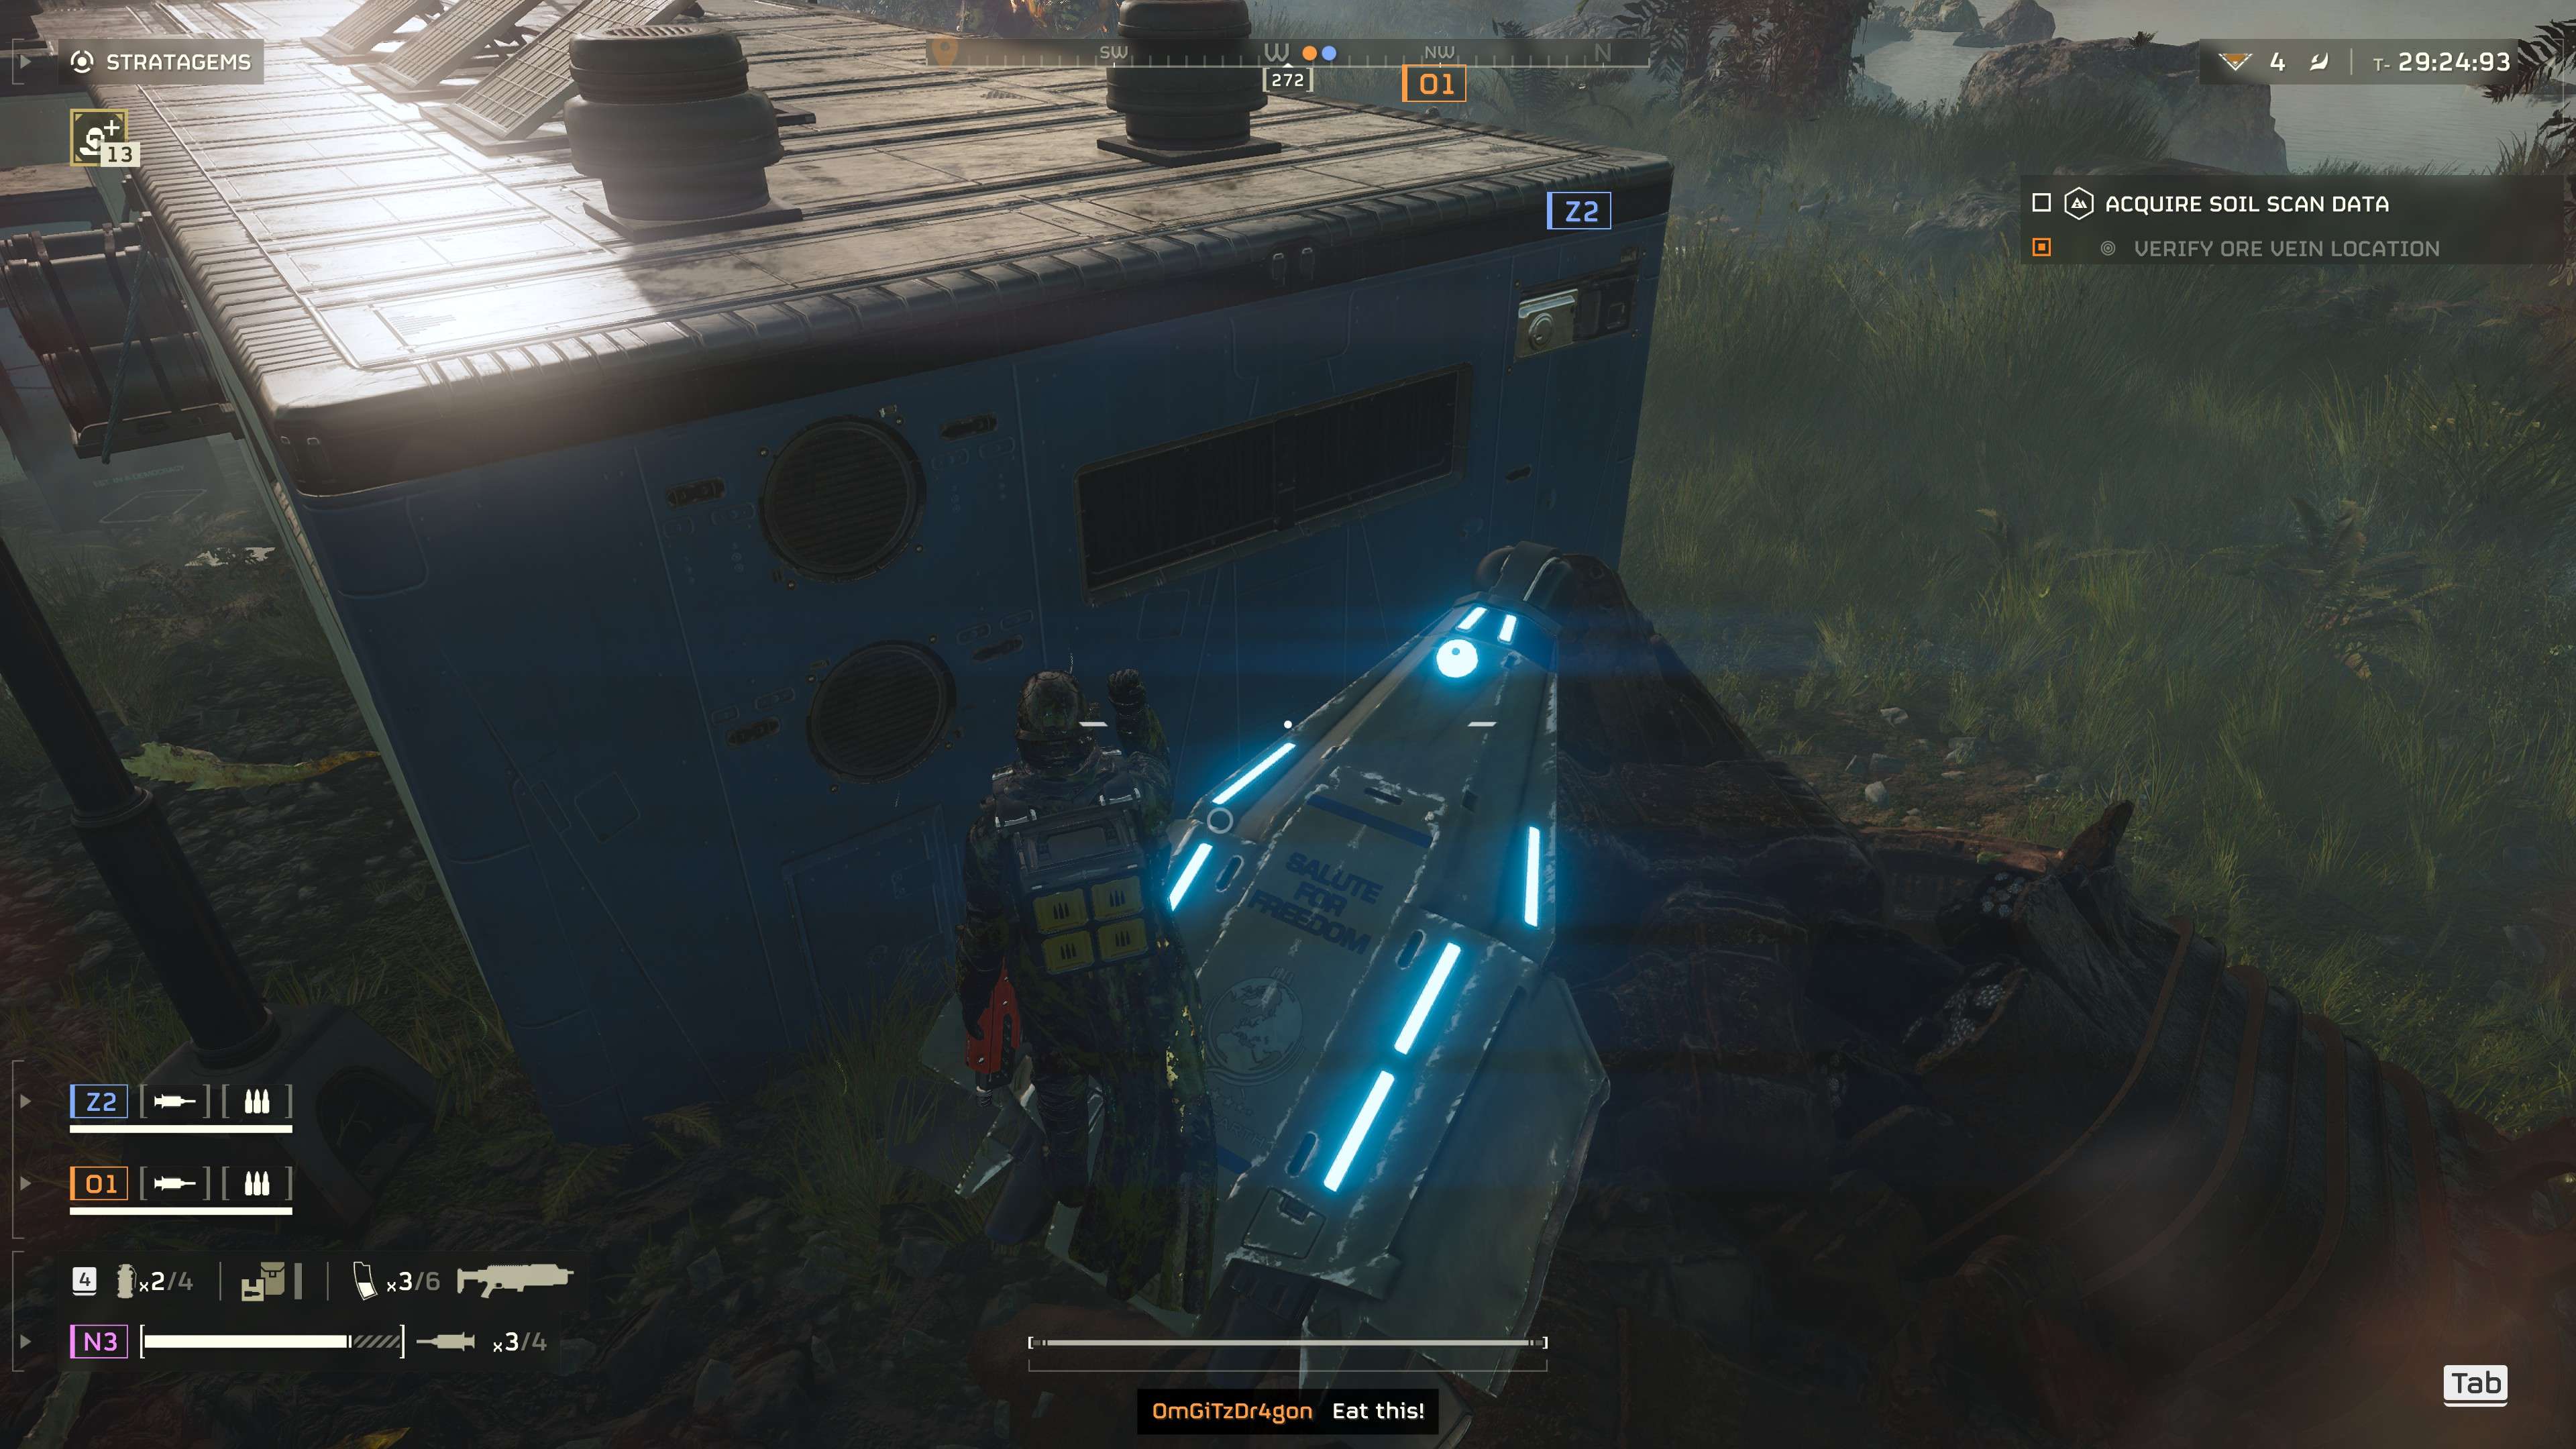
Any nest near your objective is an enemy to your object. The moment you start doing anything that could possibly summon a hoard, those nests will start spawning stuff until destroyed.
So always clear nests and always do it before you start a nearby objective. I’ve had a team wipe 6 times due to a large stalker nest near an objective. Kill them hard!
Should I kill it? Probably not!
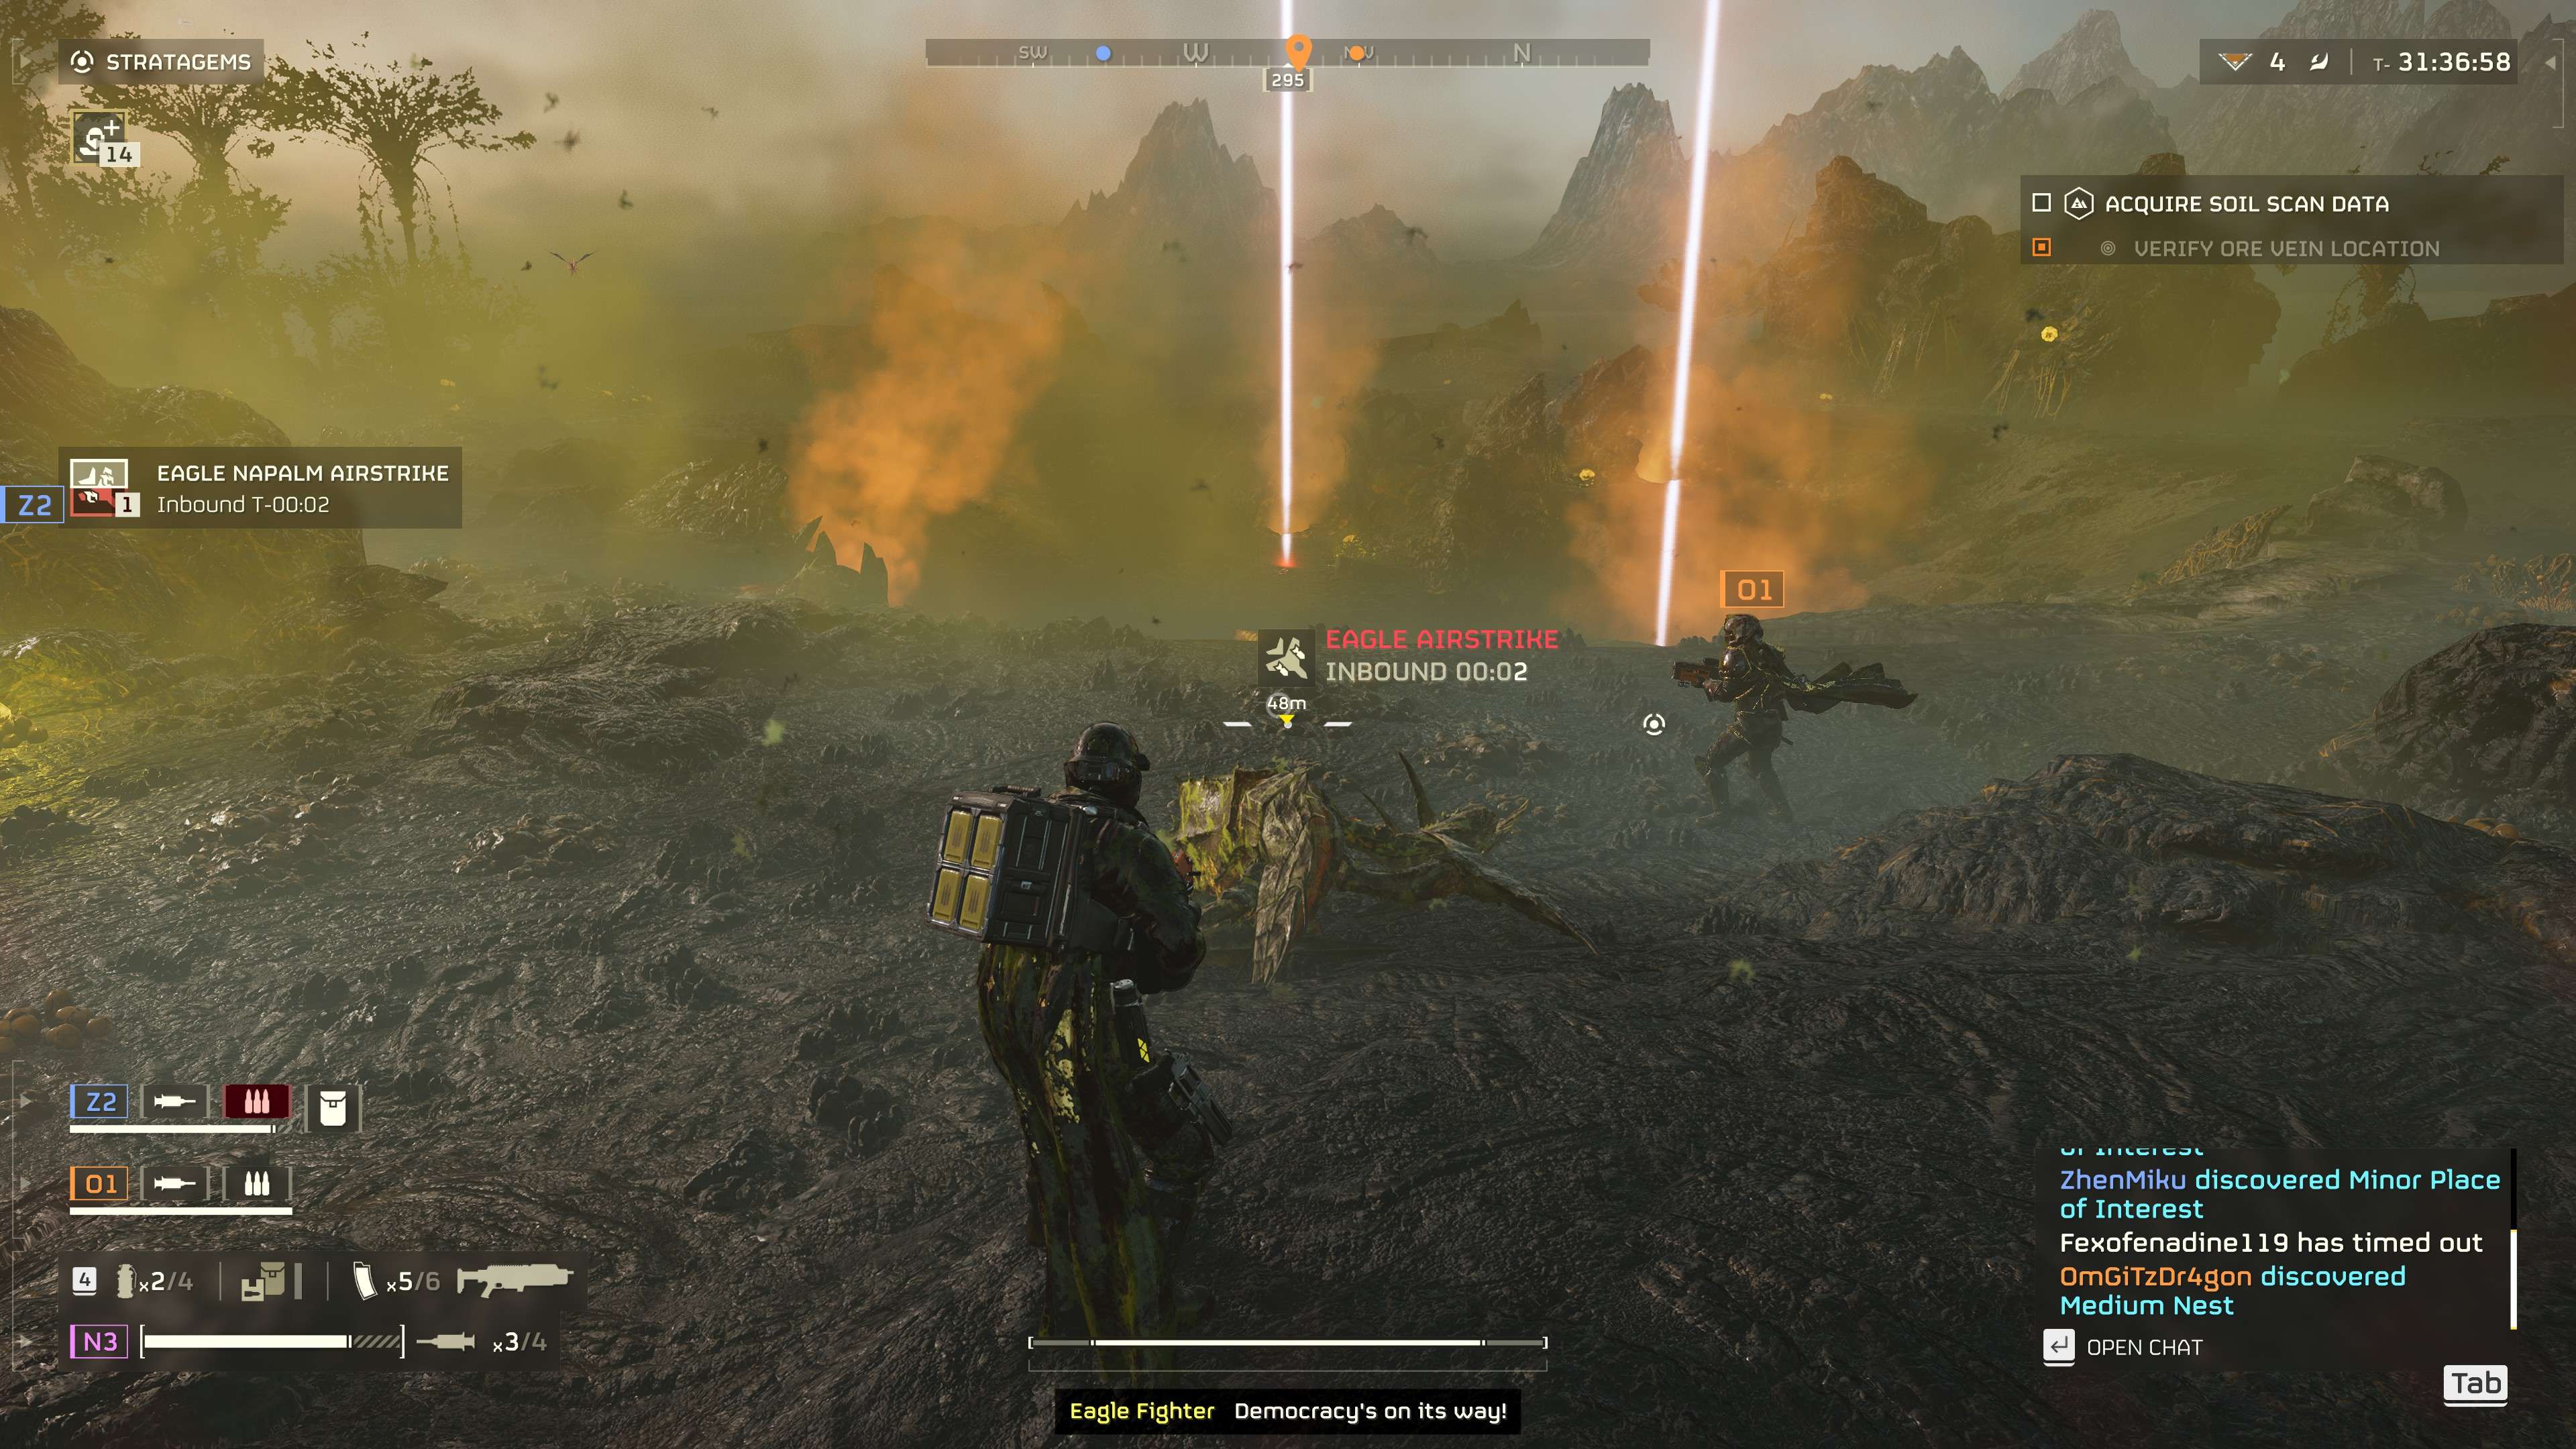
I cannot stress this enough. If a patrol is near you and the battle music is not playing, you can skip the fight. The higher the level the more important this becomes as fights drain time and equipment. If you really want to get by without fights, equip a stealth suit and crouch.
You can get close enough to tell a bugs religion without ever agroing the bug. Don’t be that one person on a team of four who is dragging stuff to the team every time that could’ve been avoided.
How to identify where to leave
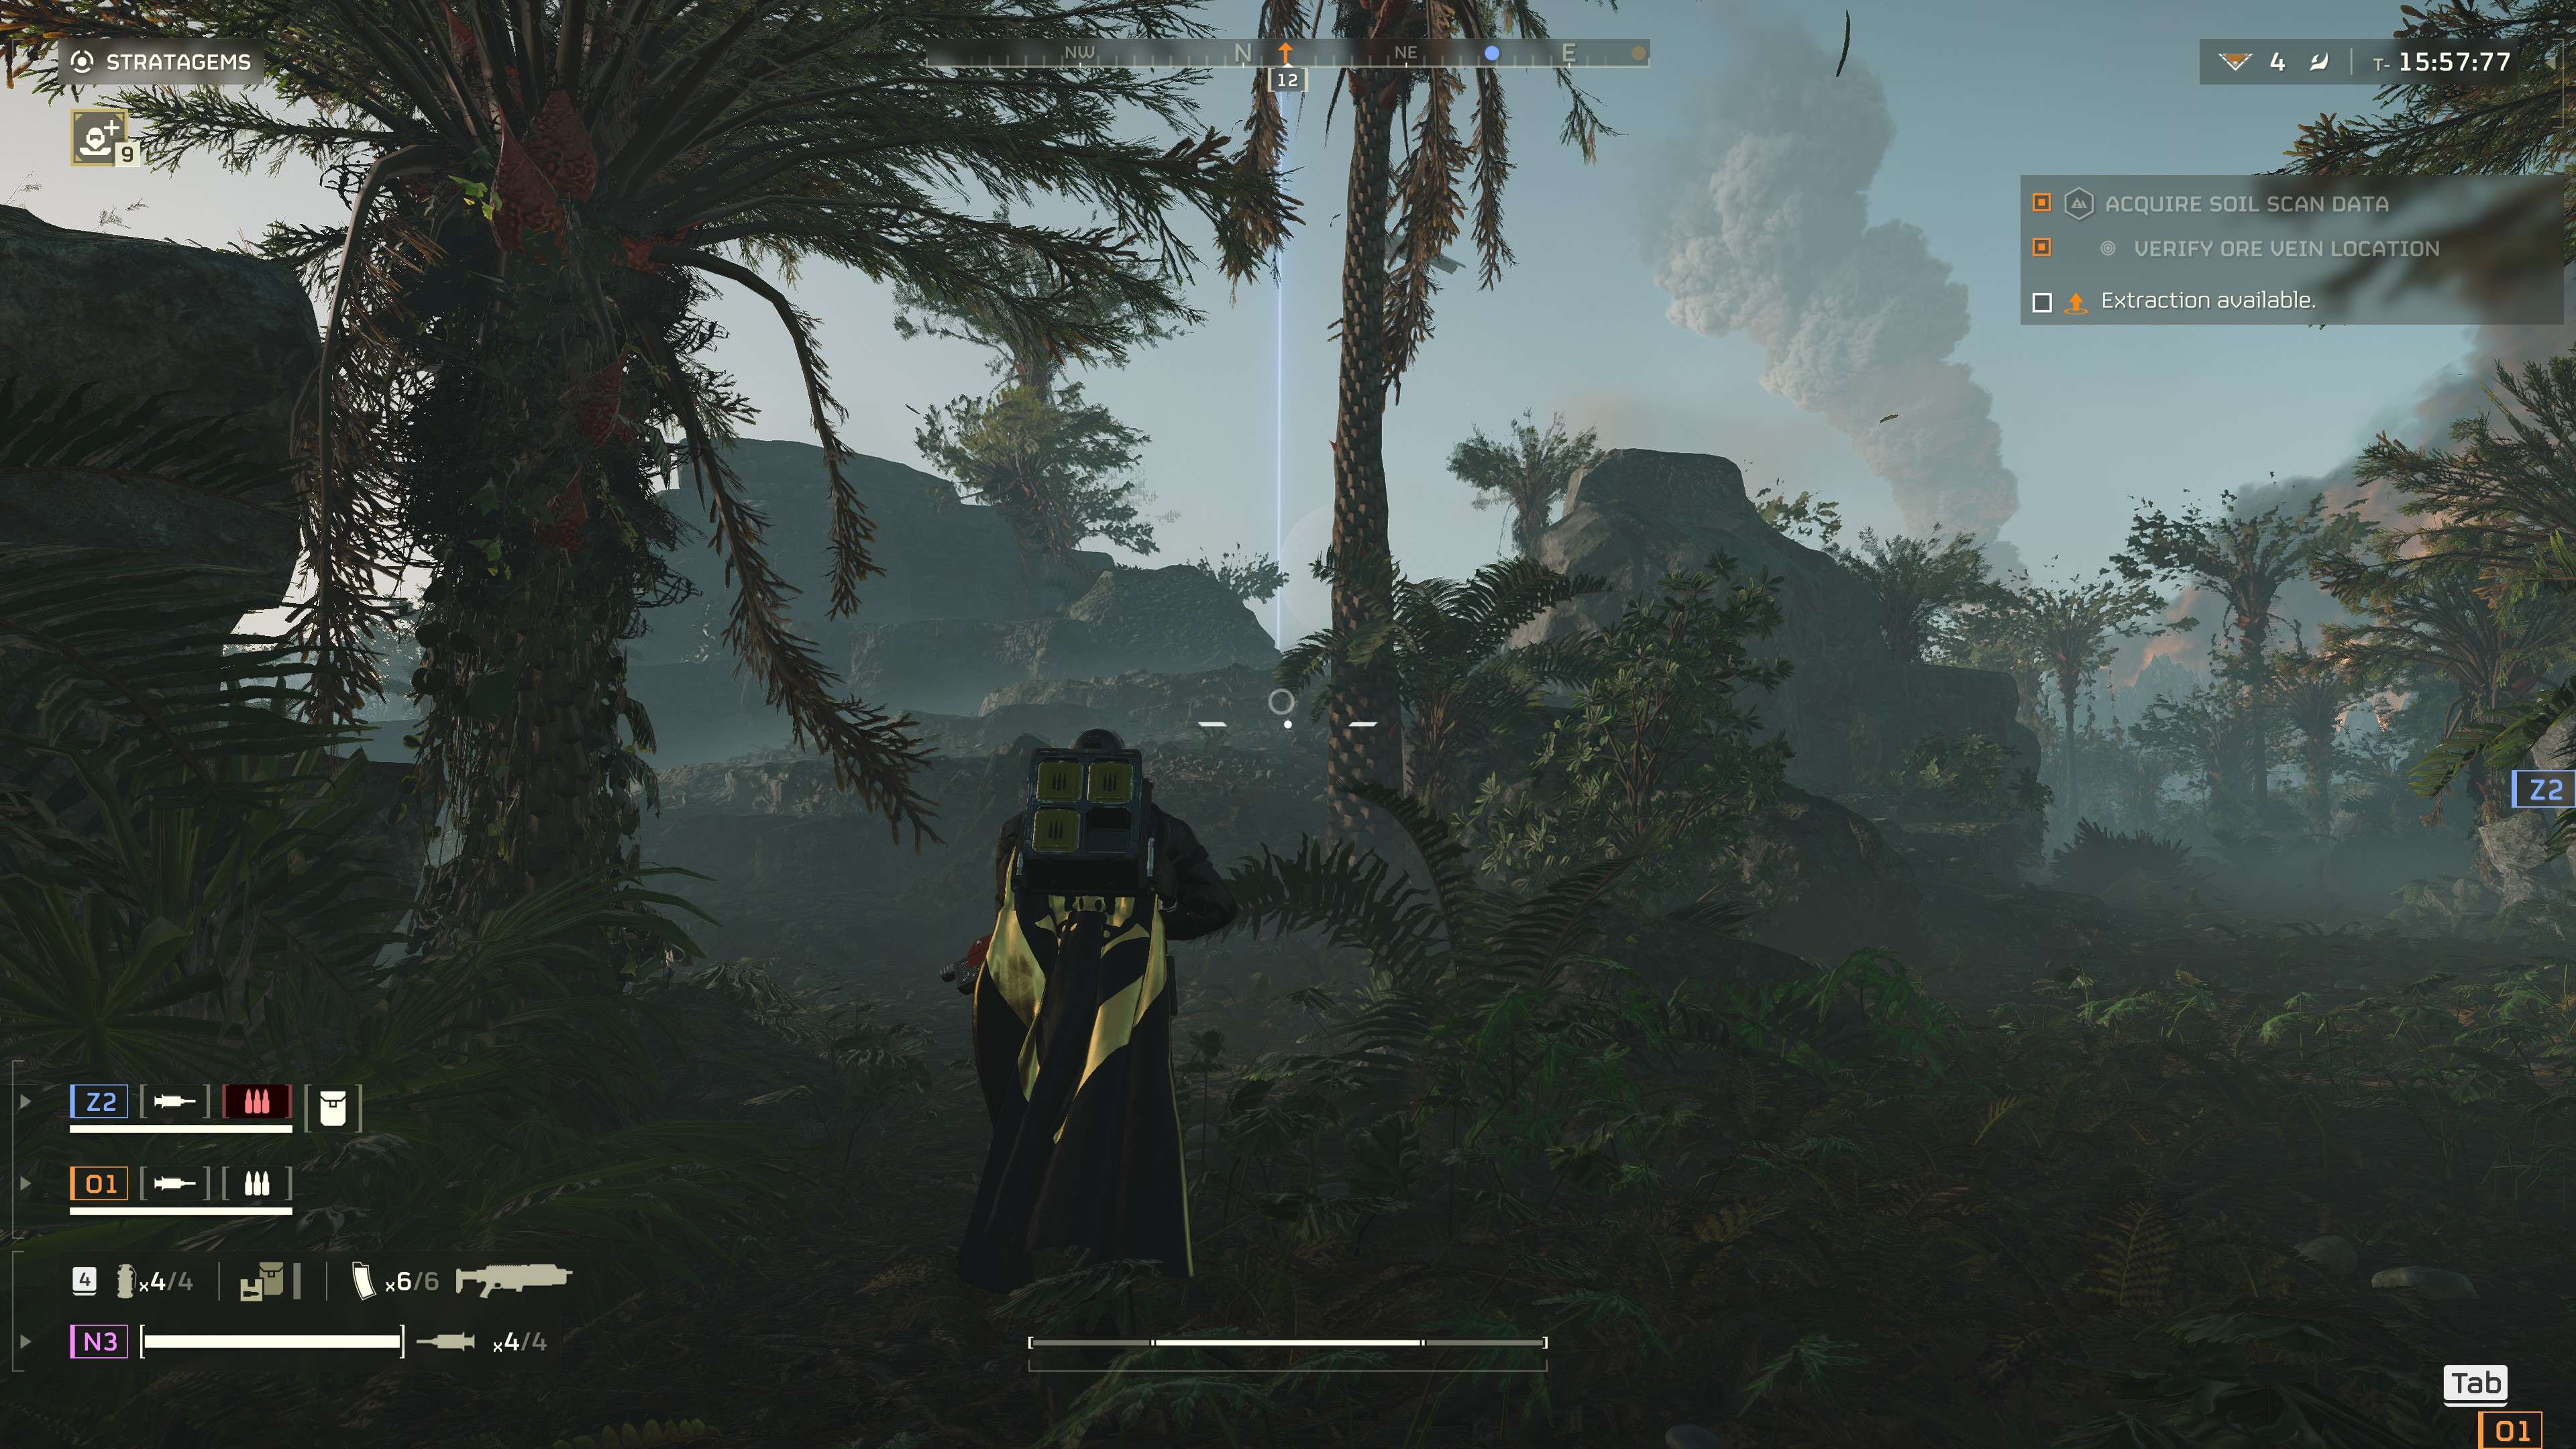
You lose samples and xp for every member lost at the end of the game. Don’t be a victim and look for that blue light in the sky for where escape to.
Personal opinions
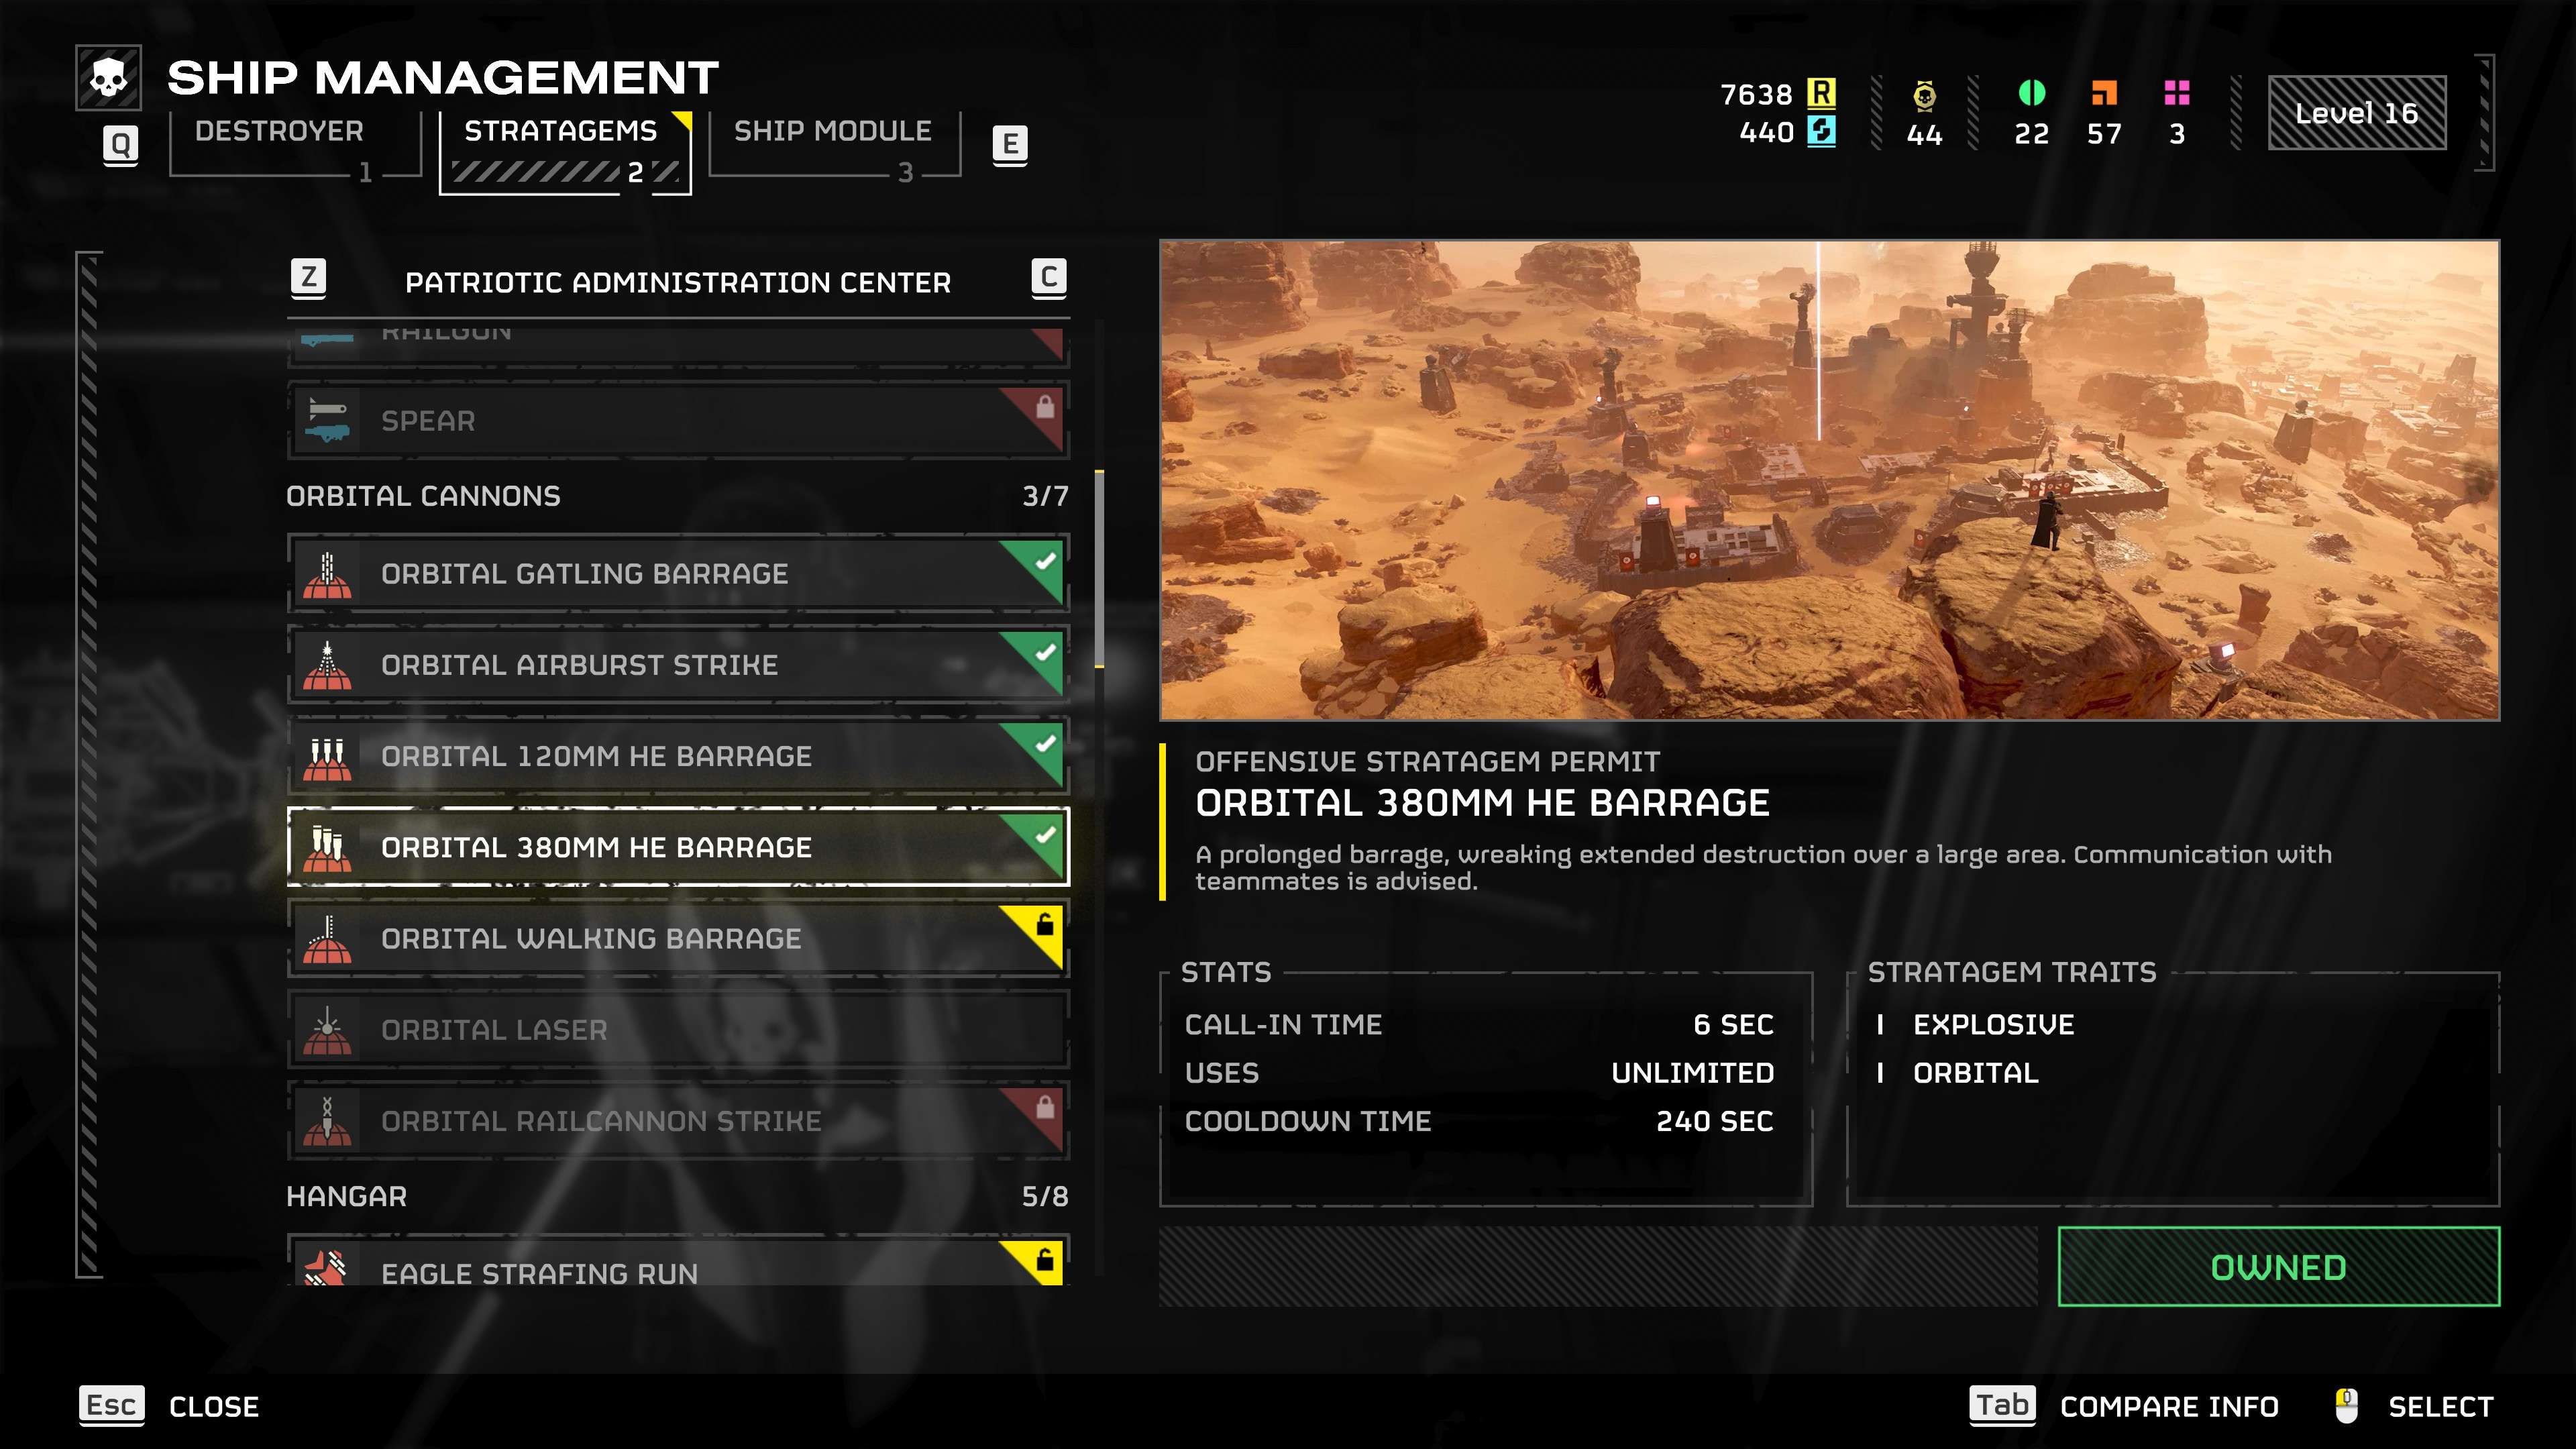
I’m saving this for last as everyone is going to have an opinion. If I see you equip the large aoe rounds, 120 and 380 rounds, I will kick you. I’m sure there are people who know how to not kill their teammates with them, but I’ve only ever encountered two people who didn’t destroy the entire team with them.
Their large area’s are simply not worth the low and delayed damage they do. I’ve tried them out and each time found it difficult not to kill my teammates, it’s just not worth it.
Drop your samples on the extract
You can drop you support weapon, backpack and samples (and something else I don’t remember right now) by holding “X” on PC or long press “D-Pad Down” on console.
If you ever while on the map happen to come across the extract, just drop your samples there.
If you now die somewhere else and are overrun by hordes, you won’t have to try to get them and potentially die in the process, because they are safe and sound at the extract.
Especially Suicide Mission+ it makes sense to drop the samples even while waiting for the shuttle, as you usually will have to kite around the extraction point and might die in a stupid spot, making the samples impossible to get.
TLDR: Drop samples in the middle of the extract and collect them just before entering the shuttle.





But for those of us just getting started, could you please list the weapons, armor, and strategies that should be invested in first, along with the order in which they should be done so? For instance, I’m considering focusing my funds on purchasing a recoilless rifle rather than the more expensive one-shot AT. However, perhaps I should make use of my resources to go to a better primary?
Since building up both will initially be too costly, I assume it makes sense to focus early in the game on optimizing against Automatons or Terminids.
Regarding boosters, I suggest using this list, which goes from highest to lowest priority, to combat bots. Confusion about Localization > Hellpod Space Optimization > Vitality Boosting > Strengthening or Increasing Stamina > Flexible or More Reinforcement Spending plan. Of course, it all depends on personal taste, but in my opinion, the first two are essential, and Vitality is excellent against bots.
To combat bugs, swap Vitality and Stamina; the rest is essentially the same.
In actuality, the AMR is very effective against bots—IF you have the goal of supporting it. A Hulk only needs two shots to go up in smoke if its faceplate is hit, three to four shots to take out a gunship’s engine, and one clean headshot (or body shot for troopers) to take out any other humanoid bot. It should be noted that Berserkers, regardless of headshots or weakpoint shots, take about three shots to down, Tanks and Hulks require about five shots to kill their vents, and Striders are typically knocked out or killed in two to three shots. Additionally, the Strider’s base, which connects the legs, has only medium armor instead of the faceplate’s heavy armor. This is a helpful detail, particularly for other weapons.
The sights on the AMR are misaligned low and to the right, which is the BIGGEST thing to know when using it. You can use the upper left corner of the scope box as your “crosshair” up to about 75–100 meters out; beyond that, you’ll need to hold even harder to the right and down. It’s not too bad once you get the hang of it.
Contrary to Terminids The EMS strike is my favorite and a must-have. Able to stop almost one bug breach every fifteen minutes or so. Even though you still have to kill them, someone is almost always willing to launch an eagle air strike.
It can also be used as a wall, to lock down a choke point, and to immobilize bot drops, among other extremely helpful uses. Minimal cooldown, extremely quick deployment, brief initiation, and no incidents of friendly fire.
The EAT is far superior than most people realize. Three shots are required for each call-down because the hellpod deals damage and the lightbulb you toss sticks to opponents. Usually, one is sufficient to seriously harm a charger but not enough to destroy it. Therefore, all you need to do is use the calldown to eliminate one charger, and use the two launchers to deal with its friends.
Add the Orbital Railcannon since its damage is much more consistent than that of the 500kg… Not evident, but others will have to explain that. Therefore, it might be better to divide the tiers into team setups, specify which to use if someone else brought the other, and state whether the primary or stratagem is better rated or more effective against bugs or bots.
Slugger main + Uzi secondary + impact = overall effective
The 500 kg bomb is incredibly overrated; it has an ill-advised, surprisingly small hitbox, making it useless for clearing bases or swarms. Use the Eagle Rocket Pods or Orbital Railcannon for far more dependable single-target damage.
While anti-material is not a weapon, it is more effective against automatons than R-63.
In extraction missions, emp mortair is a great ally as it slows down the enemy and prevents them from killing me.
Is there a reason why playing the game alone is nearly impossible? It’s as extreme as I can make it (since I don’t have the ship modules outfitted), but when there are other players, it’s either an easy task or a suicide mission.
Indeed, the number of enemies never changes; it always increases with the number of players.
No thoughts on spear?
It can be quite effective to aim for the weak points on hulks and tanks and get a headshot on titans. Bot factories can also be locked on to by it. The disadvantage is that, compared to the Railgun or Autocannon, the lock-on mechanism is currently a little erratic and less flexible. To use it effectively, one needs to have a certain longer range playing style.
Yes, I’m eager for more stratagems to come out. I just can’t seem to find a setup that works or that I enjoy. Constantly lacking something.
Is there a good suggestion for setting up the civilian extract mission?
There is a tried-and-true strategy, but it takes cooperation. The designated runner is one person who runs around pushing buttons; they never shoot or use strats unless it’s absolutely essential. The others remain in the periphery and create as much noise as they can around us. Dropships will go after the rowdy three and abandon the button presser so that they can continue. As long as the other three can hold their own and don’t get killed too much out there, you should have no trouble finishing this mission on Helldive difficulty.
Is it justified to aim for two eagle strats? Wouldn’t you want an orbital strat if the rearm time was too great? Or is this really not a problem >15
If my memory serves me correctly, equipping two eagles takes about two minutes for the rearm. Planetary modifiers may cause this to increase (so occasionally it will be 3 min).
Undoubtedly, you can select an orbital and fly one eagle. In my opinion, the orbitals are not very interesting overall. The orbital laser is a useful tool, but you can’t spam it because you only get three (?) uses per match. It’s up to you to decide what suits your play style the best.
Since there is currently no armor rating, light armor always performs better because of the speed bonus. But since bots adore explosions, I do advise using the fortified passive in conjunction with armor against them.
Regular team kills equals mortar sentry. Small/fast grunts from both factions will eventually reach your friends, causing Mortar Sentry to target-kill them.
A better combination would be grenade launcher plus disposable anti-tank along with a drone backpack for bugs or an ammunition backpack for bots.
The shield backpack is an additional option for survival; the final slot can be either Eagle or Orbital, depending on your preference.
Can you use an autocannon to destroy bot spawn dens? It just appears to make the rounds bounce.
When you aim for the bottom of the Fabricator’s vents, Autocannon will function.
I have been using the Defender SMG, and it works well against both bots and bugs. Defo a top choice for people seeking greater strength and mobility.
How about the Eagle for cluster bombs? It’s the best one available, hands down.
Although they have four charges and are fairly effective, cluster bombs cannot destroy structures. I use the airstrikes to take out more difficult targets, enemies, and nests.
This is a very nice guide that really helped me transition from level 10 and beyond. However, I would like to suggest that, based on my own experience speed-running myself up to Suicide Mission difficulty (7), the following setup gave me the best experience in terms of solo-ranbo-carrying myself until I reached level 10 and unlocked the Rover: Supply Pack, EAT, and then 2 whatever Eagle/Orbital you can afford. Supply pack is the first back-slot equipment that you can unlock, and can be used for grenade spam, heal spam, or simply loading more ammunition into your terrible primary weapon before you can unlock Breaker. These four extra supplies are essential for soloing all primary objectives while your team is running around like a headless chicken and wasting resupply pointlessly.
Would these work well for carrying as well? frequently paired with indecisive individuals who strive to be multitaskers
Yes, the guide is intended to be used as a carrying tool for matchmakers in random games. I use the Eagle 500KG, Eagle Airstrike, Mortar Sentry, and Autocannon against the terminids. Using the airstrike and autcannon, I eliminate targets, spawn nests, and more formidable enemy groups. I also use the Eagle 500KG for more difficult or large targets. You are capable of carrying this through on your own and clearing goals on your own.
I use Railgun, Mortar, Eagle Airstrike, and Eagle 500GK against the Automatons.
When your team doesn’t want to perform a team reload or you don’t have enough time to reload a rifle, EATs excel in helldives. Additionally, it frees up your backpack slot to use a Rover to ward off bugs. This is probably one of the best strategies because it will clear the trash mobs—the ones who can catch up to you the fastest—and it essentially never overheats.
Additionally, EATs have a very short call down period, which is beneficial because, should you die in a helldive with a recoilless, it could be very difficult to recover and you would be stuck with cooldowns. Two shots may not seem like much, but they eliminate two chargers (shoot a leg to remove armor, then shoot the leg again to make it die extremely quickly).
Another excellent option that doesn’t require a backpack is Railgun. To fully charge it, make sure you’re in unsafe mode (hold R to open weapon fire modes).
At high difficulties, AT becomes a major limiting factor because you can’t finish any objectives unless you defeat titans and tanks.
>Tip: It takes 5 head-shots on a Charger to kill it.
You can charge two railgun shots into its legs, and the armor will break, making it easy to shoot it with anything else. It’ll die to a Breaker mag.
Bringing the Guard Dog “Rover” is one of the best ways to equip yourself when fighting bugs. It has a very remarkable capacity to both quickly rack up kills and conserve ammunition. The only drawback is that it requires a backpack, so you can’t wear the ammunition backpack in addition to a recoilless or autocannon. I wear the ammo backpack, my teammate brings the recoilless/autocannon, and I bring the rover for him to wear. That’s how I do it.
Additionally, in my experience, sentry strategies are generally more effective because they result in a far higher number of kills than airstrikes or orbital strikes. In my opinion, the autocannon sentry outperforms the rocket sentry since it can remove a charger much faster. However, it turns more slowly and is less effective against groups. The best weapons for getting a lot of kills in the early game are the machine gun and gatling sentries.
To be honest, the Breaker works really well for eliminating large groups of opponents at close to mid range.
I’d love to see some kind of secure crate at the extract where we can dump samples.
Or better yet, when vehicles come out, a Science Truck. Like a mobile command station with sample storage (that auto transfers in extraction), a powerful uav, ammo and a machine gun on top.