
In this little guide I’ll show you, how you can add more Cores to the Steam version of RetroArch. A lot of you are most likely already know this, but for the newcomers this will be useful.
Info About This Version of RetroArch
This version of RetroArch does not have an Online Core Updater, which means, you can’t download/update every Core. The Cores for this version are released as DLCs, this is most likely the reason why the Updater got disabled/removed.
Thankfully, you can easily “bypass” this problem. You only need to download the Cores from the official source, and copy it to a folder. However, and this is a big however, I’m not really tested every Core in the Steam version (maybe some of you did, then you can mention it on the comments down bellow), I only used PPSSPP and that’s it. So if some of the Cores that you want to use don’t work as intended, don’t blame me!
Downloading the Cores
Go to the Official buildbot RetroArch site, download the Cores and save it to somewhere. You will need a zip extractor like 7z!

Extracting the Zip File
Extract it to somewhere, like Desktop.
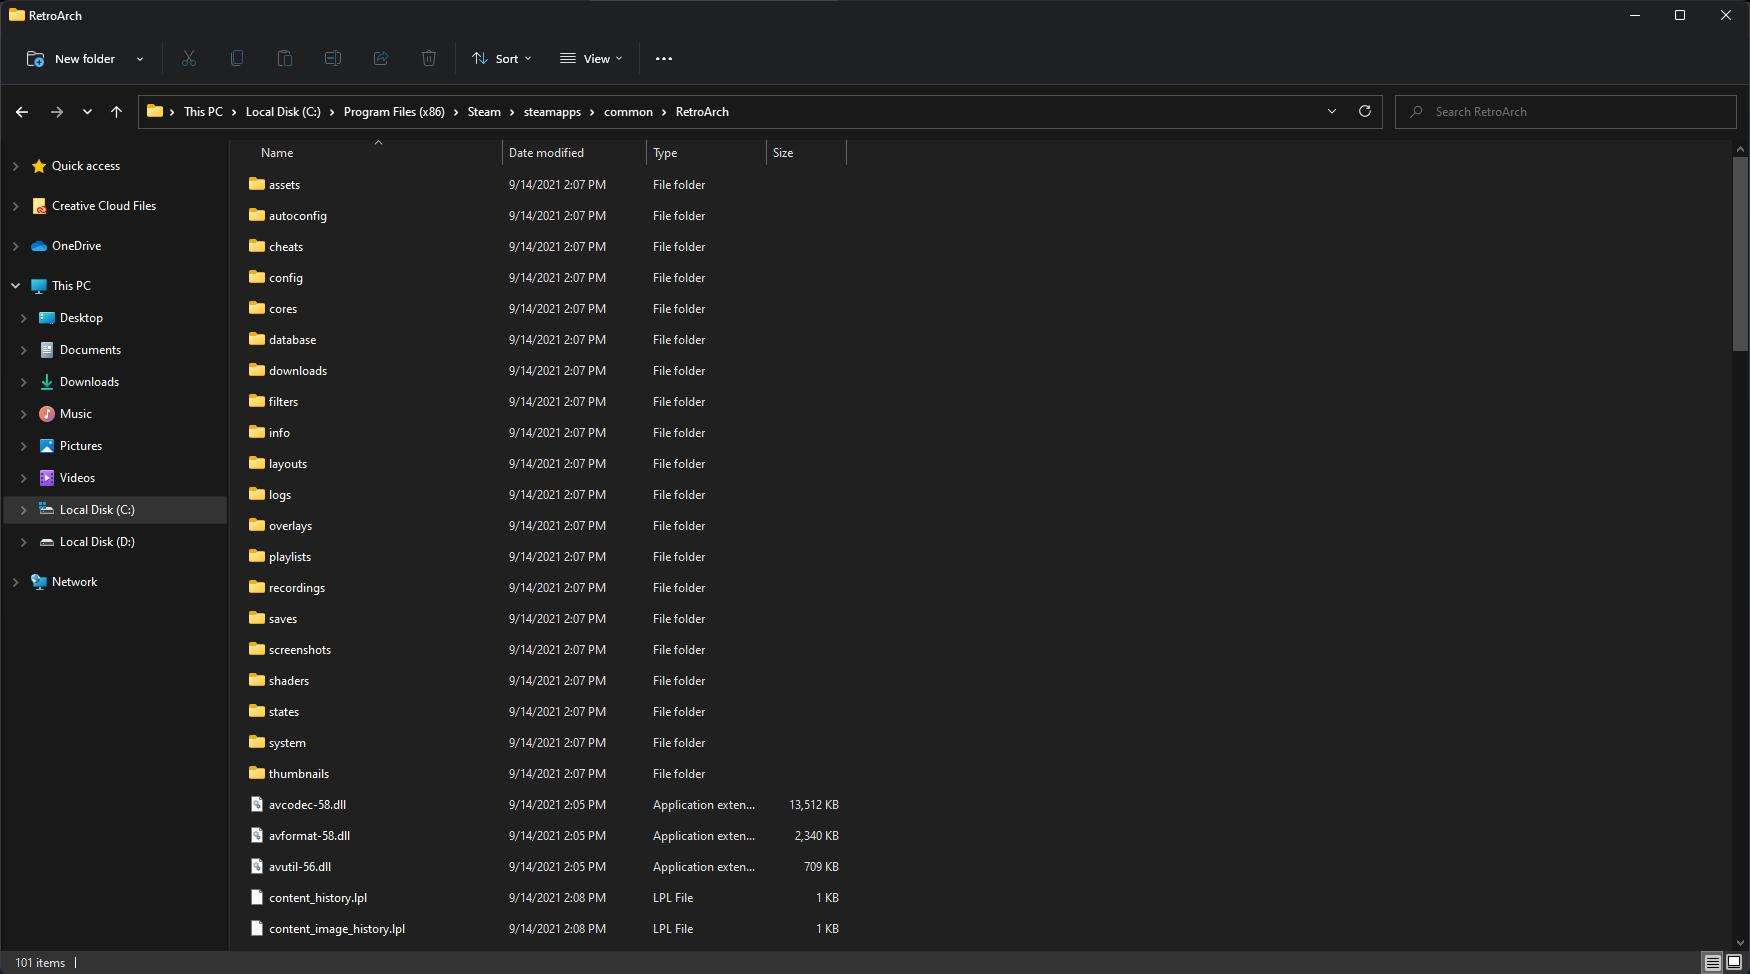
Finding Your Steam Installation Folder
Go to where your Steam installation folder is (mine is in the C: partition, C:\Program Files (x86)\Steam\steamapps\common\RetroArch) and find the folder called “RetroArch”.
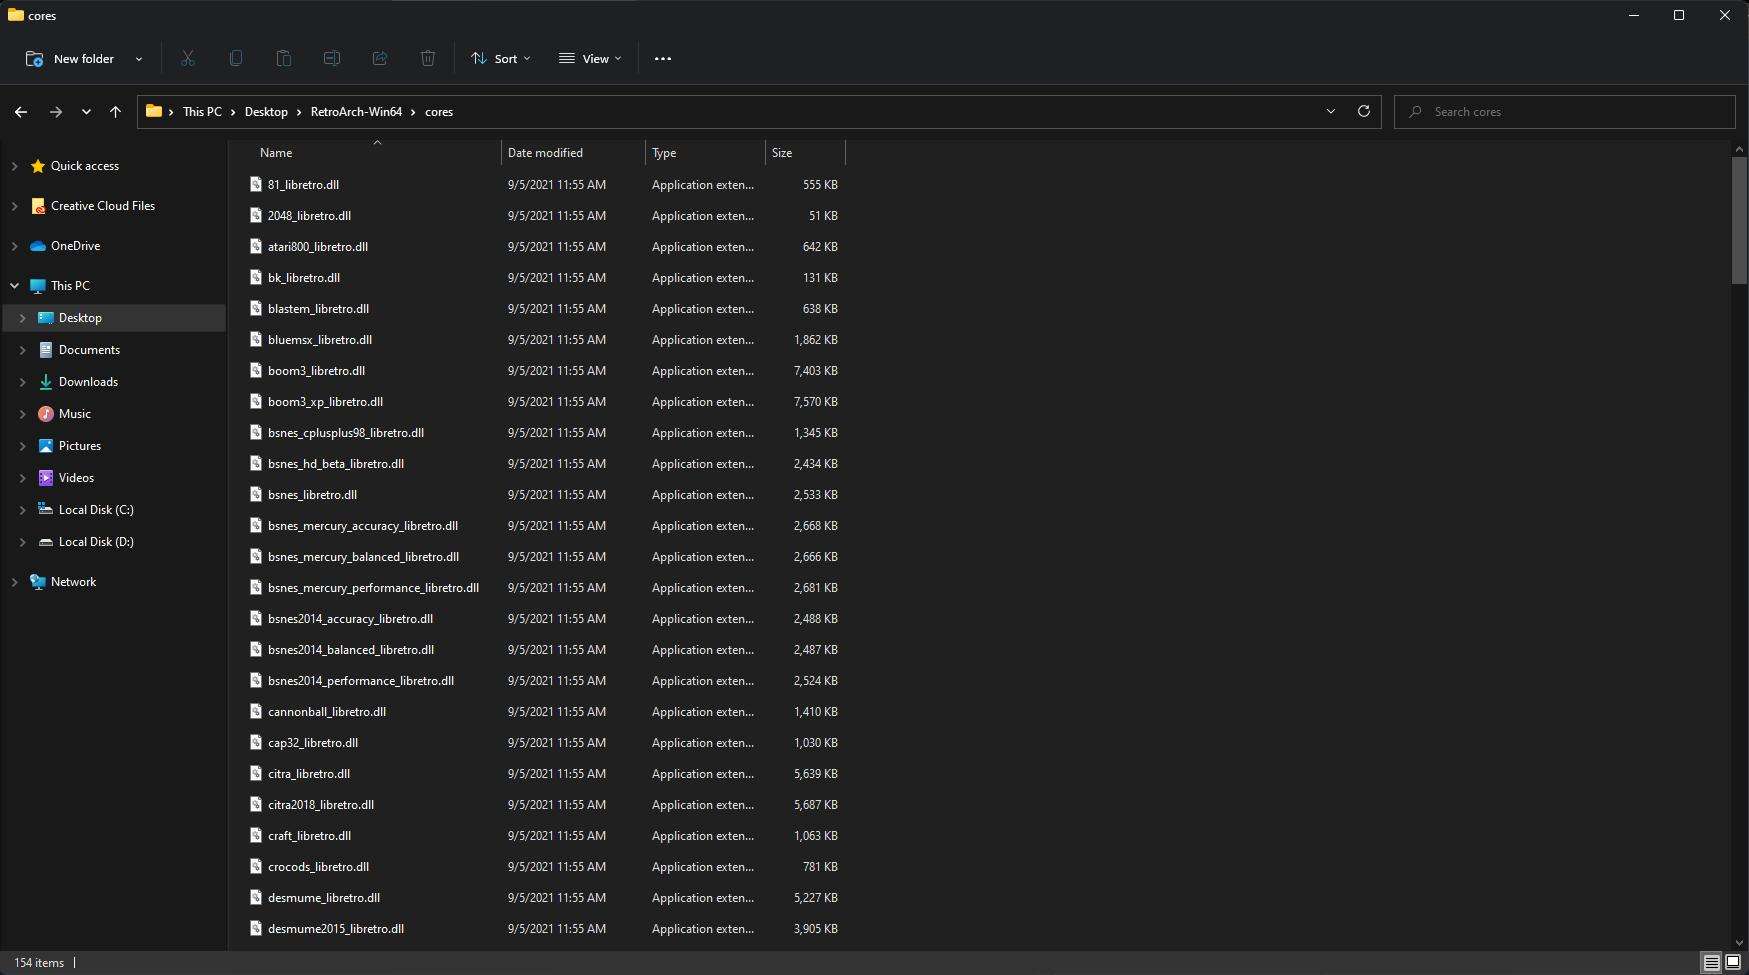
Choosing which Cores You Want to Use
Go back to the folder that you’ve previously extracted (RetroArch-Win64), and go to the cores folder. Choose which Cores you want to use and copy them.
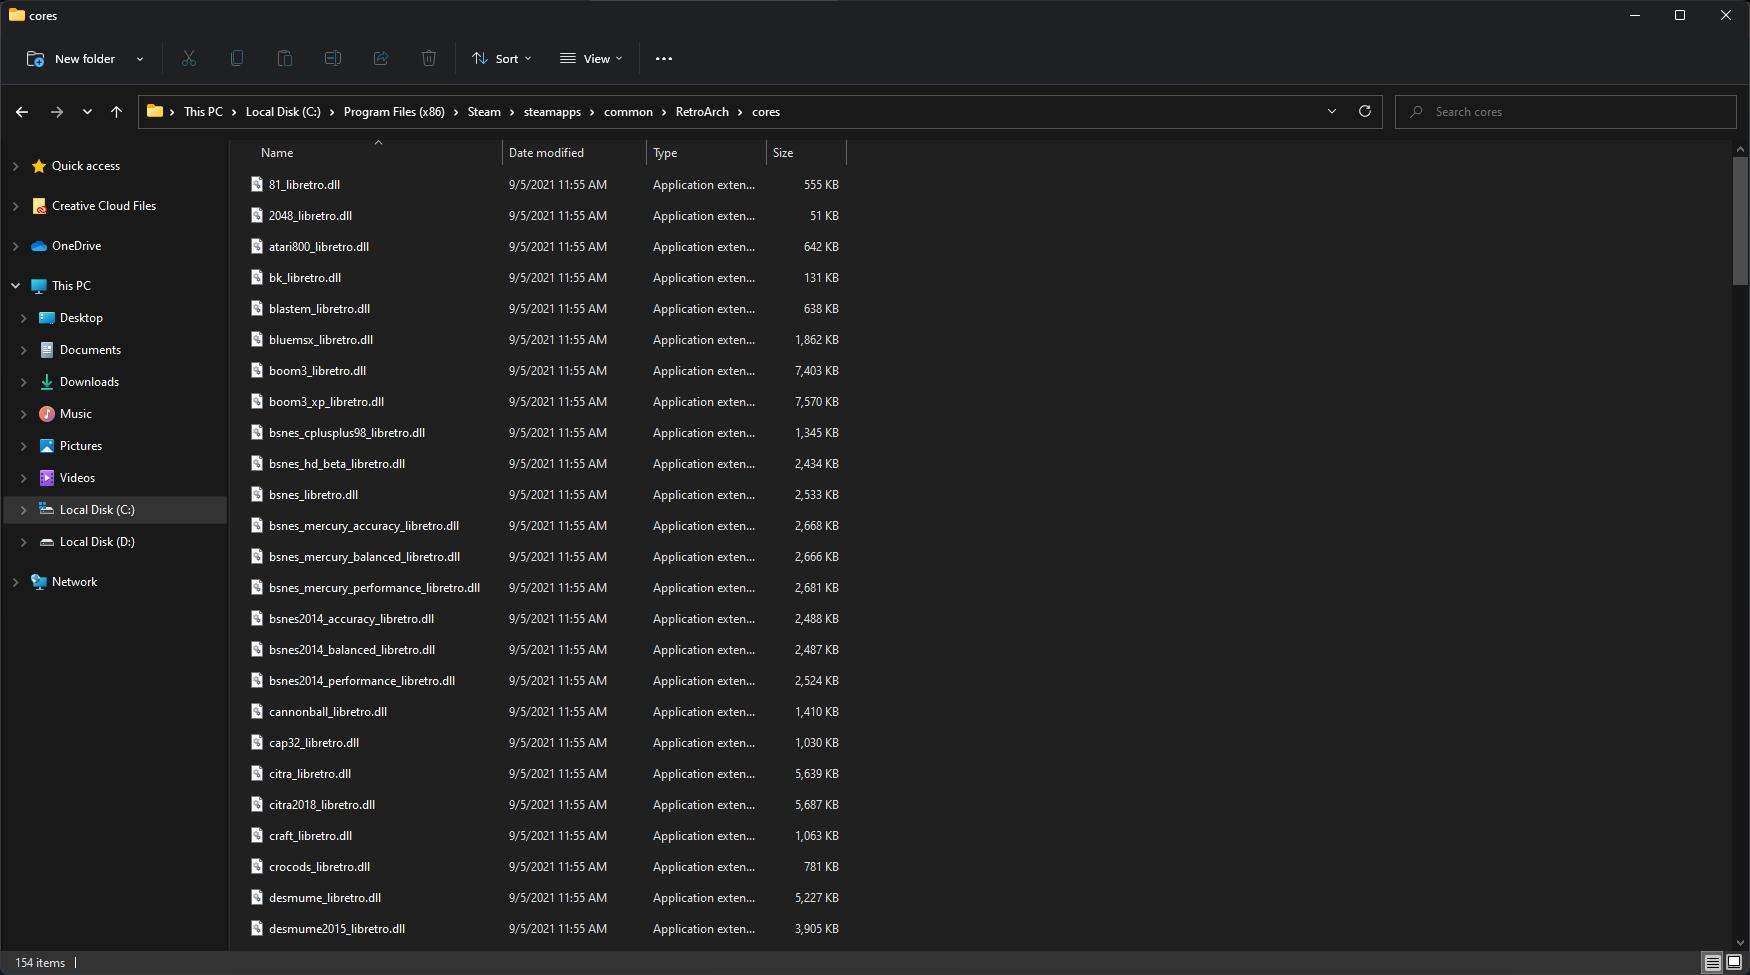
Final Step
Now that you choosed and copied the cores that you want to use, go back to where your RetroArch folder is, and copy the Cores to the “cores” folder!
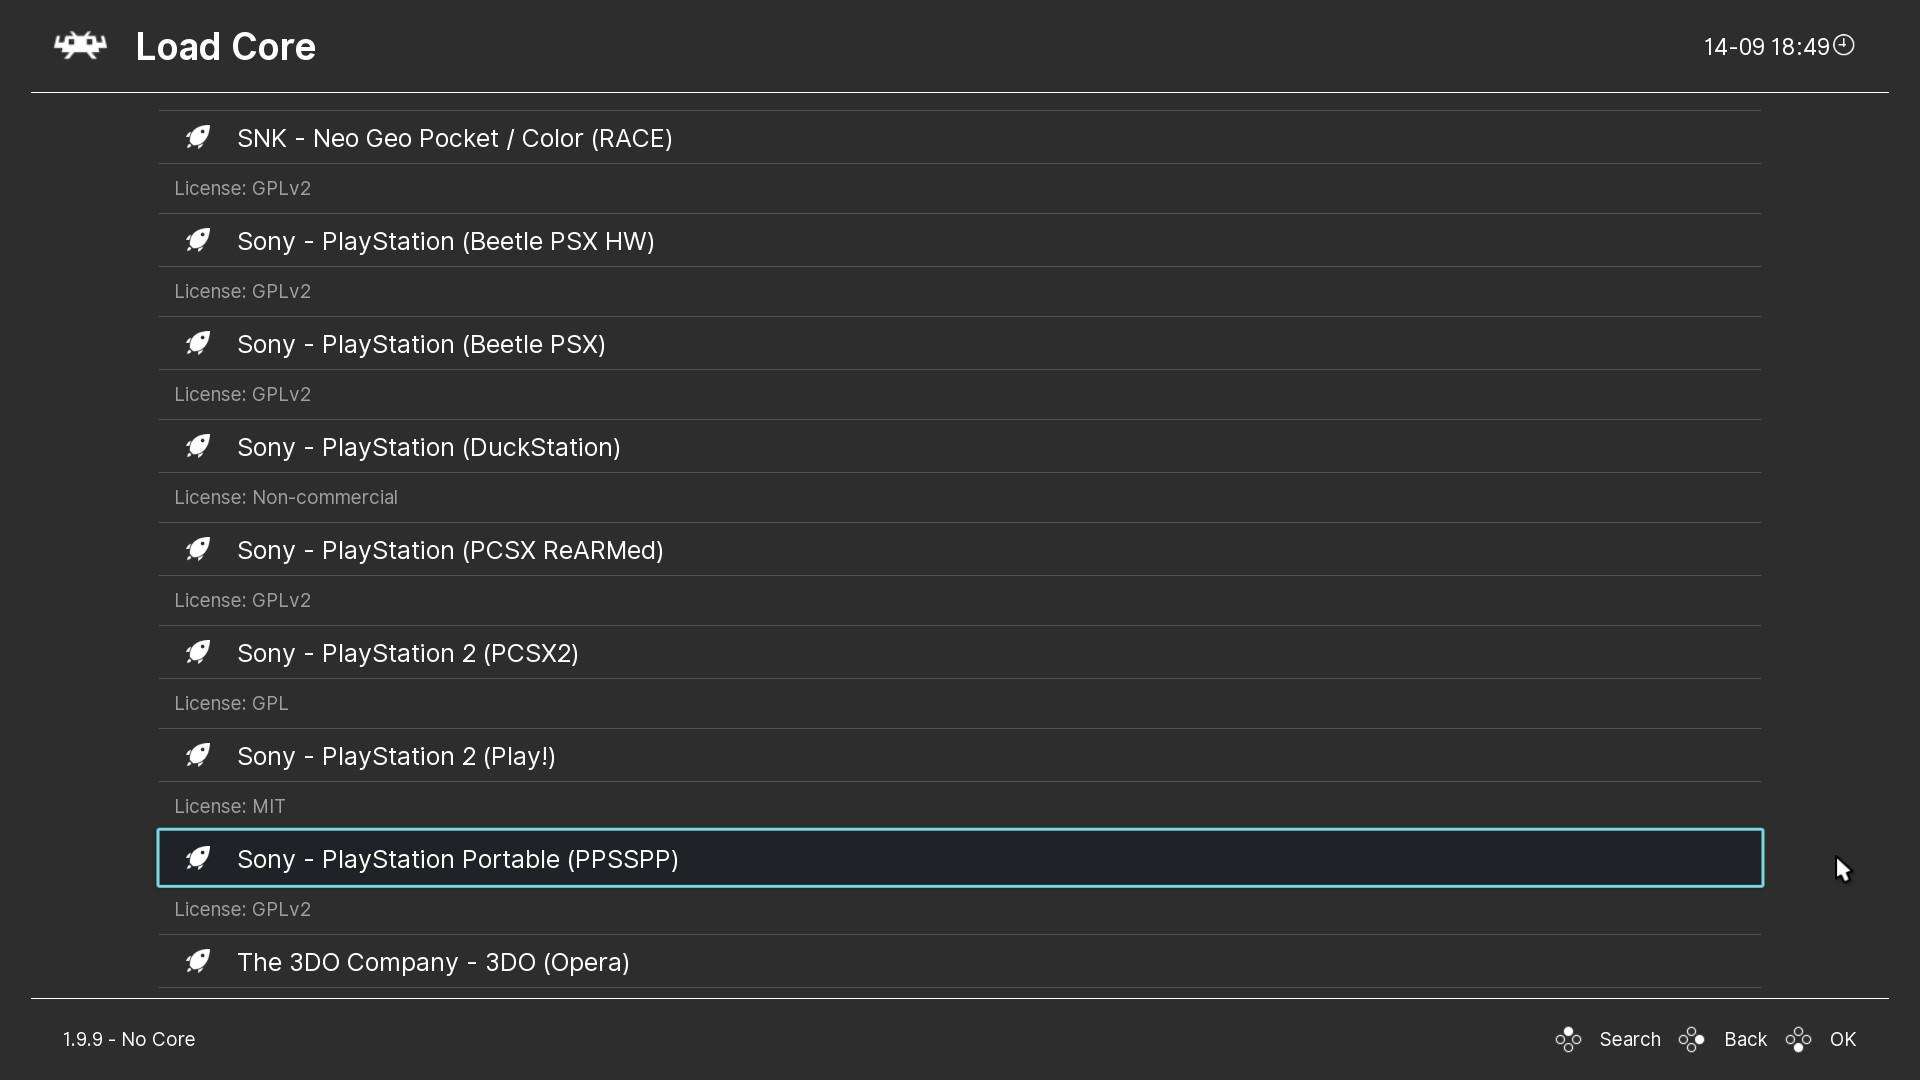
Congrats, You’re Done!
You’re done, now you have the Cores that the standalone version of RetroArch has!

Wrong file format. There cores are .dll. Retroarch uses .so. Thanks for nothing.
Retroarch Linux uses .so. Retroarch Windows (both versions are on Steam) uses .dll.