
Guide Contents
LASO Guide
Note: Credit goes to Dan
You will need to get all Skulls in another play-through first before you can do LASO!
If you have any experience with Halo LASO’s you will find this is actually one of the easier games. With the addition of the Tank Gun and unlimited ammo this is by far the easiest to complete. Arguably the hardest parts are actually just the first two missions and the odd boss. Just remember when you are going to start a new game to make sure you have difficulty set to legendary with all 12 skulls on. Otherwise the achievement won’t unlock once you finish the game. As an advisery I’d largely ignore all open world activities and just focus on the main missions. With that lets get into the first mission.
Warship Gbraakon
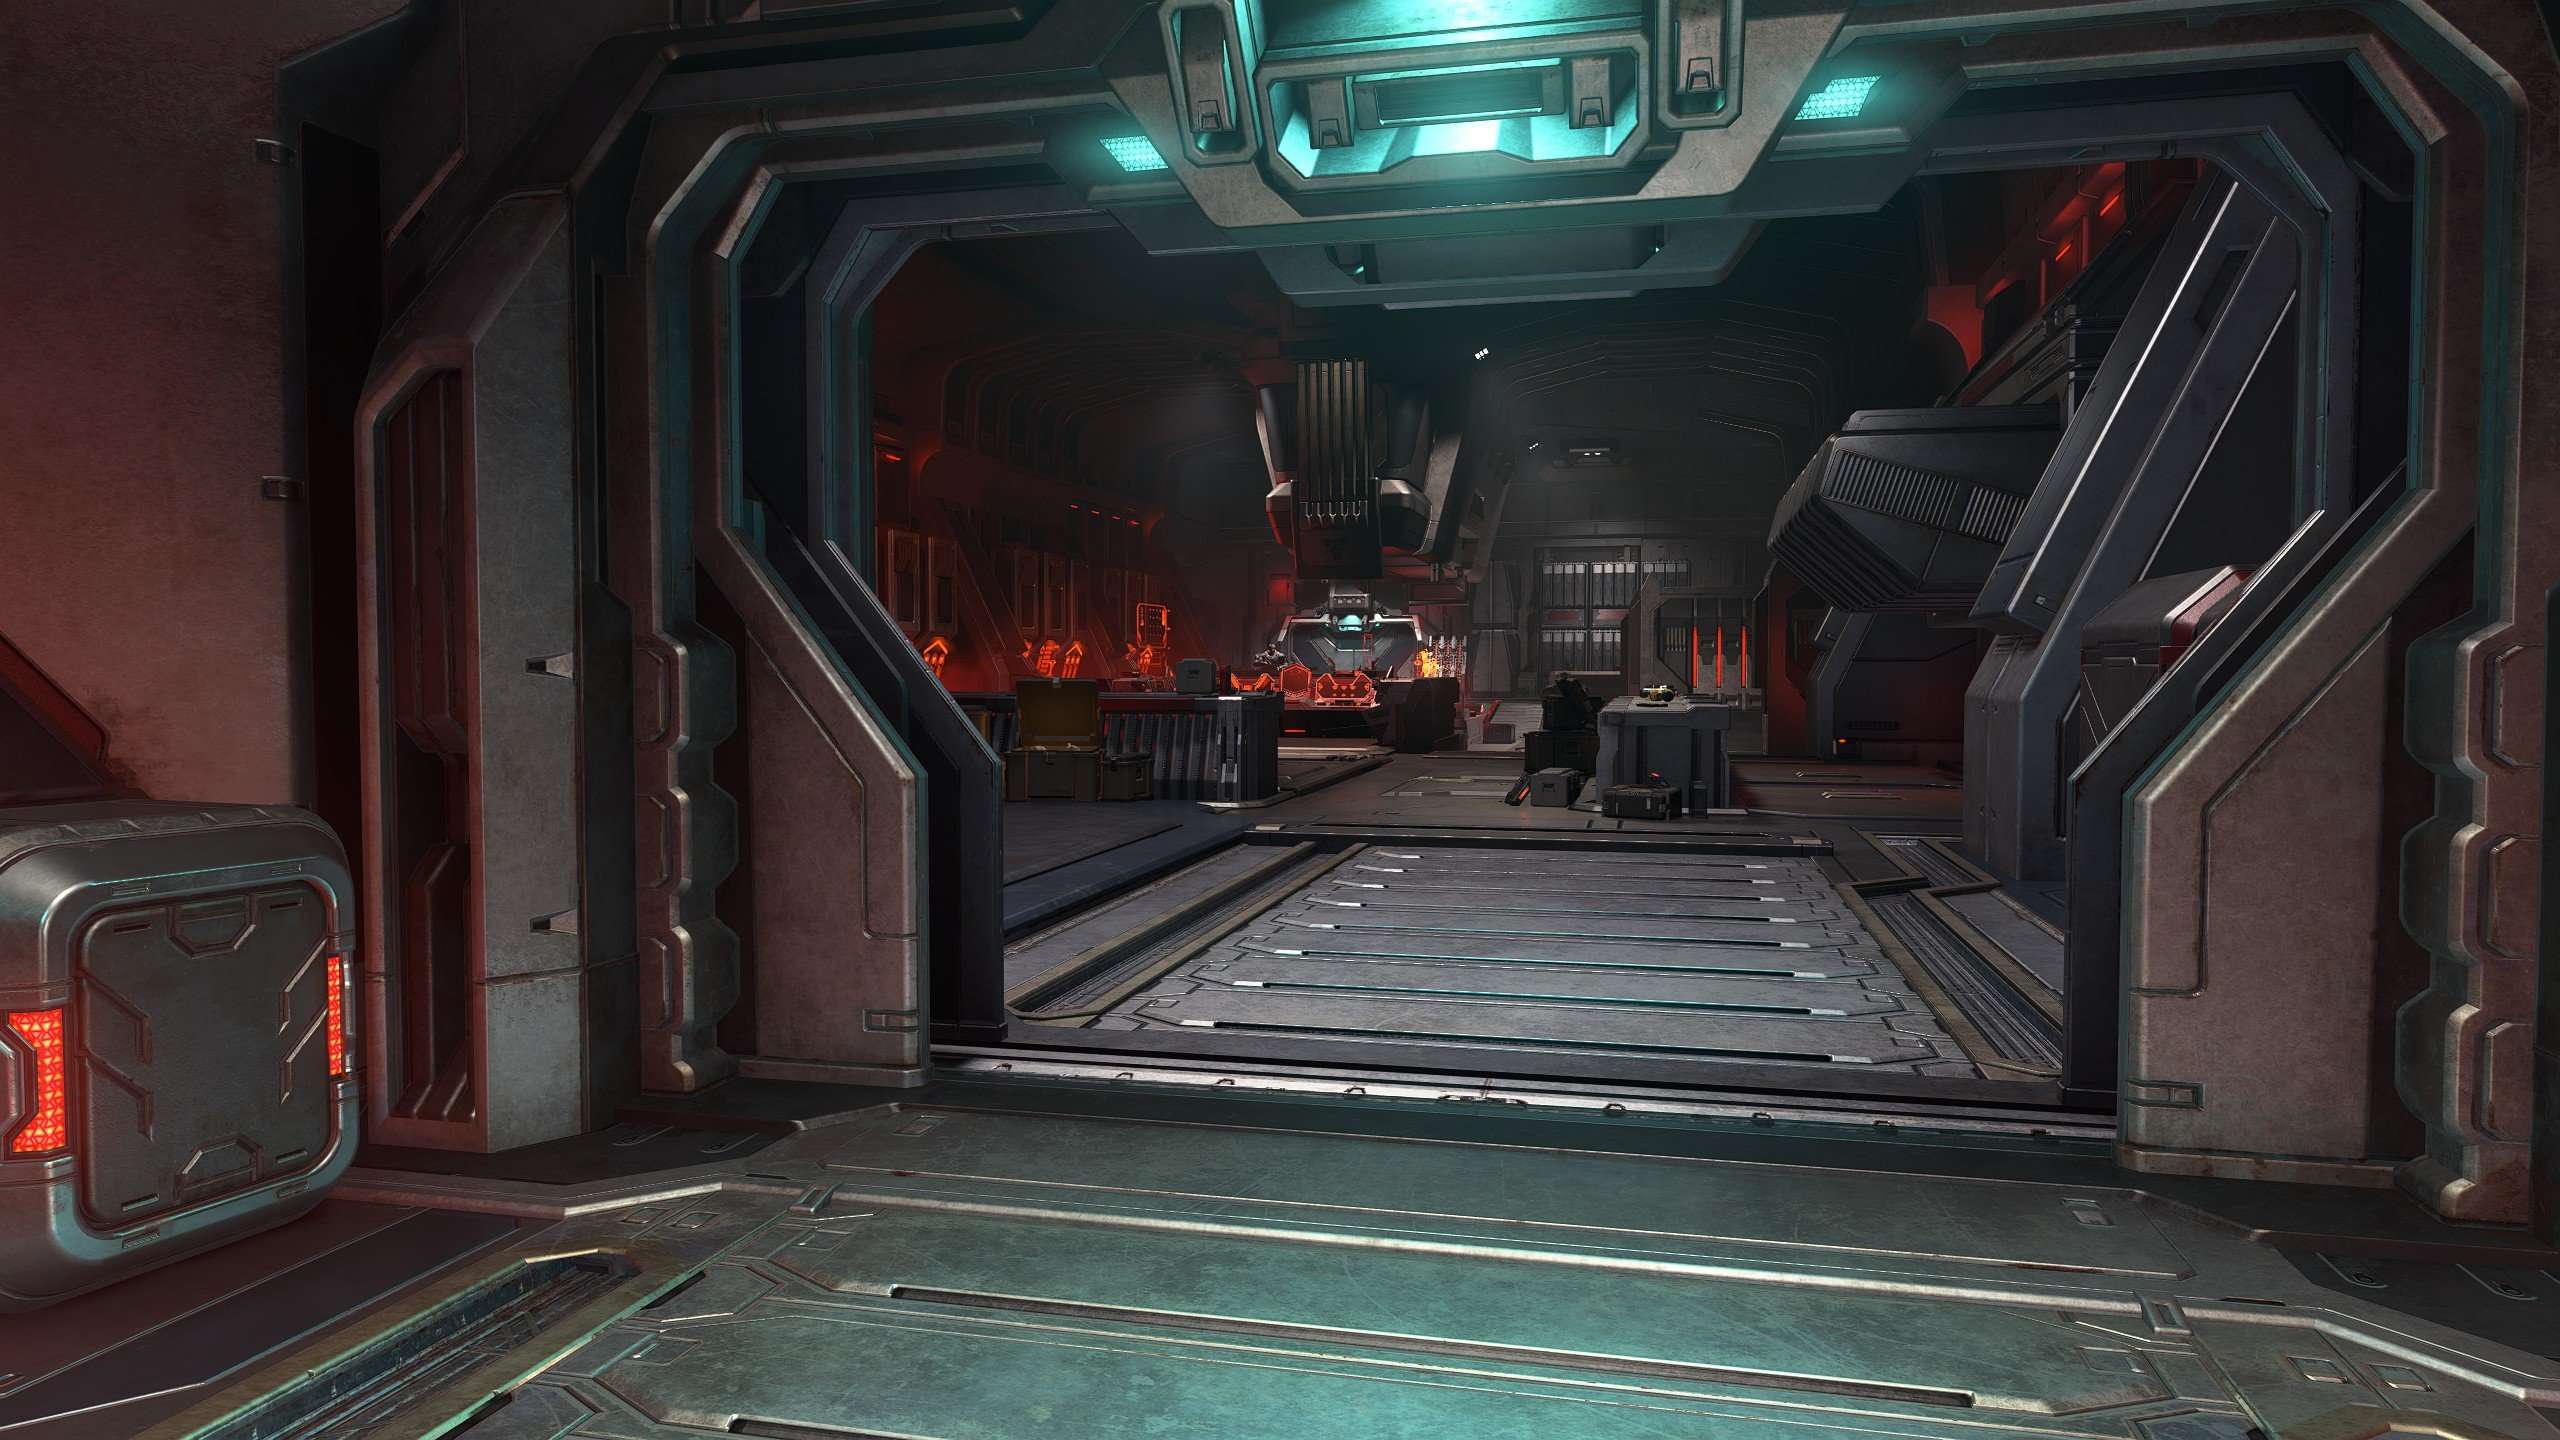
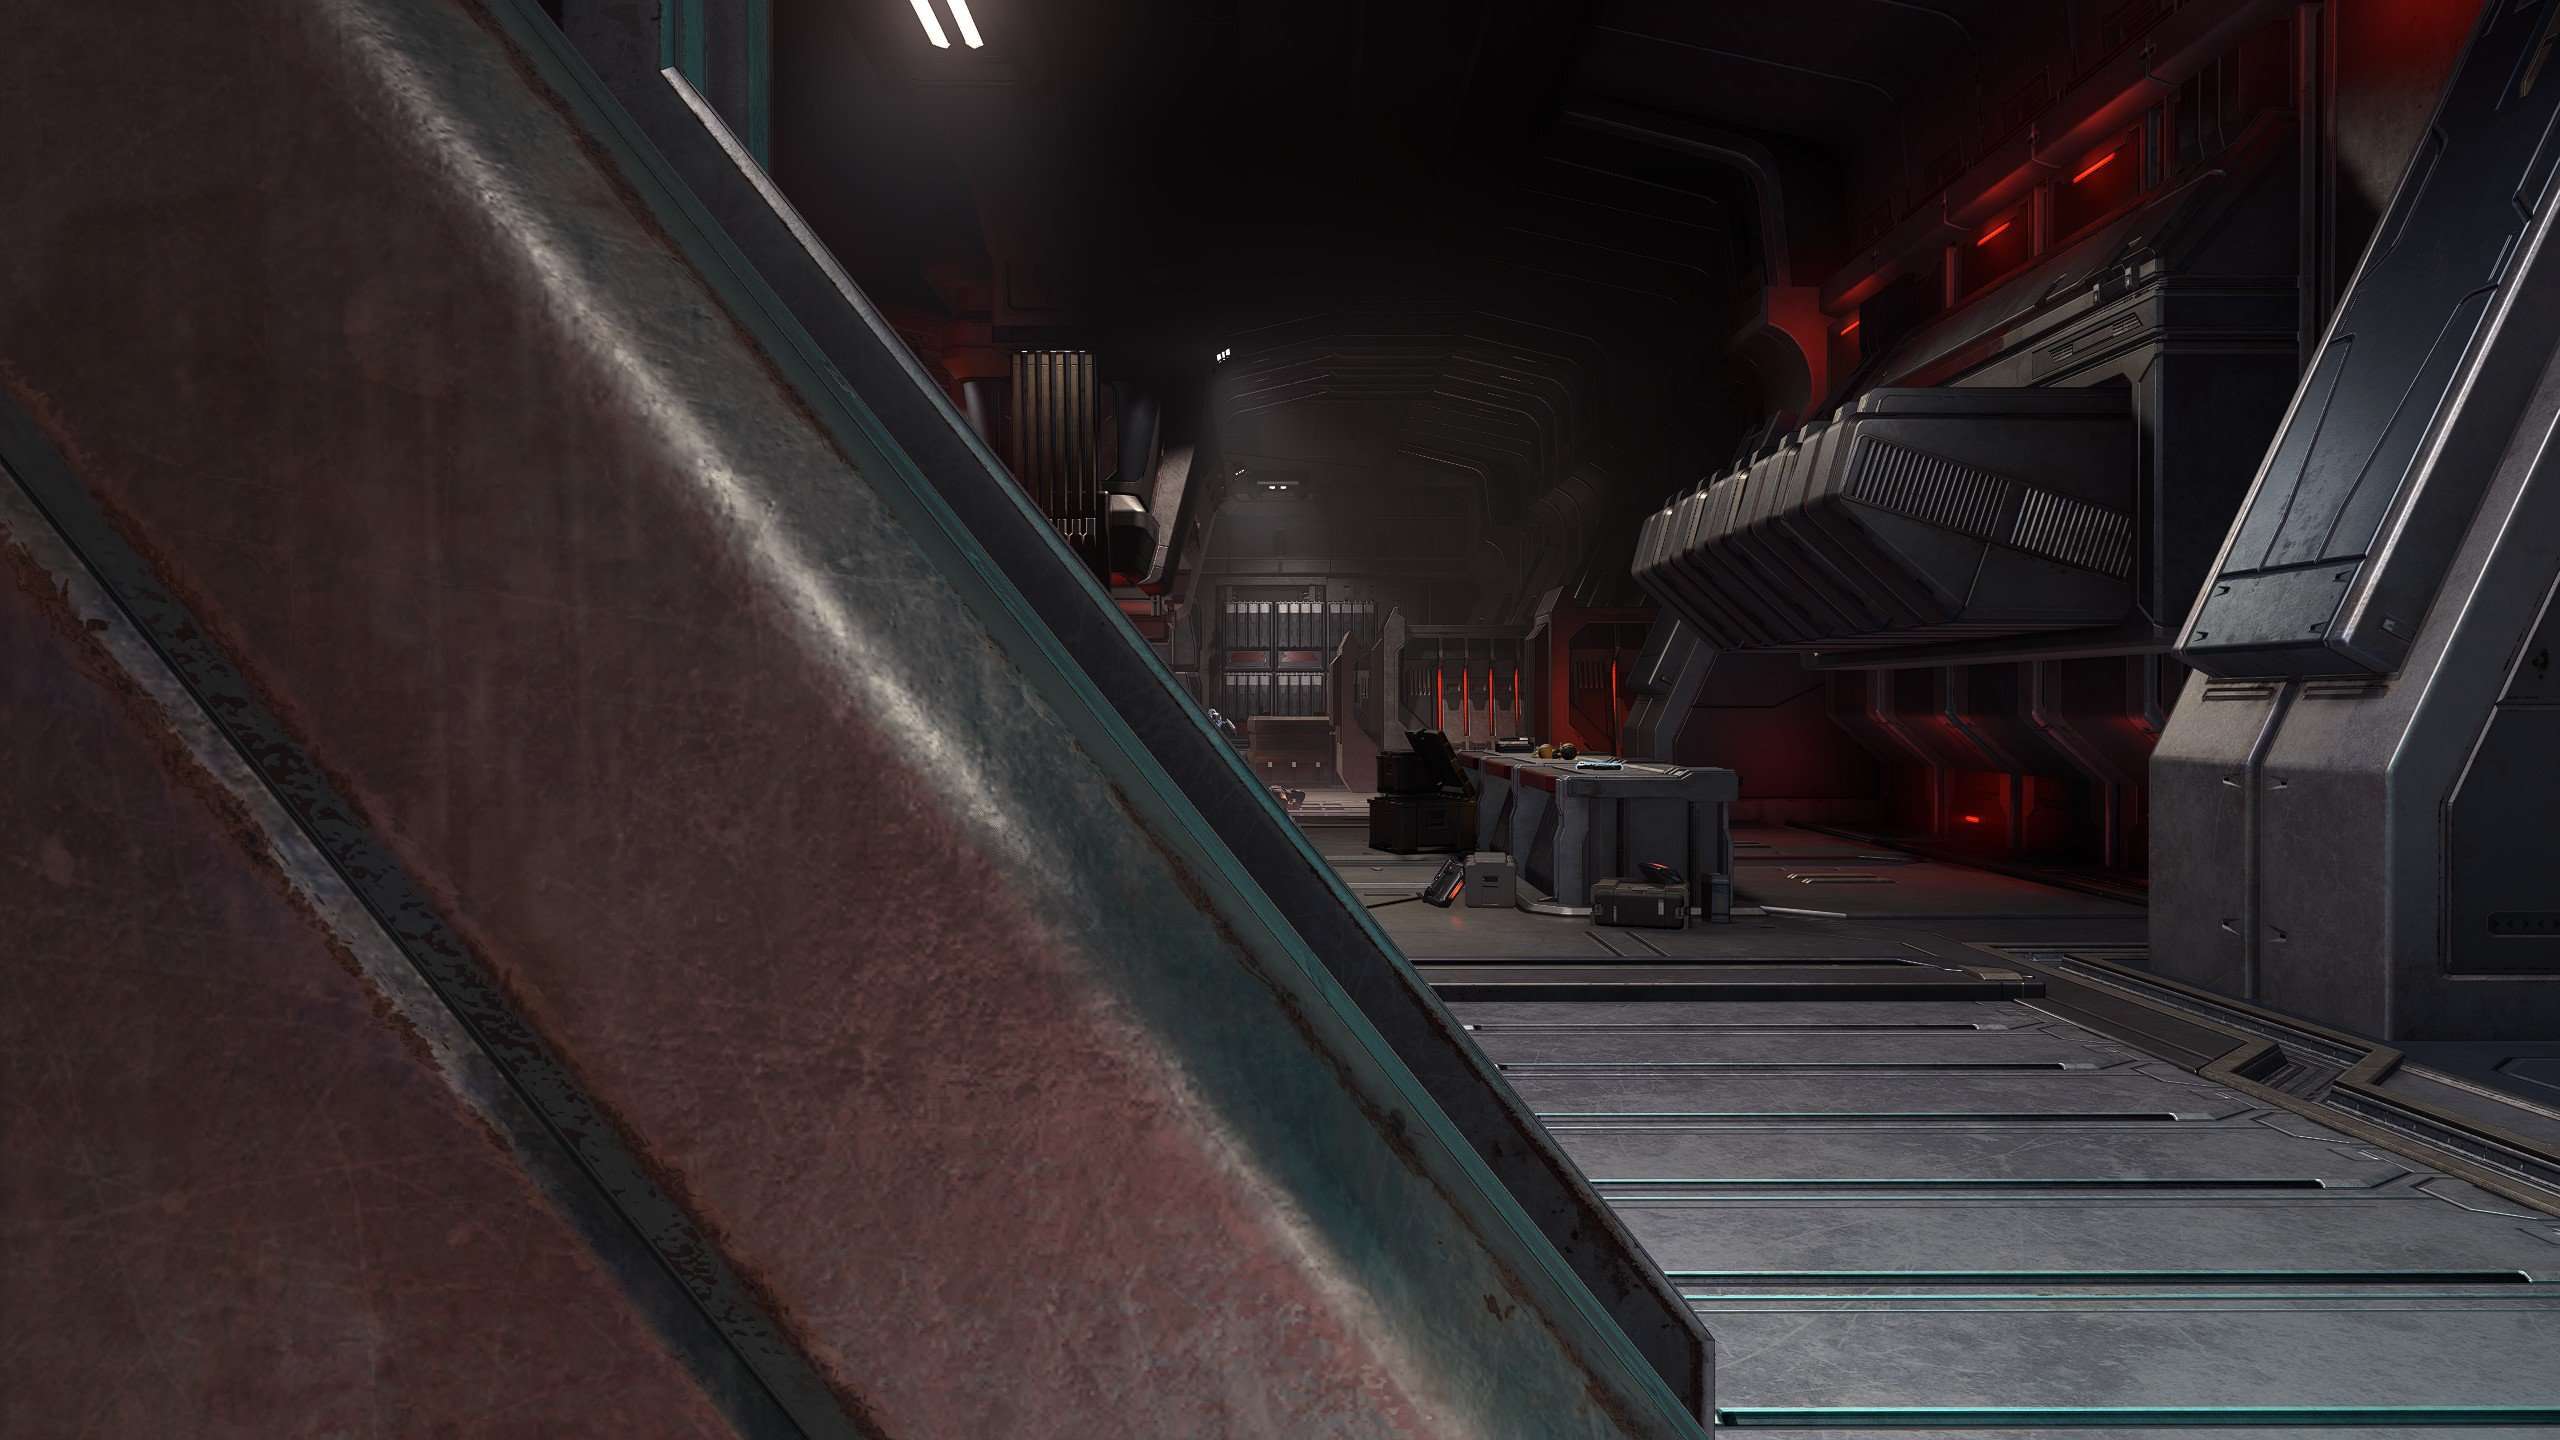
At the start of the mission you want to be primarily just grappling all the grunts and meleeing them to death. Before you enter the first doorway I’d suggest picking up a mangler so you can headshot the Berserk Brute and hopefully kill him quickly. After that procceed through the level as normal and melee Jackals and Grunts and try and headshot any Brutes. You will eventually come to a sort of mini control room as shown below in the screenshots. You want to stick to the left side of the door and grenade/headshot all the enemies in the room. Your priority should be the shielded Brute with the rocket launcher.
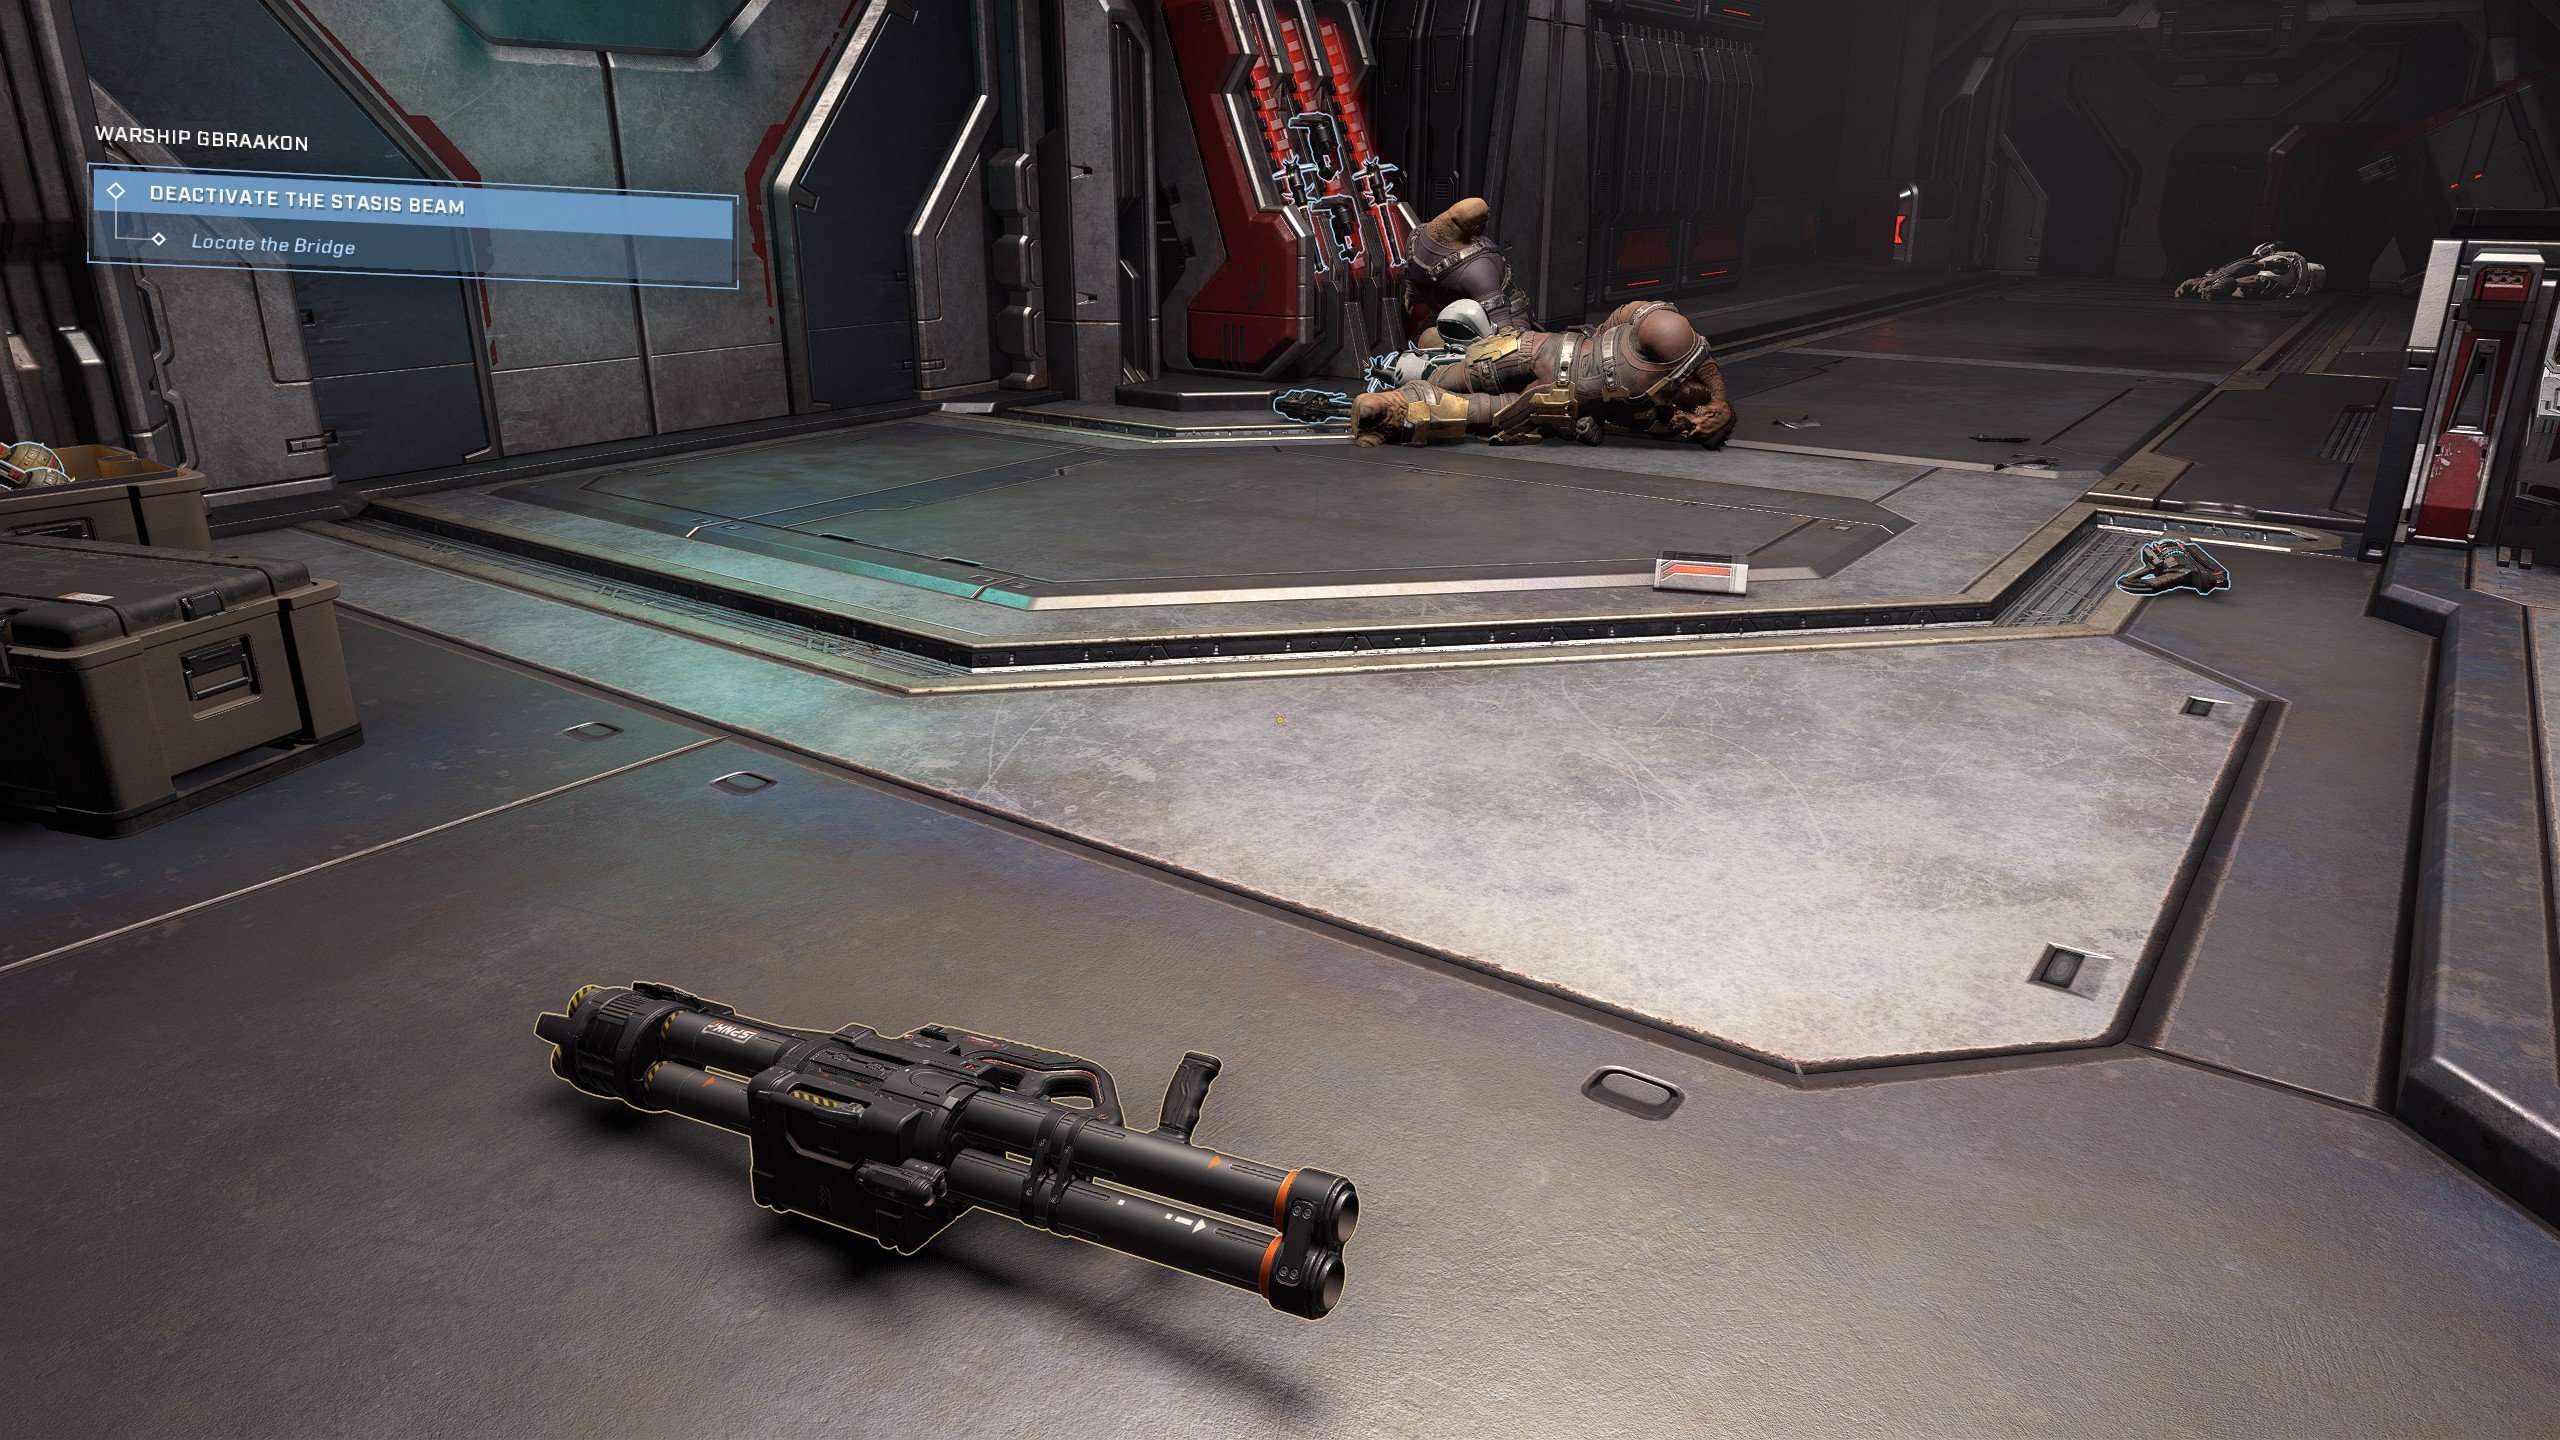
Once you have killed all the enemies you want to trade one of your weapons for the rocket launcher. You should really only need this for the rest of the mission. I’d suggest aiming at the floor of the enemies rather than them directly as it will force them to bounce to the other side of the room which usually kills them. A direct shot they can usually tank and continue to fight. Continue to use the Rockets for the rest of the mission and make sure to take advantage of cover and long distances. There is no time limit on the escape at the end so make sure to take your time and clear all enemies from a distance.
Foundation
You should now be onto the 2nd mission and this is where you can get the Energy Sword from the start so don’t rush.
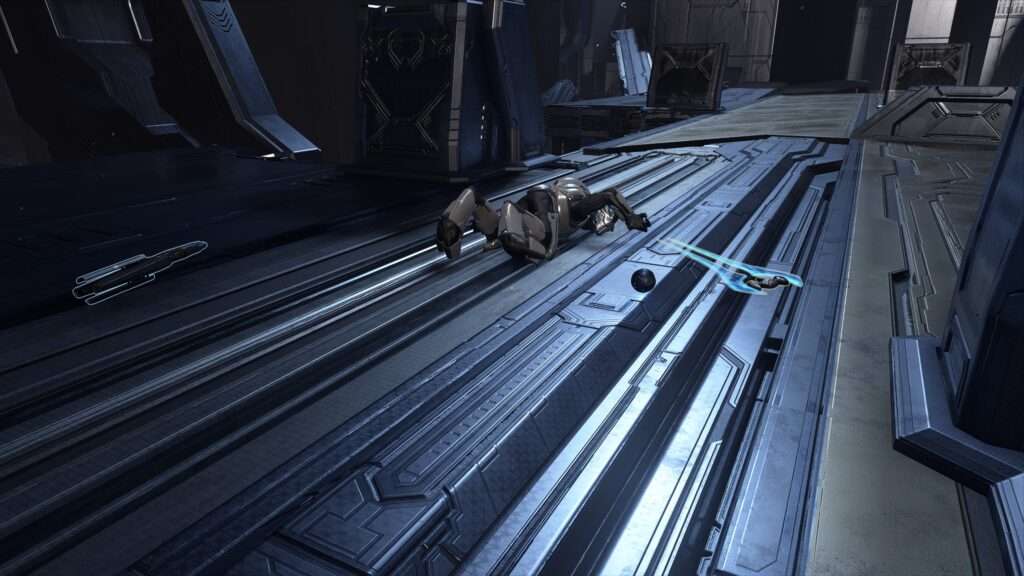
In the below screenshot you can see an elite. This is the same one that spawns in front of you at mission start. He takes a few rocket shots to kill so I’d suggest aiming for him directly and once the shields have dropped go for a headshot. If you knock him out of the map it’s better to jump off the edge and try again. The sword is important for getting shields back as well as bosses so it’s a must have!
Largely that’s it for how to play through the early two missions. You just want to use the Rocket Launcher from a distance and now and then kill a Jackal or Grunt with the energy sword to get your shields back. I’ll now cover bosses rather than missions as you just rinse and repeat this strategy through the whole game. You do swap the Rocket Launcher for the Tank Gun after this mission but it’s the same principle.
Tremonius Boss
At the start of this encounter you can either shoot your rockets at the two Jackals straight away to remove them from the battle or just leave them till the end. I personally shot them first. You then simply need to swap to your Energy Sword and melee Tremonius. He will shoot you with the shotgun but your shields will keep recharging faster than he does damage. He’s extremely easy to kill with this method.
Outpost Tremonius
After defeating Tremonius you will proceed up the elevator to the next mission. As I said before you should proceed with the same strategy of just Rocketing everyone. I’d suggest going on top of the building when you get outside and just take 5-10 minutes to long range shoot everyone. Once you have cleared the Outpost feel free to clear the platform to allow the Pelican to land. DO NOT GO IN THE PELICAN TO THE NEXT MISSION. Before this we want to get the Tank Gun which can be found on top of the UNSC Ship. See the screenshots below.
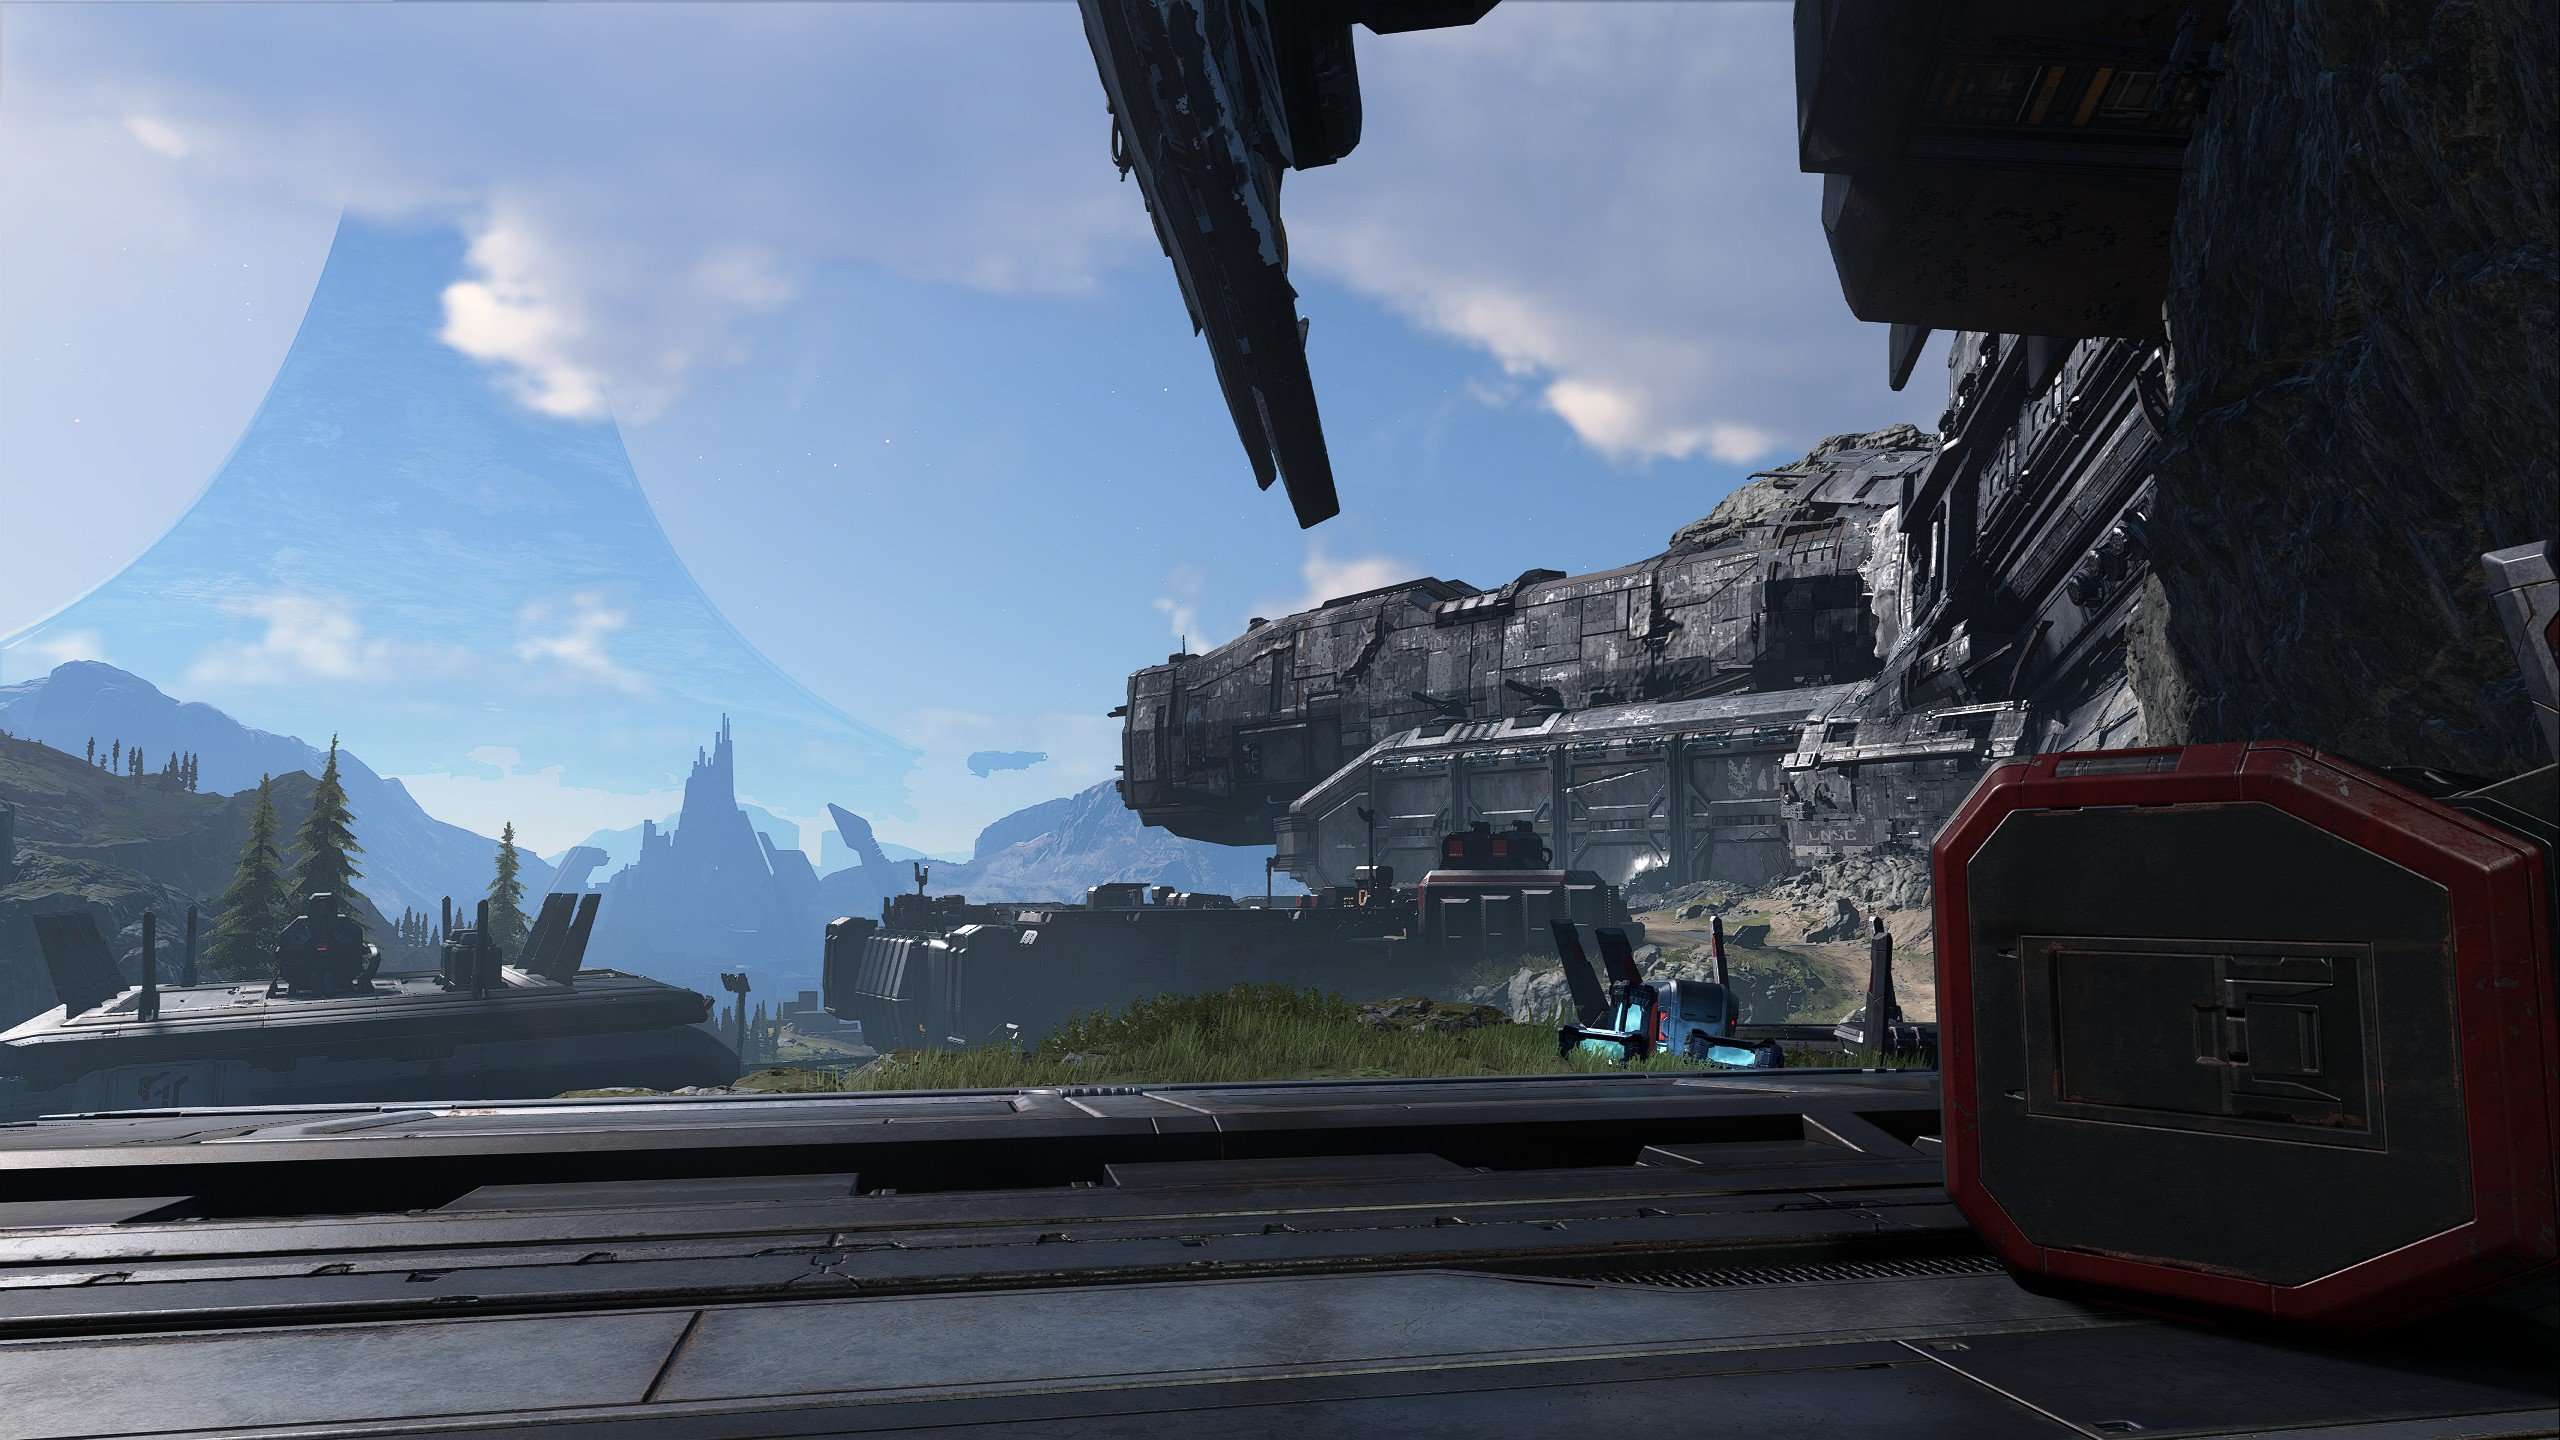

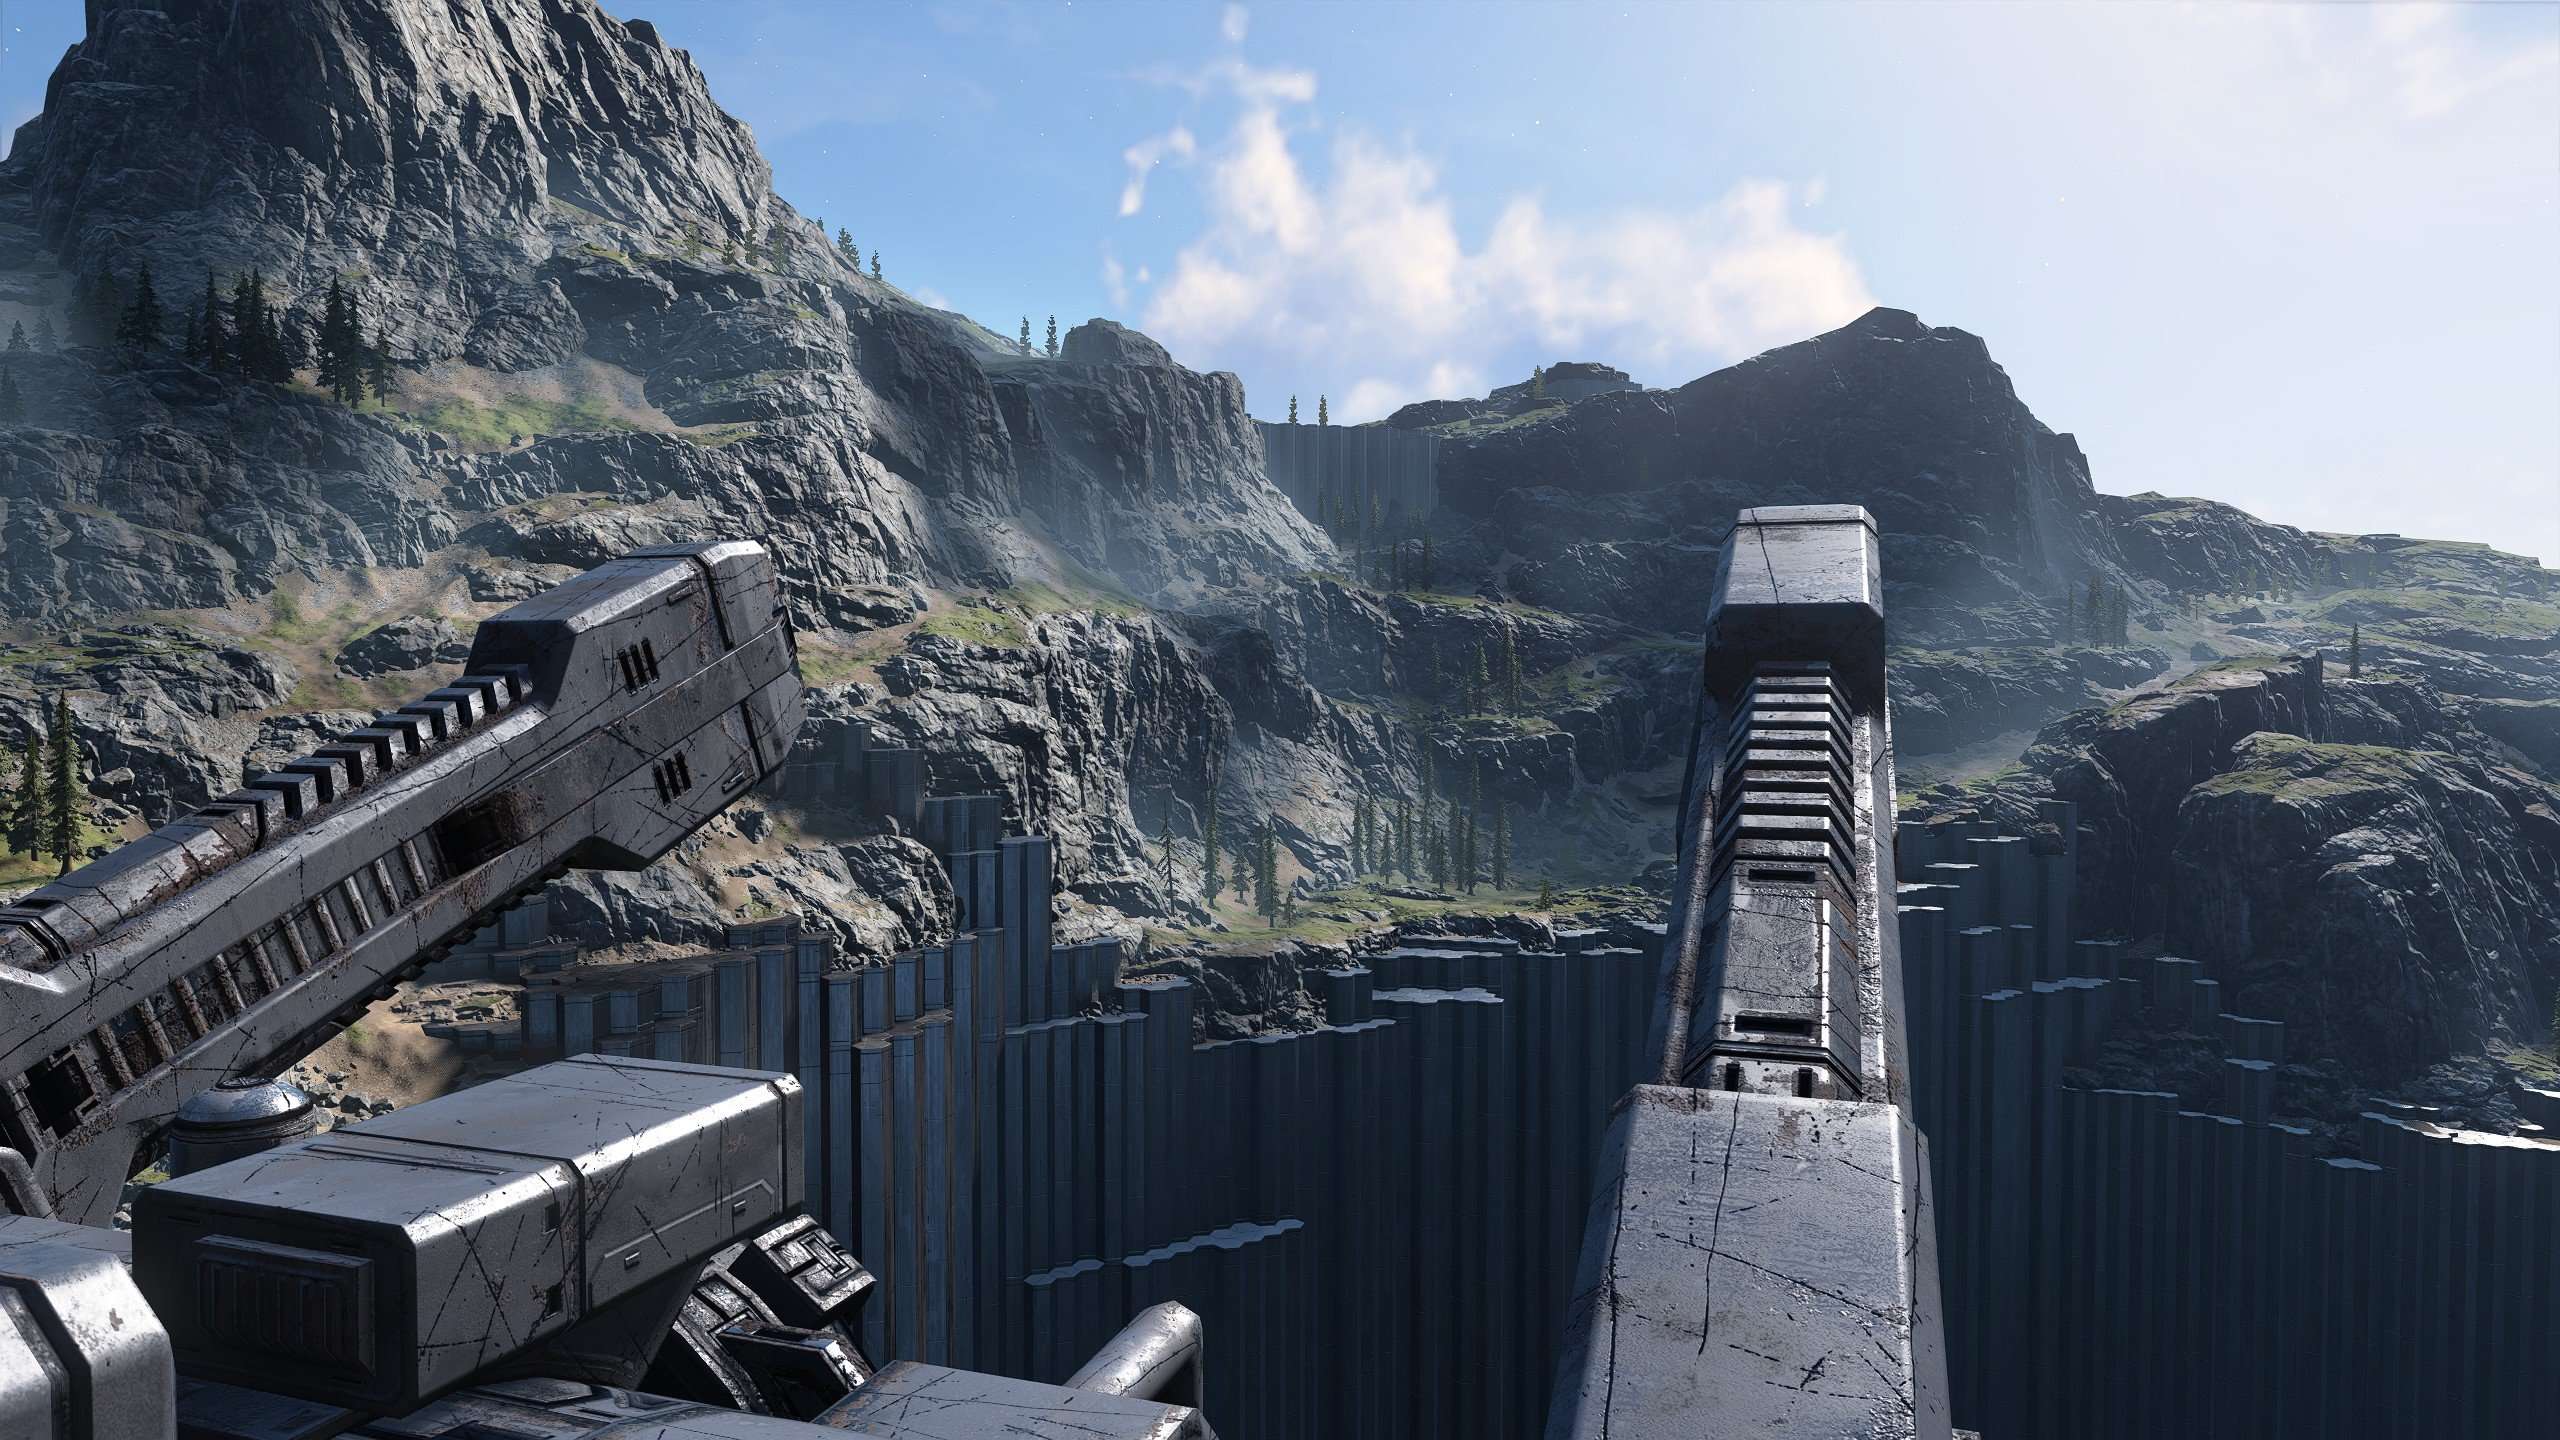
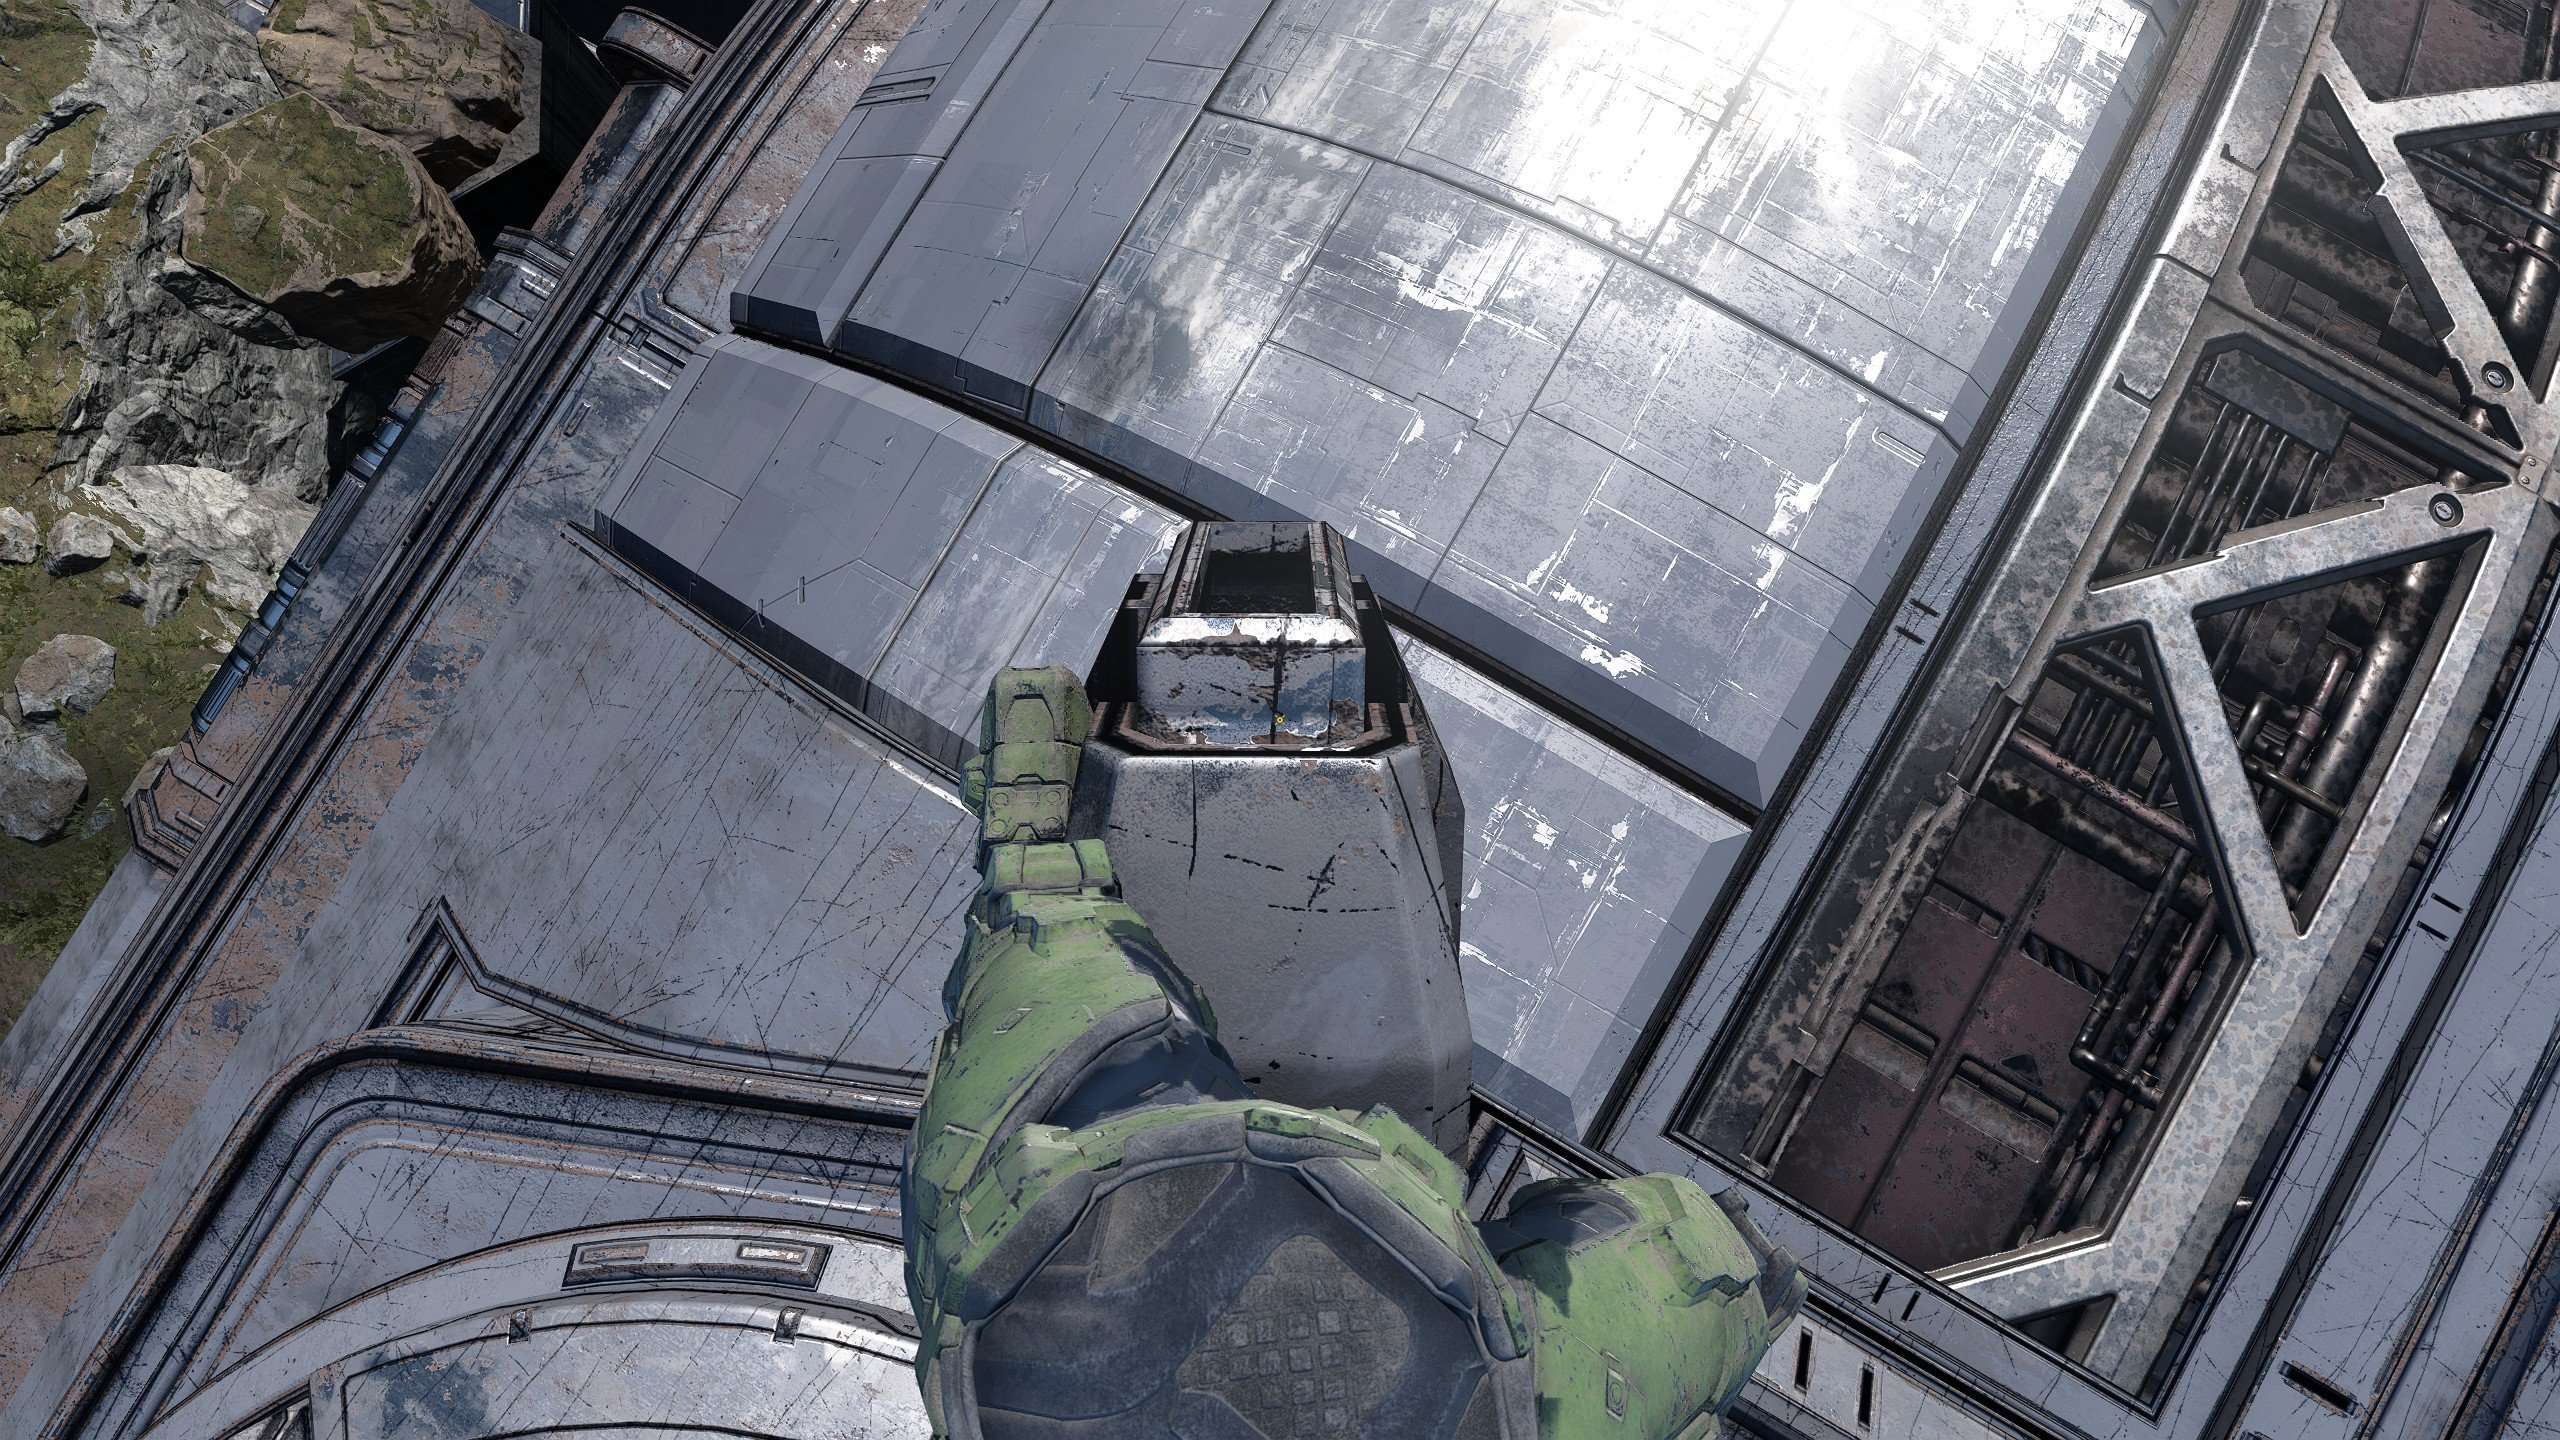
You can find the hidden tank gun on the front turret. Right barrel and if you look down the barrel and hold E it should pick it up. You want to swap this for your Rockets and keep the Energy Sword and Tank Gun. As a warning it does have a drop off pretty quickly so if you need to hit a target pretty close to you then you will need to jump otherwise it just blows up around you. You then just want to continue with the campaign using this strategy.
Open World Area
You want to ignore most modes of transportation and really only use the grapple to get around. It has a unlimited cooldown so you can get around easily. I’d only bother taking banshee’s later. Other methods you can just get blown up to easily. This is more my personal preference as it’s much safer and allows you to kill any enemies you come across. Plus with you going over hills with the grapple your less likely to come across groups of enemies.
Chak ‘Lok Boss
As soon as the battle starts he’s sat invisible in front and and just left around the bend. You want to immediately throw your threat sensor to the ground in that area to get his exact location. Once you have it you probably only have enough time to shoot 1 or 2 tank gun rounds at him before he gets to close. Remember to jump as you shoot otherwise it won’t go anywhere. Once he gets close to you. Swap to the energy sword and keep hitting him until he dies. You should regenerate shield faster than he can do damage. This is also an easier boss.
Bassus Boss
He can take a bit of work as he still has the potential to one shot you. I’d fire a tank gun shot at fight start and when he starts charging grapple onto him and energy sword him. Eventually he will be knocked away slightly. You then want to swap back to the tank gun and shoot and repeat the process above until you kill him.
Conservatory Mission
Overall, this mission isn’t that different from any other and you can use the normal methods. The only tricky section is when you get to the large open room where Skimmers fly down. I found the best method was to keep moving around the centre area by grappling and jumping. Then keep shooting the floor with the tank gun. The explosion radius will kill the skimmers in the air. This is tricky though and may take a few attempts. Eventually the final door will open with normal Banished enemies. Just shoot it and it should kill them all in one hit. Clearing that room.
Adjutant Resolution Boss
First Fight
In the first fight you simply want to keep behind cover and shoot his glowing arms. Take cover when he starts charging his main beam as it can one shot you. Once it’s done firing peak back out and shoot another “limb” off. Once all four are off he will do one final attack and you then just need to shoot him again to finish him off. No energy sword needed for this one.
Second Fight
In the second fight you basically play it exactly the same. Just be aware that every time you knock a “limb” off. He calls in 1 or 2 sentinels. They spawn at wall sockets so keep an eye and as soon as you see them just shoot the wall near them. If they happen to get out I’d suggest taking cover and once they get closer to you shoot a wall or the ground near them. Continue to shoot the boss as discussed in the first fight. The platforms do lower leaving you vulnerable to his beam. So do be careful of that and be ready to move quickly.
Tovarus and Hyperius Boss
You can kill both of these with the tank gun and I’d suggest aiming directly at them for this one. If you hit the ground the tank gun can cause them to go flying and if it doesn’t kill them it will bug the fight forcing you to kill yourself and try again. You can energy sword them as well but they usually kill you long before you get in range to use it so I wouldn’t bother.
Jega ‘Rdomnai Boss
You want to immediately throw your threat sensor to the ground to get his exact location. Once you have it you probably only have enough time to shoot 1 tank gun rounds at him before he gets to close. Remember to jump as you shoot otherwise it won’t go anywhere. Once he gets close to you. Swap to the energy sword and keep hitting him until he dies. You should regenerate shield faster than he can do damage. He will now and then go completely invisible making him untargetable. I’d hug a corner and make sure you have the sensor down. Once you “hear” him come out of invisibility check around for him. If he’s close just repeat the energy sword method and if he’s far a way see if you can get a tank round in. Then just rinse and repeat till he’s dead.
War Chief Escharum Boss
You primarly just want to keep hitting him with the energy sword. Once he gets his “Shield” kite back and lead him behind one of the walls to give you enough time to shoot the power module in the wall with the tank gun. Once his shield drops just keep hitting him with the energy sword. Repeat until he’s dead. Should be 4 rounds of this before he goes berserk and gets out his gravity hammer. Same method just energy sword him to death and interrupt any major attacks with a grapple.
The Harbinger Boss
This boss can be an absolute pain. I’d suggest only really using the tank gun. You will be lucky if she gets close enough to melee. Once she teleports shoot the ground below her and repeat until she goes to recharge. If she does get close don’t be afraid to try and energy sword to get some shields back. While she’s recharging normal enemies spawn. There are three waves to this and they always come from the doors in the room. Usually one downstairs and two upstairs. Shoot them as soon as they open and finish of any stragglers if they get through. I’d be actively hiding behind cover here or grappling around the room. Then simply repeat these methods for each of the waves and every time The Harbinger attacks. This may take a few attempts.


Be the first to comment