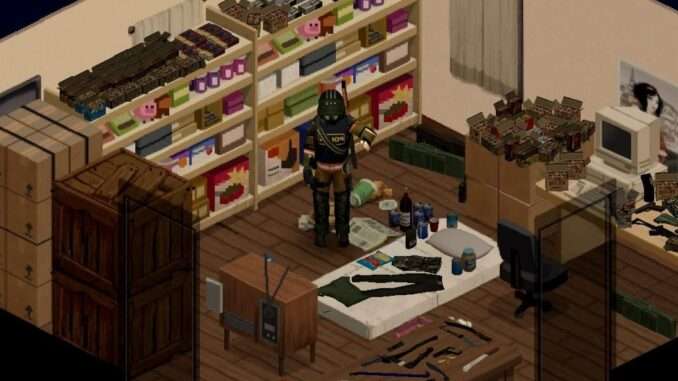
A quick and dirty guide to making armor in vanilla Project Zomboid.
Did You Know You Can Make Armor in Vanilla Build 41.65?
To Begin
First I suggest that you read “Tailoring for Biginners” if you have 0 skill in tailoring. Read each skill book as you come to each even number of levels to increase speed that you level. There are also some home video VHS tapes out there that will help train your tailoring skills.
Leveling Tailoring
The best way to level tailoring that I have discovered (there may be better ones) is to find yourself a destroyed jacket, or denim shirt. (Essentially a piece of clothing with a lot of sections on it that is destroyed).
This item will have a lot of holes in it, and thus great for doing patch work. To repair the item follow these steps:
- Have the item in your main inventory.
- Right click on it and select “inspect”
- Right click on the holes and select “patch all holes”
- Right click the top patch and remove all patches.
- Rinse and repeat.
What you will need is a needle, thread, and ripped sheets.
To gather thread rip up tons of zombie clothes. The higher your tailoring the more frequent you will find these.
Making the Armor
There’s three types of armor that I have found so far (I am tailoring 7 as of making this guide)
- Ripped Sheet Padding
- Denim Padding
- Leather Padding
To get denim or leather you will need a pair of scissors in your inventory.
To armor the piece of clothing I think you need tailoring level 2. Right click on the item you wish to armor, select Add Padding to all spots, and choose the type of padding you wish to add.
At tailoring level 7 leather padding will add 14 scratch and 7 bite defense to each section of the clothing. (These numbers increase with tailoring level.)


Be the first to comment