
This guide will show you how to launch MGS3 and have it look its best on Valve’s Steam Deck.
Getting Past Initial Crashes
There has been a known issue since day 1 of MGS2 and 3 crashing before their beginning cutscenes could even play. This is due to a missing DLL file that handles cutscene audio. Applying this fix should allow you to launch and play both games without issue.
- Open Desktop Mode by holding down the power button on your Steam Deck or navigating to the power button in the Steam Menu. Select “Desktop Mode”.
- Open your web browser of choice and head here and download the 64-bit version of XAudio2_9.dll. Using the 32-bit version of this file will not work. The website is completely safe, but if you are uncomfortable downloading it from the internet, some other games have this file already in their home folder and you can grab it from there.
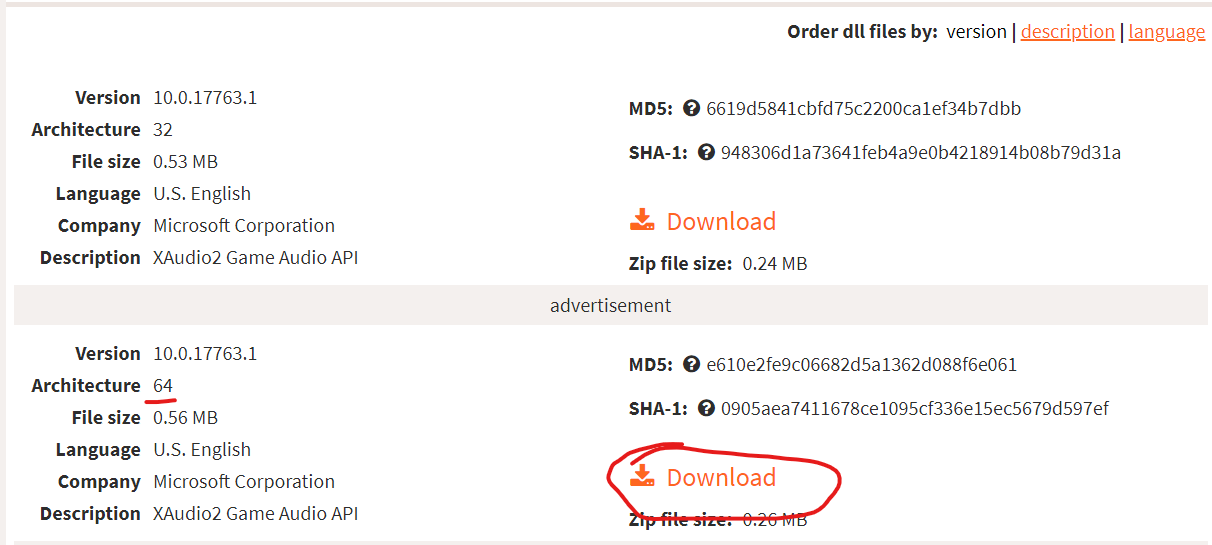
- Inside the .ZIP file you just downloaded, open it up and copy the xaudio2_9.dll to your root MGS2 and/or 3 file directory. You can find this directory by launching the Steam app, finding your game of choice, right-clicking on it, and selecting Properties > Installed Files > Browse.
- After you’ve dropped the DLL file into the root directory of your game, go back to the Steam app and right click your game again. Select properties, and under the preselected general tab should be a field for Launch Options. Enter this launch option into the field, exactly as it appears:
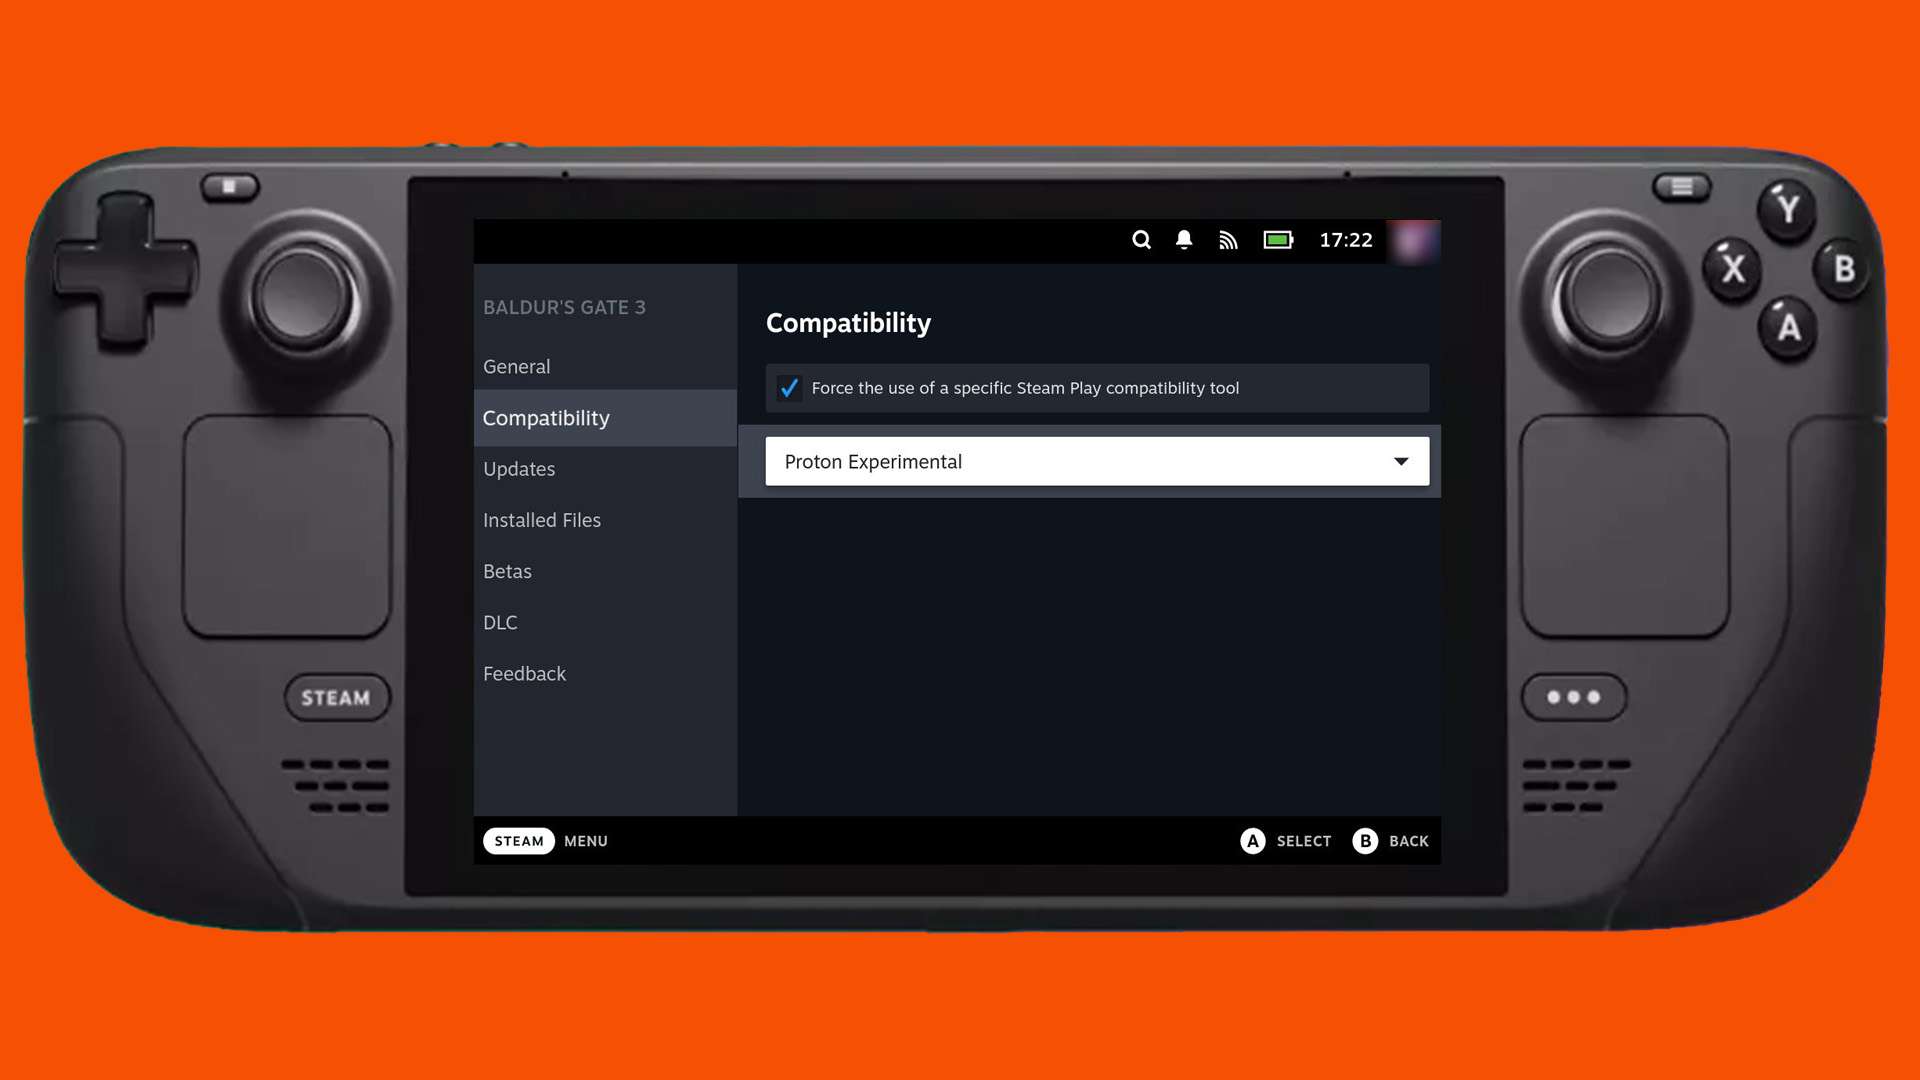
WINDLLOVERRIDES=“xaudio2_9=n” %command%- Since we’re still in the properties, go down one tab to Compatibility and select Proton Experimental for your compatibility layer.
… And that should be it! In a nutshell, all you did was plop one file into a folder, select a Proton version and add a launch option. The game should boot up and play just fine, although if you want a more authentic and smooth experience, you’re going to need to do a couple things to fix the overblown audio.
Fixing the Audio
To fix the loud and distorted audio, you’ll need to download a drag-n-drop mod that works similarly to the DLL file we downloaded earlier. What this does is replace the crummy audio Konami got past their QC team with high-quality rips from the original games. Big thanks to Knight_Killer for this mod.
Make sure to download the MGS3MC Better Audio and HQ Ending Cutscenes files.
https://www.nexusmods.com/metalgearsolidmastercollection/mods/7For each ZIP file you downloaded, drag both of the “us” folders into the base MGS3 installation folder. You may get a prompt asking if you’d like to replace hundreds of files. This is alright – click on ‘overwrite’.
Make sure to delete the downloaded ZIP files you’ve used up to this point to free up some space.
Now you should have better audio! It’s still not perfect, but I really noticed the difference whilst shooting the AK-47 wildly.
The last thing we’ll want to do for a baller experience is fix the image quality. The colors in game are pretty washed out compared to the original, so continue following if you’d like to get that sorted.
Fixing the Image Quality
This one is going to take the most work, but bear with me and I promise you won’t regret seeing the final result. What we’re going to do is download a tool that applies custom shaders on just about any game you’d like, including our MGS games. Big thank you to kevinlekiller, Calinou, Ranguna, and everyone for their work on getting Reshade to work on Linux.
- In Desktop Mode, open the Konsole app.
- Run this command and follow the prompts:
curl -LO https://github.com/kevinlekiller/reshade-steam-proton/raw/main/reshade-linux.sh- Next:
chmod u+x reshade-linux.sh- Finally:
./reshade-linux.sh- We’re in the final stretch! The last thing we need to do is download a preset that does all the work in Reshade for us! Go here and download The Master Reshade file (props to Ahab on NexusMods). It should come in a RAR format.
https://www.nexusmods.com/metalgearsolidmastercollection/mods/17- After opening the RAR file, extract it to, you guessed it, the base MGS3 installation folder.
- Now once you launch the game, you should see some pretty amazing results! They should be almost identical to what was on the original HD collection for the PS3/360, and by default, the sacred PS2 version.
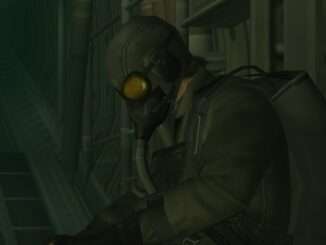
Before:

After:

The last image quality fix I have for you is a relatively simple one to have a proper in-game resolution.
https://github.com/Lyall/MGSHDFix/releases/download/v0.6/MGSHDFix_v_0_6.zipExtract its contents to your game folder. You should now have the entire screen real estate to play the game, meaning no black bars!
Be the first to comment