Intro
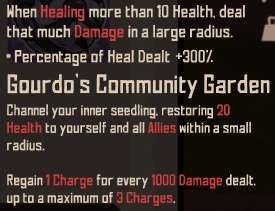
The core aspect of this build revolves around the weapon passive skill called Gourdo’s Community Garden. Any weapon possessing this skill can be utilized, though the Basherball is often preferred due to its high base damage, which benefits other passive abilities. The Gourdo’s Community Garden skill deals damage equal to up to three times the amount of health you recover, provided you heal at least 10 hit points.

This passive damage synergizes well with abilities that heal on dealing damage or scoring critical hits, such as the Bloodthirsty skill. The healing from these abilities will then trigger the Gourdo’s Community Garden passive again, leading to a cycle that can interact favorably with other skills, particularly those that build upon hit streaks if pursuing a non-poison focused build strategy. This interaction is demonstrated in the provided example.
Armor Setup
There are two main approaches for configuring your armor in this build – the standard setup and the poison setup.

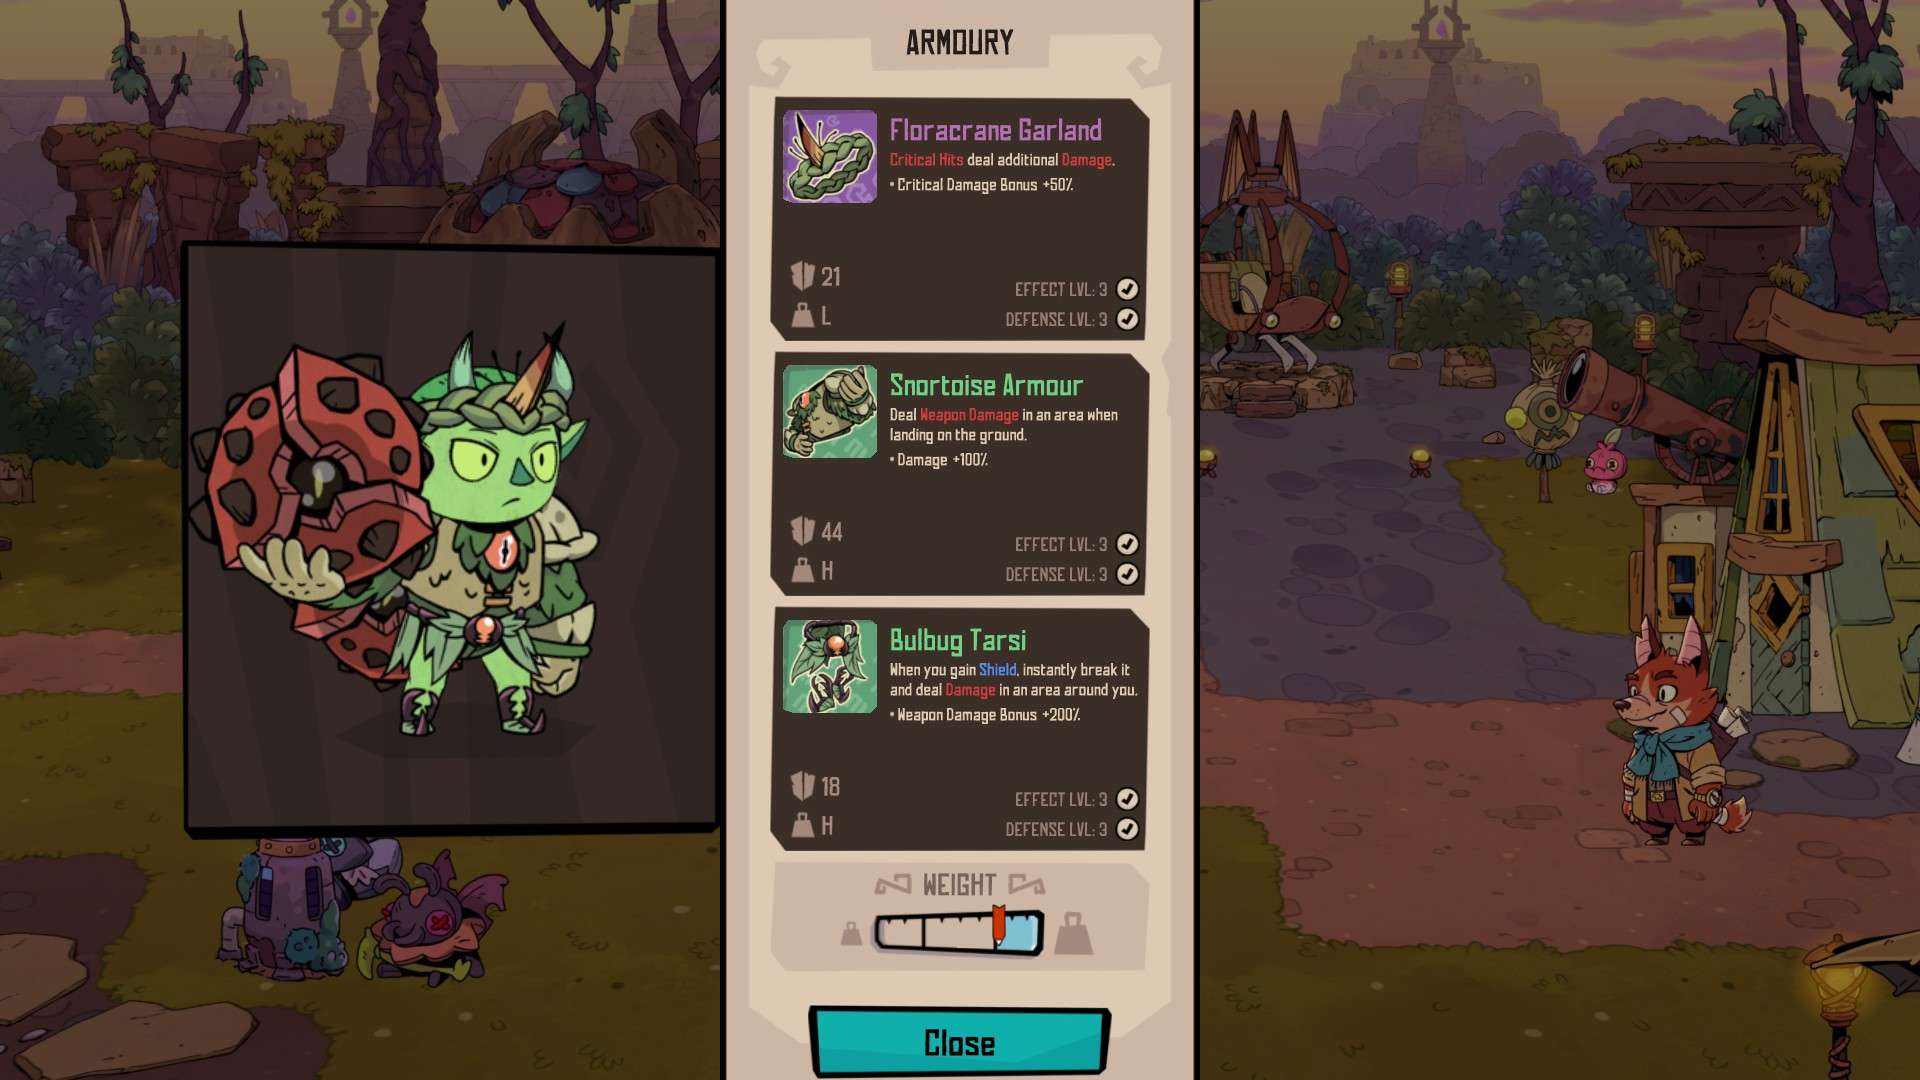
The standard setup is the most versatile option. It primarily requires the weapon with the Gourdo’s Community Garden passive skill, allowing you to experiment with various other gear abilities that synergize well. For example, one potential high-mobility critical hit focused setup could incorporate gear that boosts dodge chances. The standard approach also enables the use of abilities that scale based on hit streaks, as taking poison damage can disrupt such effects.
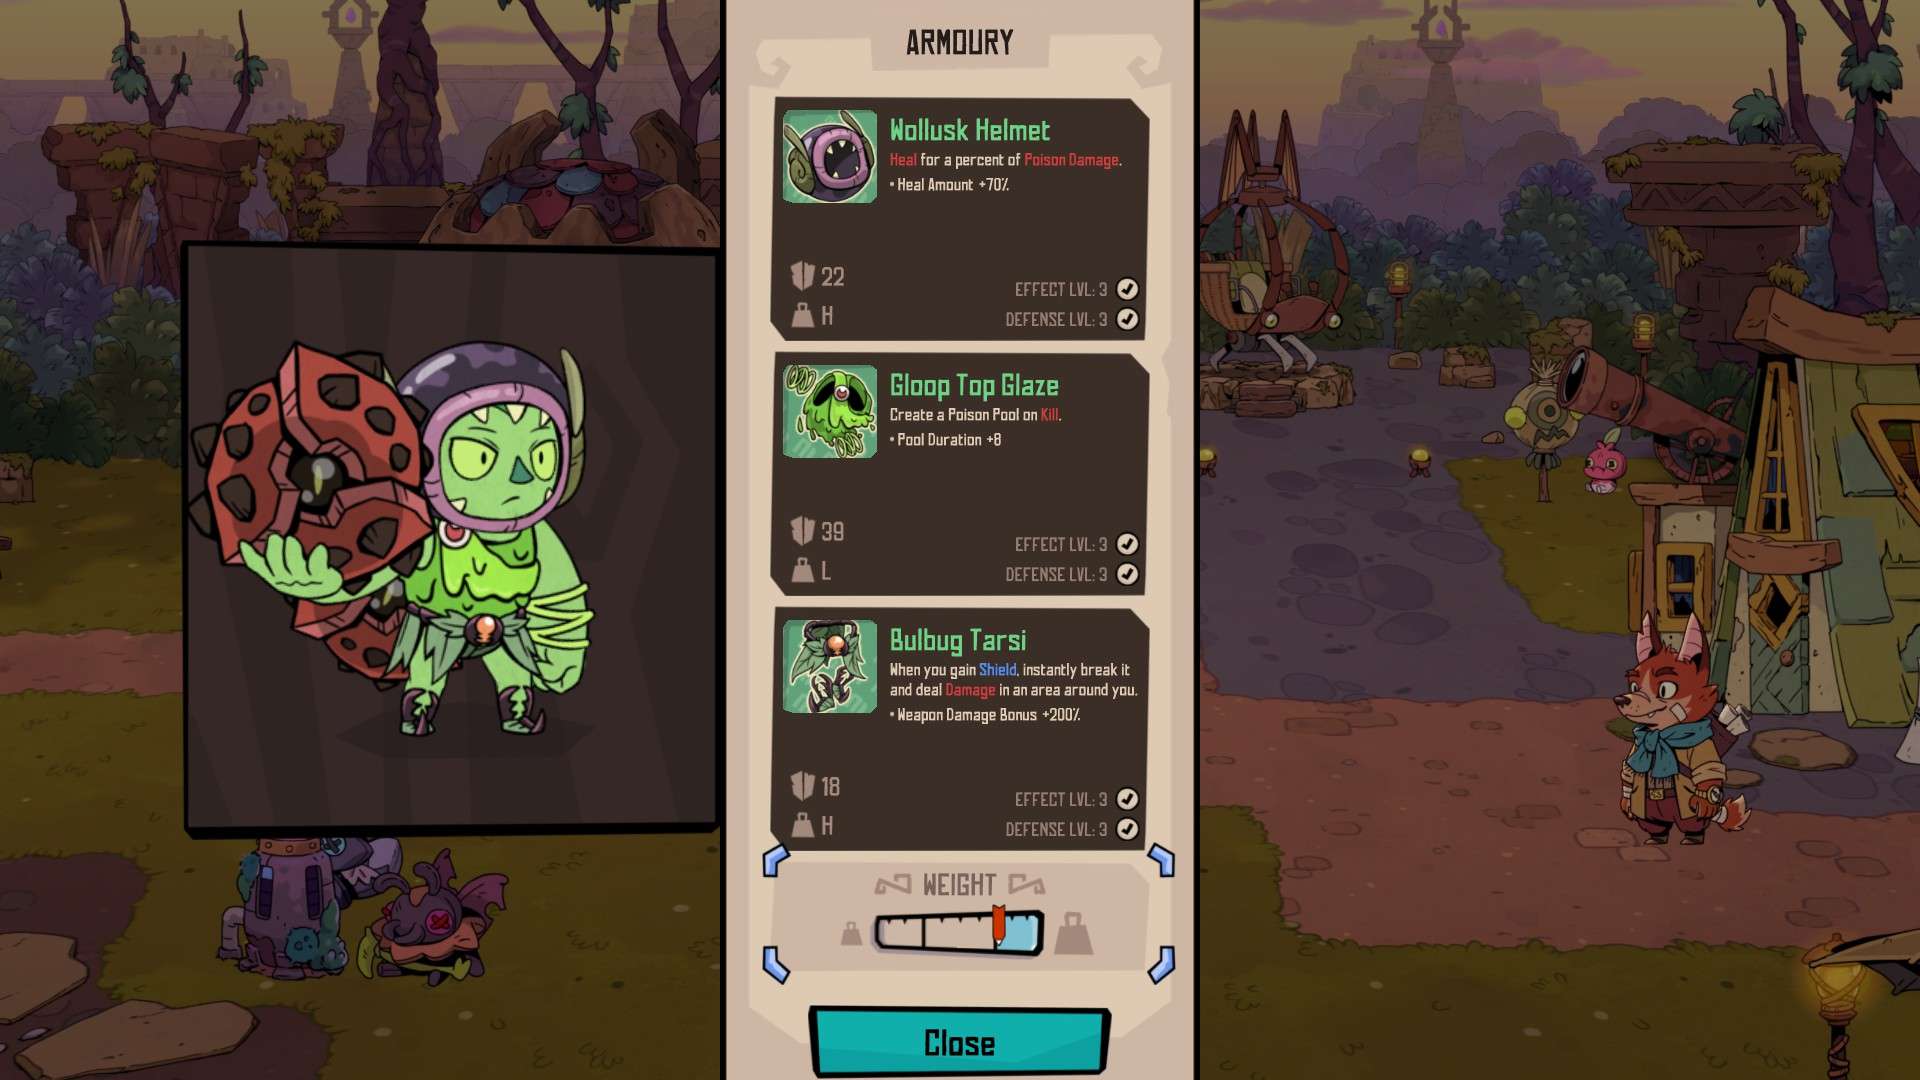
The poison setup takes the synergies to a higher level of complexity. The Wollusk Helmet can be used to trigger the Gourdo’s weapon passive by attacking poison puddles, which you can create using skills like the Gloop Top Glaze that leaves a temporary poison field on kills. One example of a damage-focused poison setup is provided. Since poison damages your shield, you may as well take advantage of it, though the Wollusk Aketon armor is an option for a safer run if preferred.

What to Avoid
For the standard build setup, unless you have the Bloodthirsty skill, you should prioritize most other damage buffs over those that specifically boost heavy/light attacks or focus hits. This applies to the poison variant as well. The weapon’s skill and passive trigger many effects, including some attack abilities, but they do not count as focus hits nor as heavy or light attacks. Additionally, the Floracrane skirt will not work with the weapon’s skill.
The poison build has a few more potential pitfalls. For equipment, the Snortoise Boots will severely reduce your damage output and can potentially kill you. The Ribbat Surcoat can deplete your Teffra resource rapidly. Avoid using minion-based abilities when poison is involved, as the minions will likely die instantly from your poison pools. As mentioned earlier, hit-streak scaling abilities may lack consistency but can potentially work with certain setups.
Keep in mind that with the poison build, the more poison damage you take, the more you heal and the more passive damage you deal from Gourdo’s Garden, but you also risk dying faster if you cannot maintain stacks of the weapon’s skill. You may need to play more cautiously earlier in hunts. Sometimes the healing and passive damage from standing in poison becomes so high that you don’t even need to use the weapon skill, so don’t worry about conserving skill charges for combat in those cases.


Be the first to comment