
A short in depth guide on how to properly build trenches.
Guide to Properly Build Trenches
Goal
The goal of this guide is to help new players properly build trenches.
Basics
- Equip a shovel.
- Press “B”.
- Hover over the “Trench” button.
- Left Click to place down the trench blueprint.
- Dig until the trench is finished.
Trench Layout
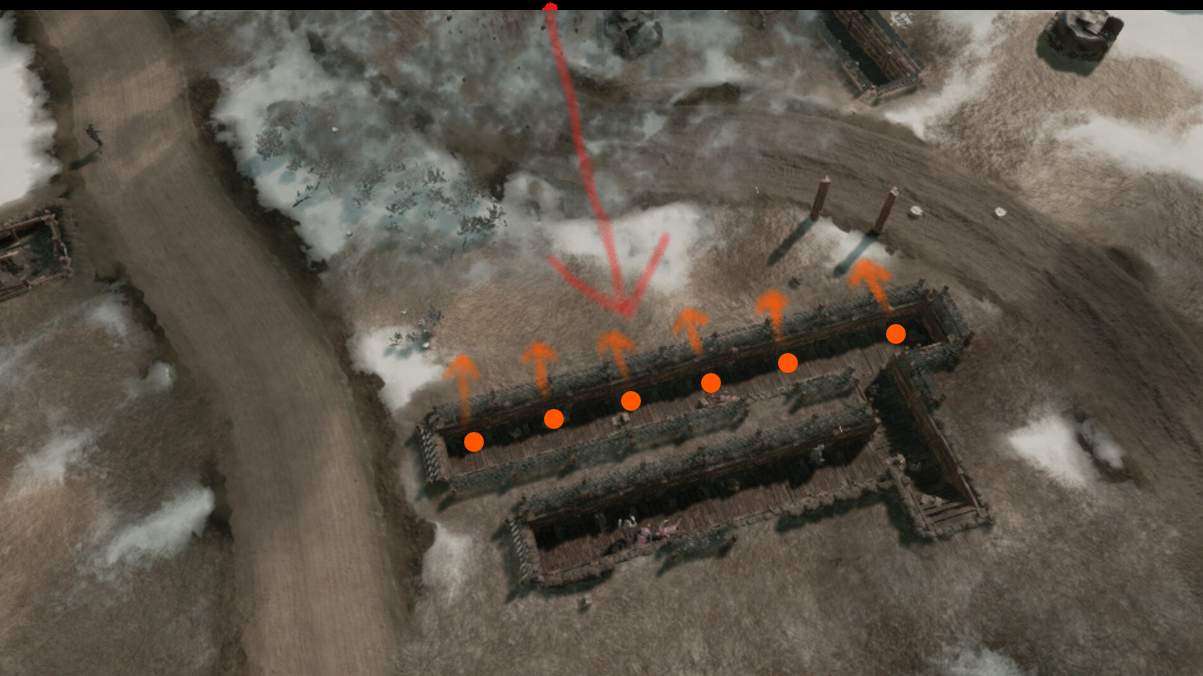
Setup your trench to face the opposing faction. Do not build your trenches vertically to the enemy when defending a trench line.
The red arrow indicates where the enemy is approaching from. In a perfect world you’ll want your trenches facing a no man’s land so the opposing faction has no cover.
The Orange Dots indicate the defenders. You’ll want to shoot from these positions. If grenades become a problem, fall back to the secondary defensive line if the grenades can’t be avoided.
Trench Upgrades
Once You’ve built your trench you can upgrade it.
- Equip a hammer
- Press “F”
- Hover over “Barb wire upgrade” and place the barb wire facing the enemy.
- Hover over “Sandbag upgrade” and place the sandbags at your rear.
- Hover over “Tier Two Trench” and upgrade the trench to tier two.
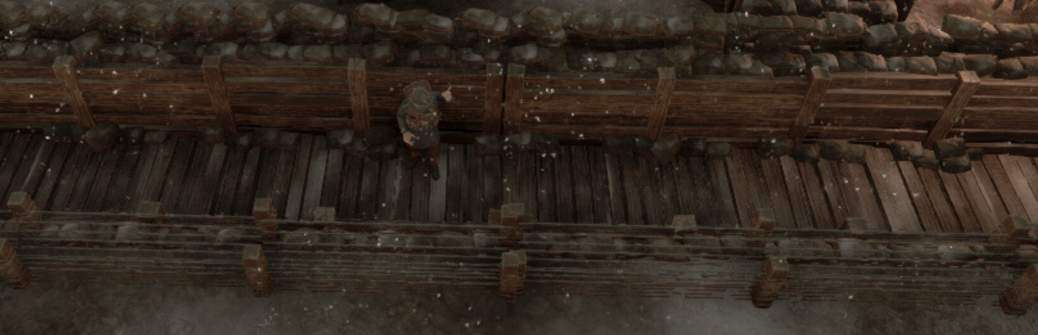
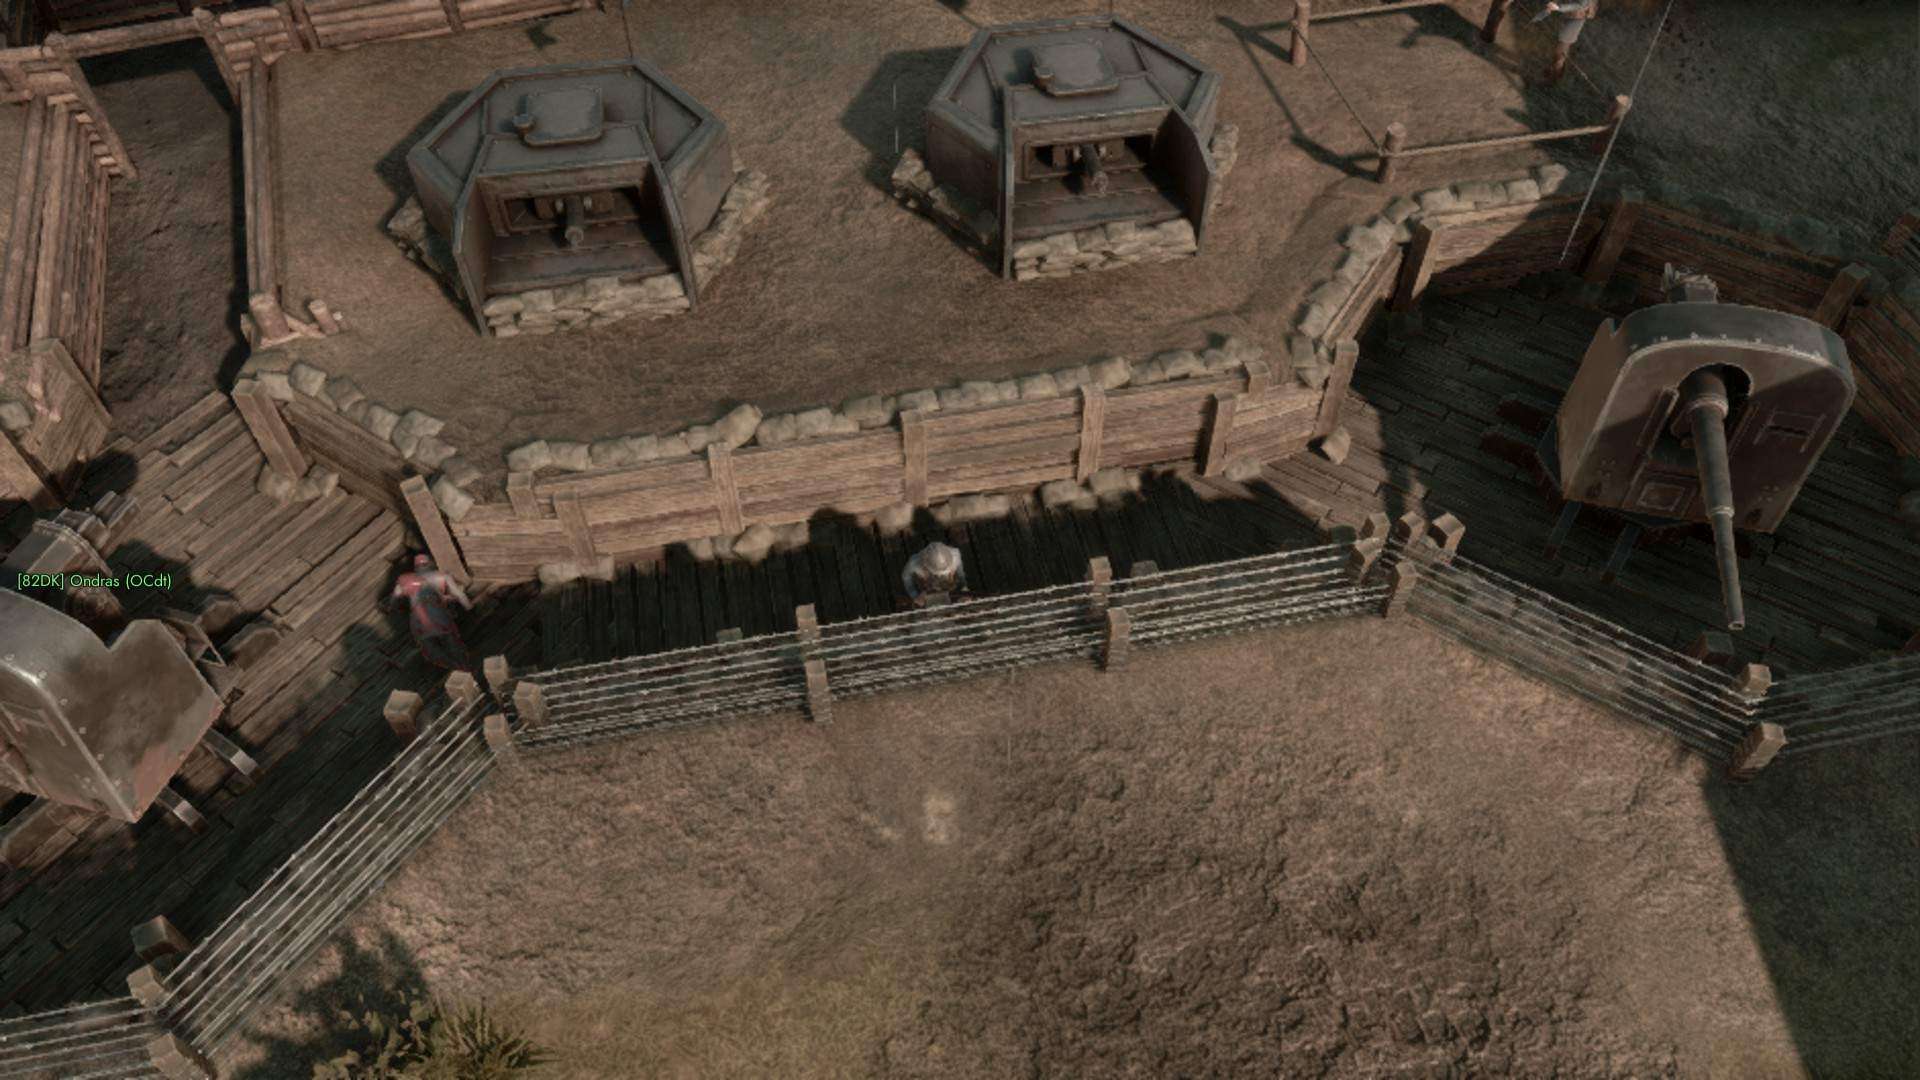
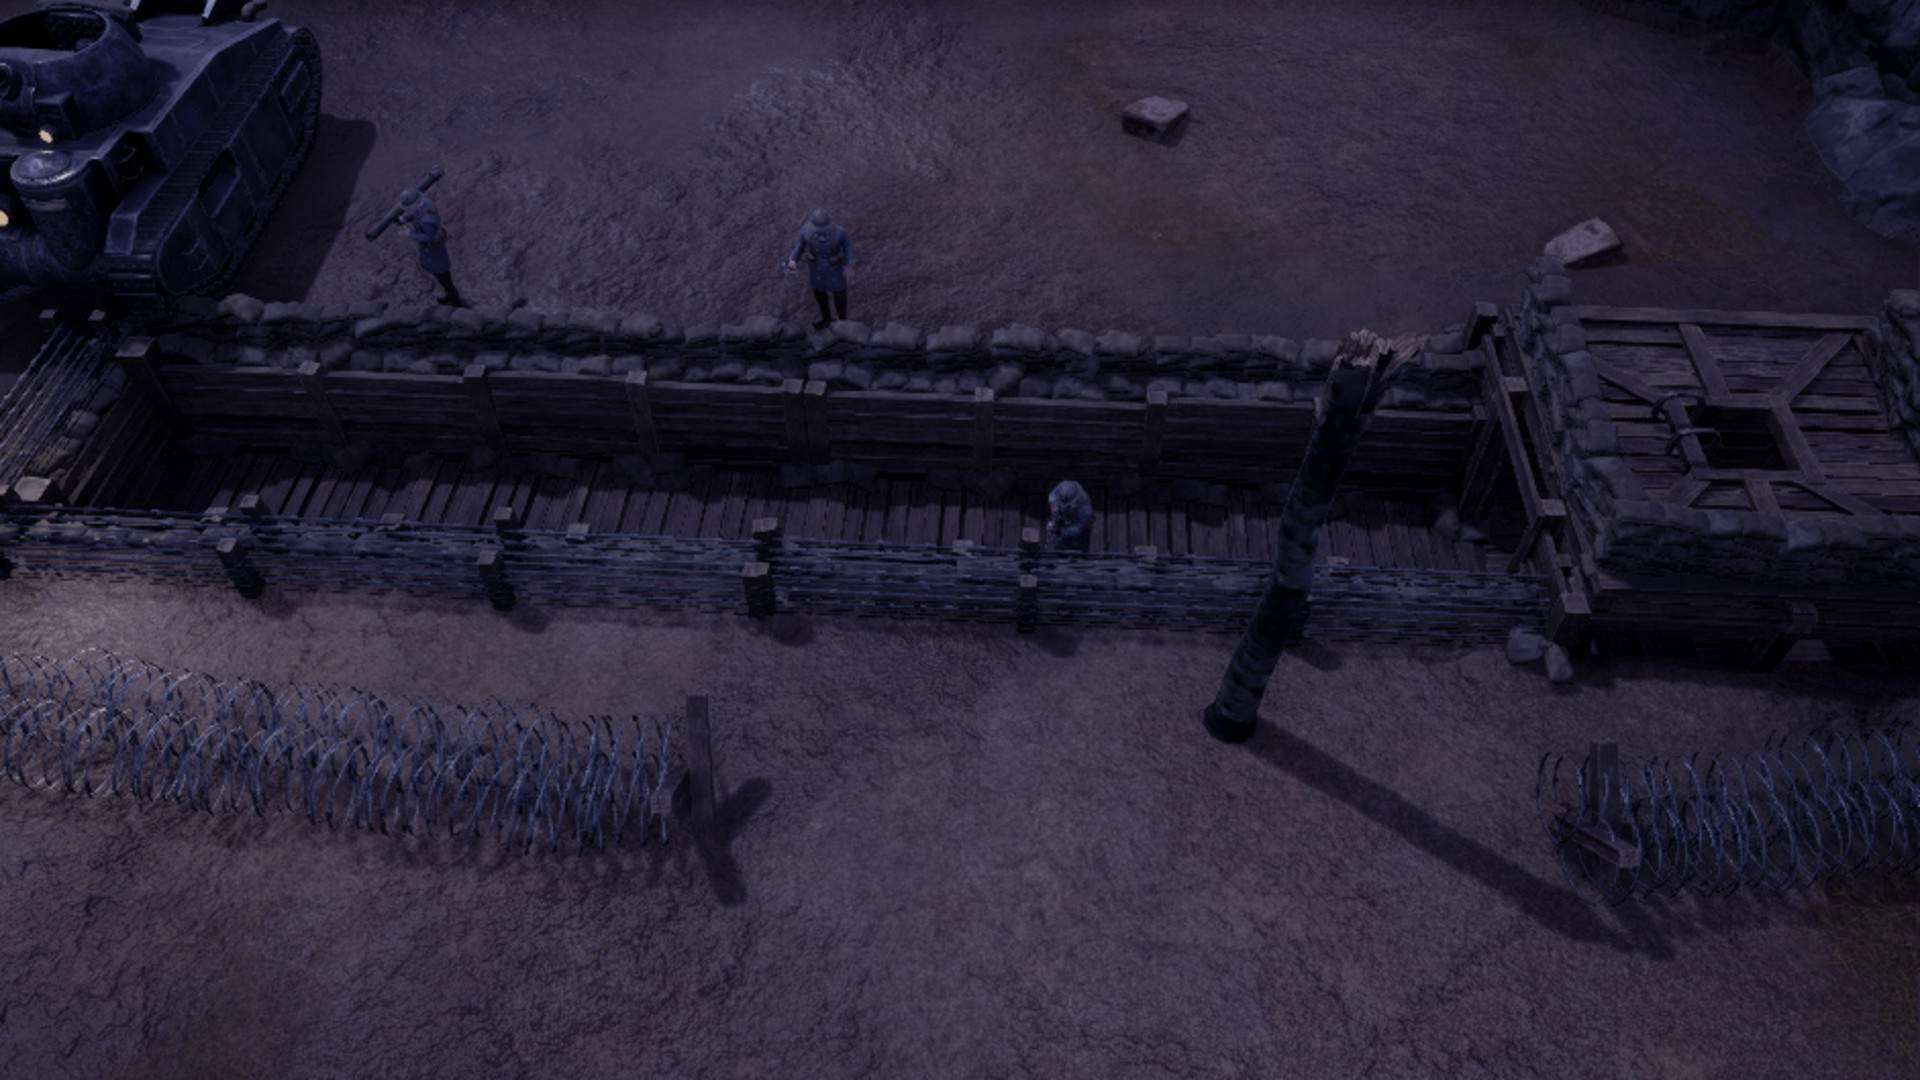
The image below is what your upgraded trench should look like.
AI
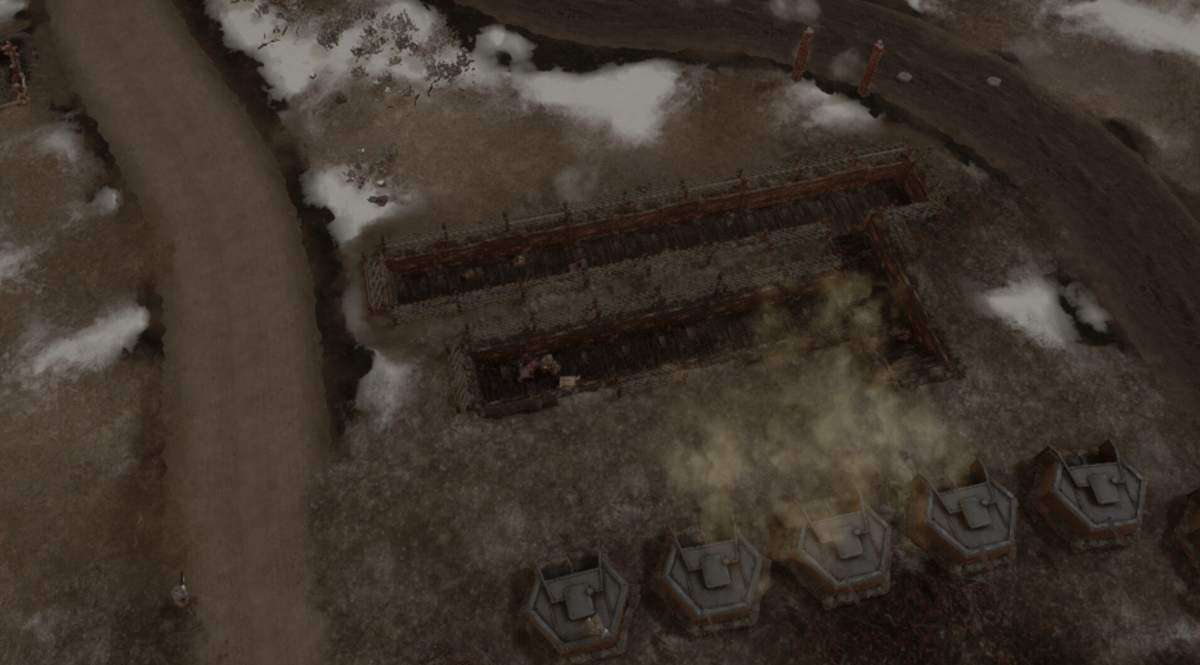
Make sure if possible to face AI towards your trenches.
Refer to the image below of machine gun pillboxes protecting the trenches from invaders.
Reasonable Digging
If someone tells you what you’re digging isn’t helping they MAY be right. Ask them what’s wrong with what you’re doing.
For example if the invaders are pushing to such an extent that you won’t finish your trench line in time perhaps you should fall back a bit.
It’s better to build something great than build something half built to be used against you later.

Be the first to comment