
This is an official game guide for Beyond Sunset. It covers tips and tricks, and a walkthrough for the 3 episodes of the game.
Starting Tips
Enhanced Movement
As a street samurai, you have better mobility than an average Sunset City citizen.
Combine your abilities in combat situations to overcome even the toughest challenges.
The Way Of The Sword
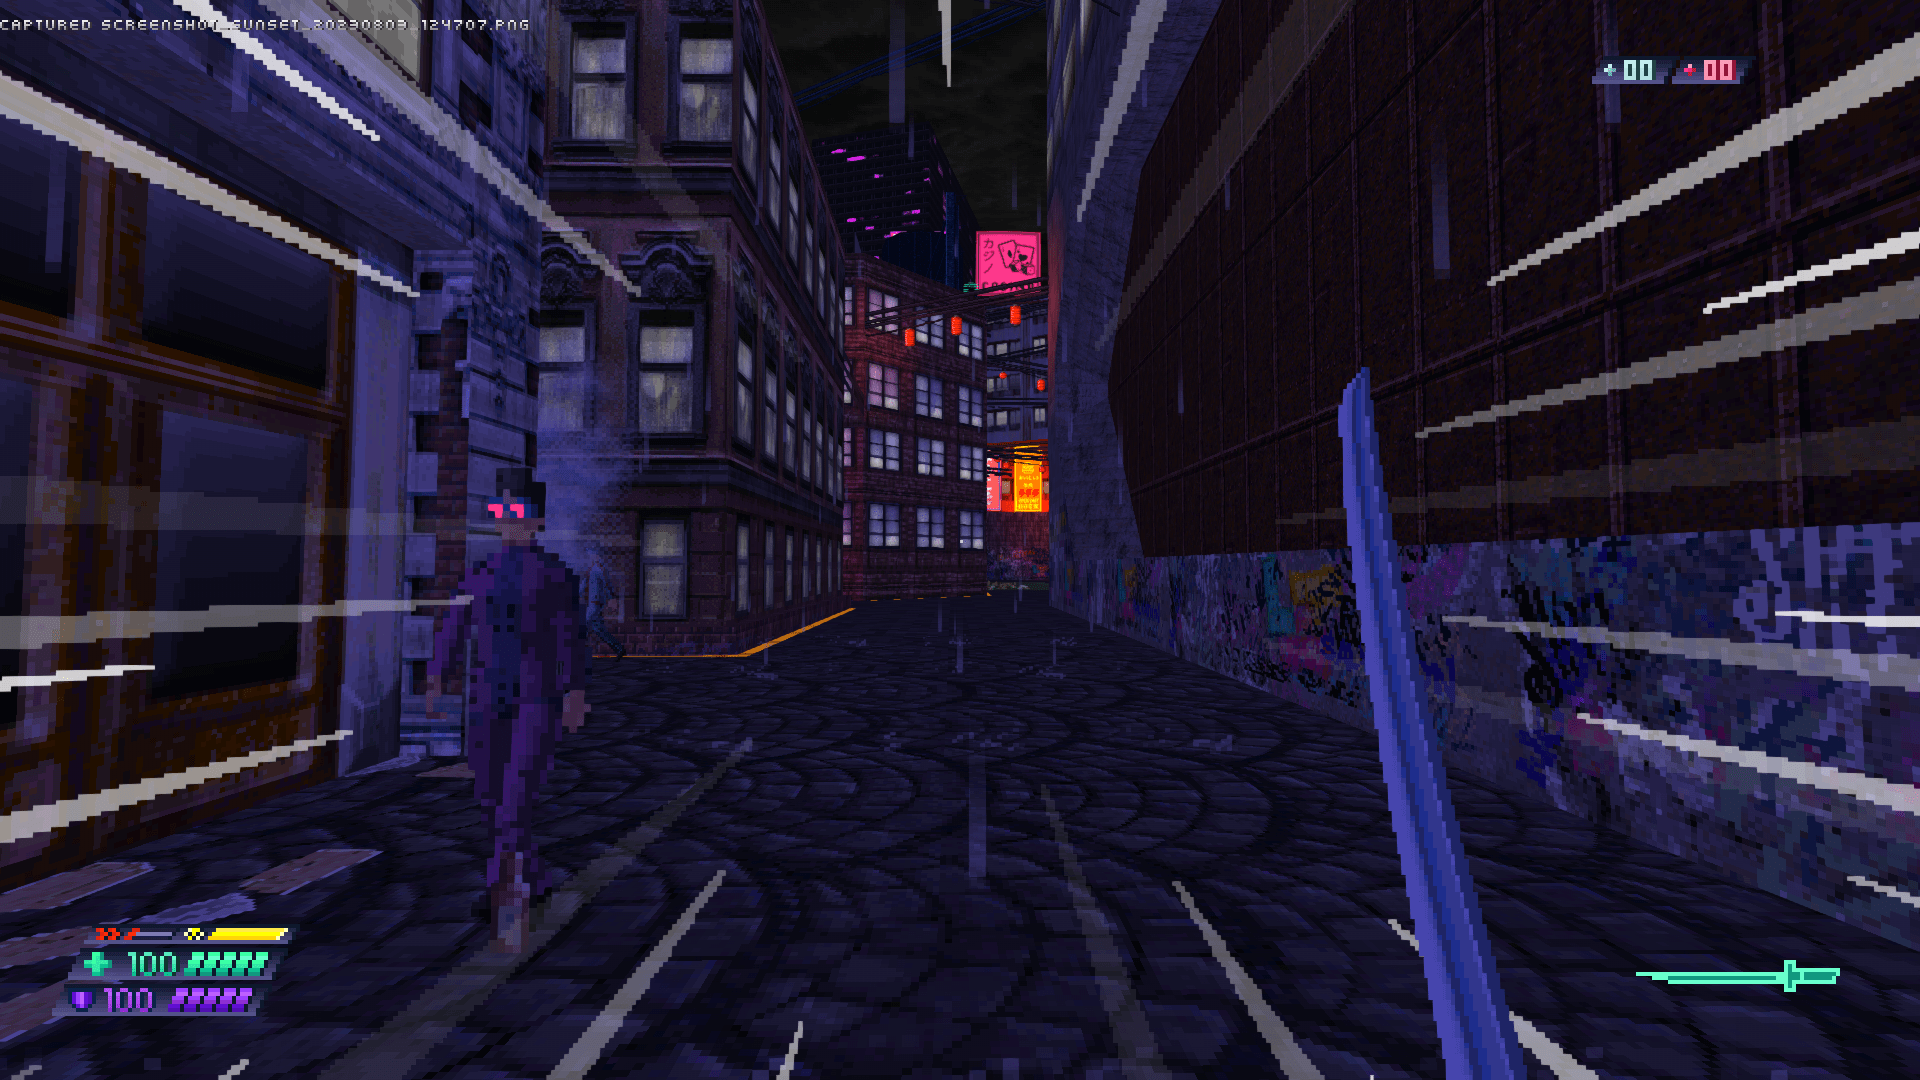
Your main and most important weapon is KATANA. You can get it on the streets of Sunset City. The sword will not only help you deal with enemies, but also replenish your health or protect yourself from incoming fire.
Attack

Deflect Bullets
Execute Powerkill
- Instakill
- Ammo
- Health

Not Everything Wants To Kill You
Not every situation is a combat scenario.
[You should not kill everything on your way]
NPCs will give you information & side missions. You may also encounter traders with valuable goods.
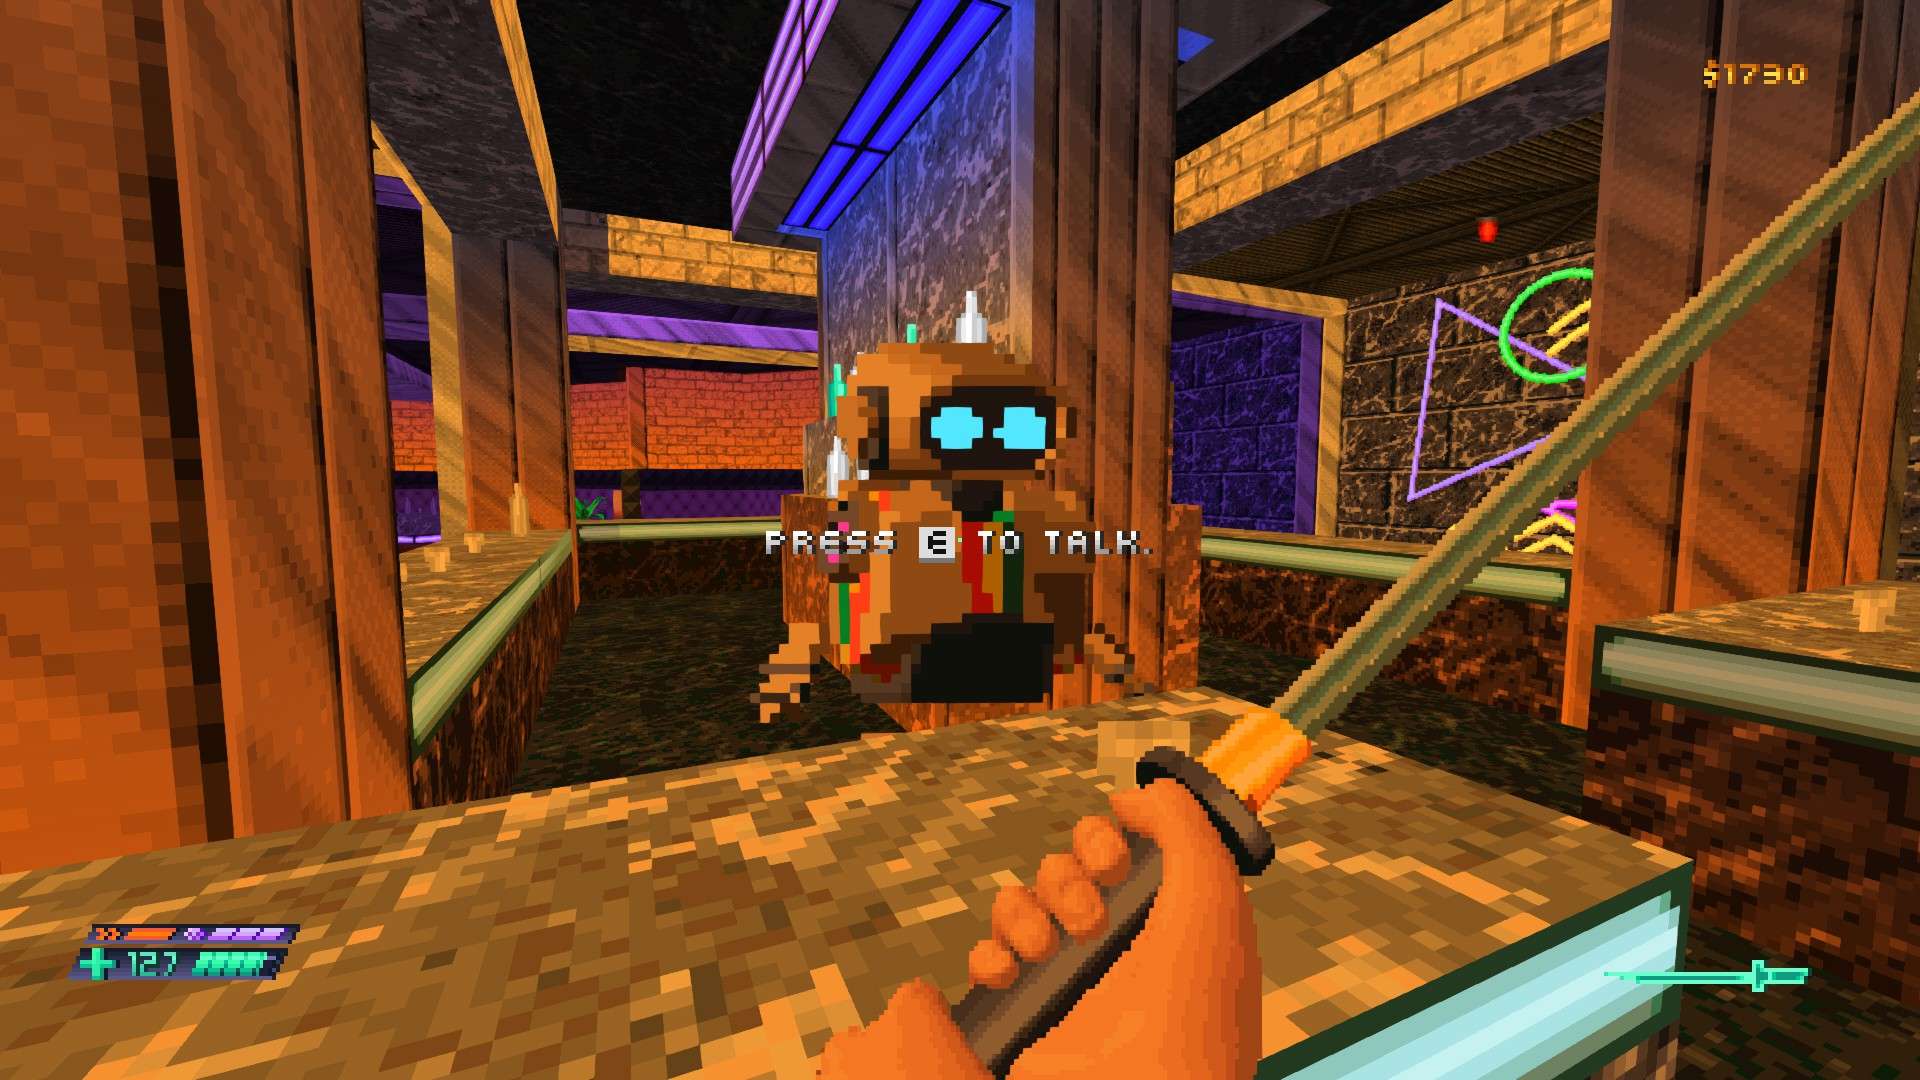
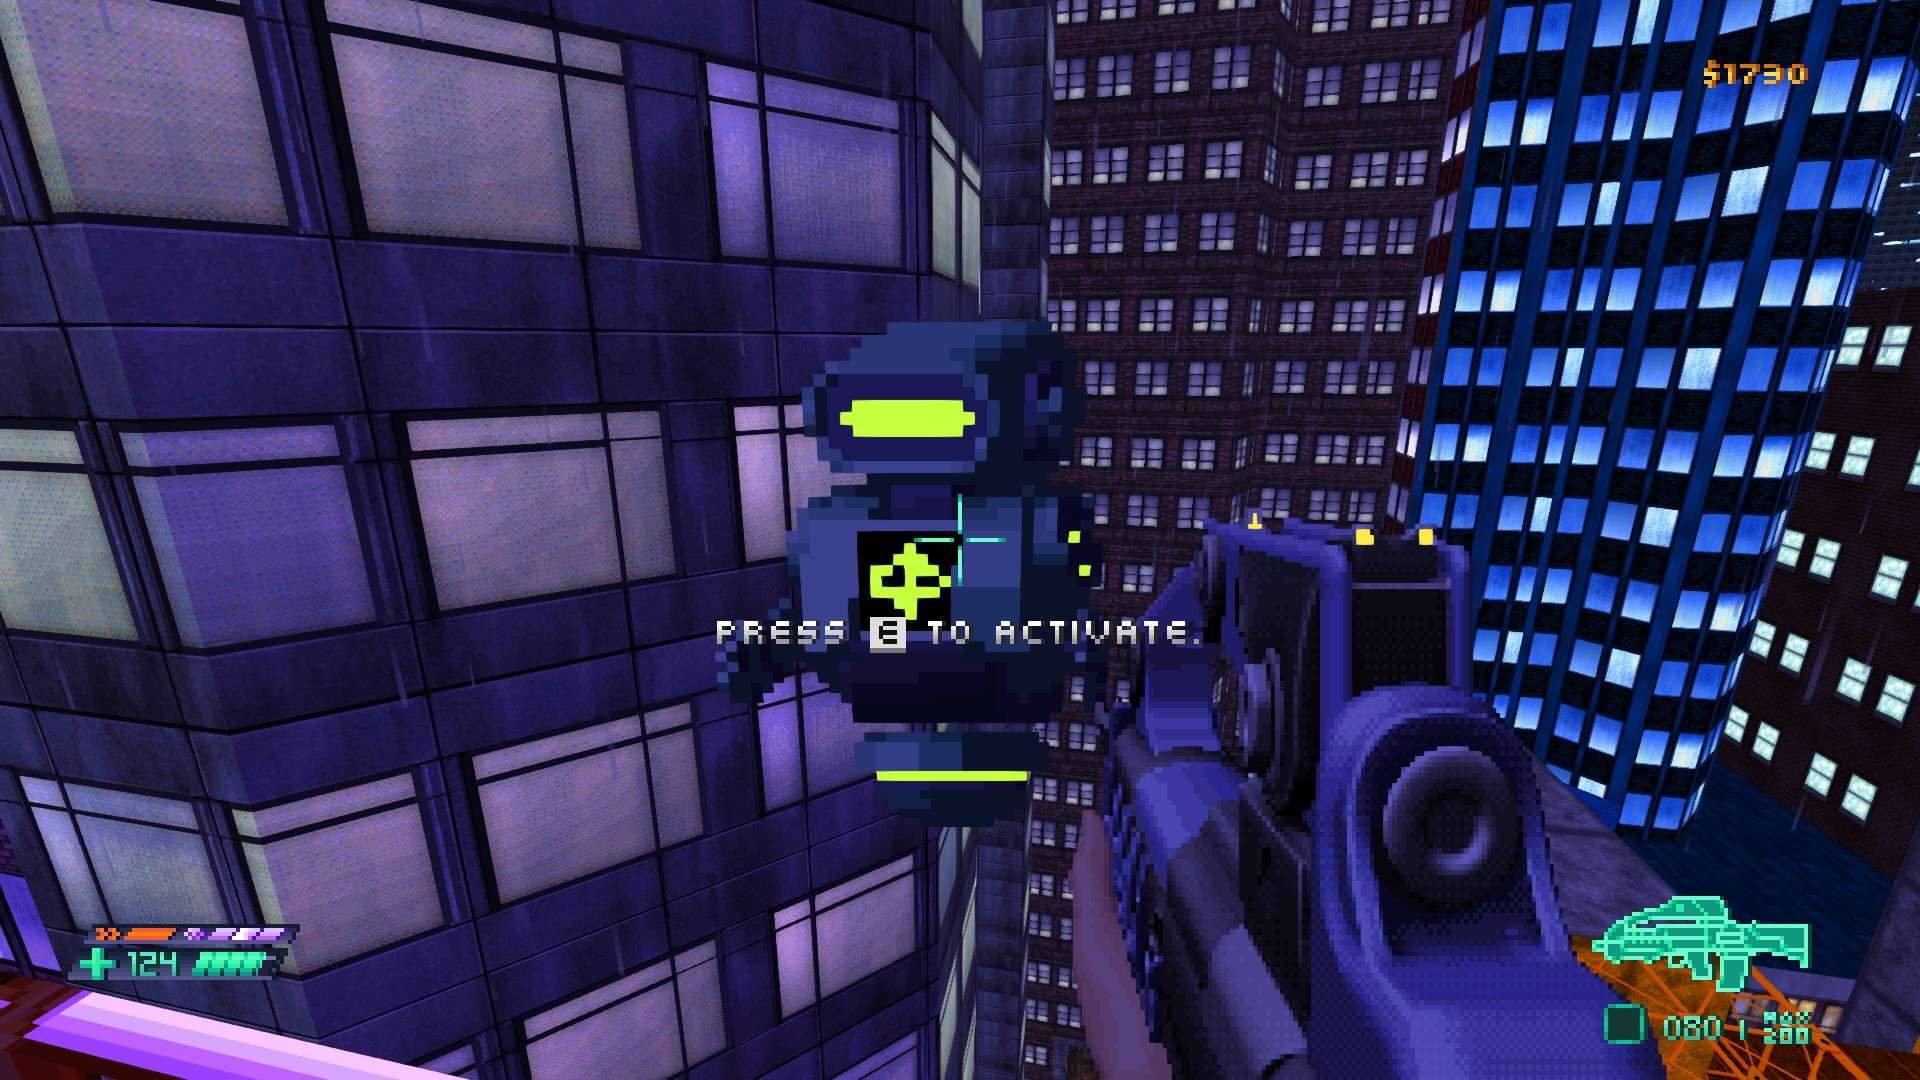
Infobots will help you find your way around Sunset City.
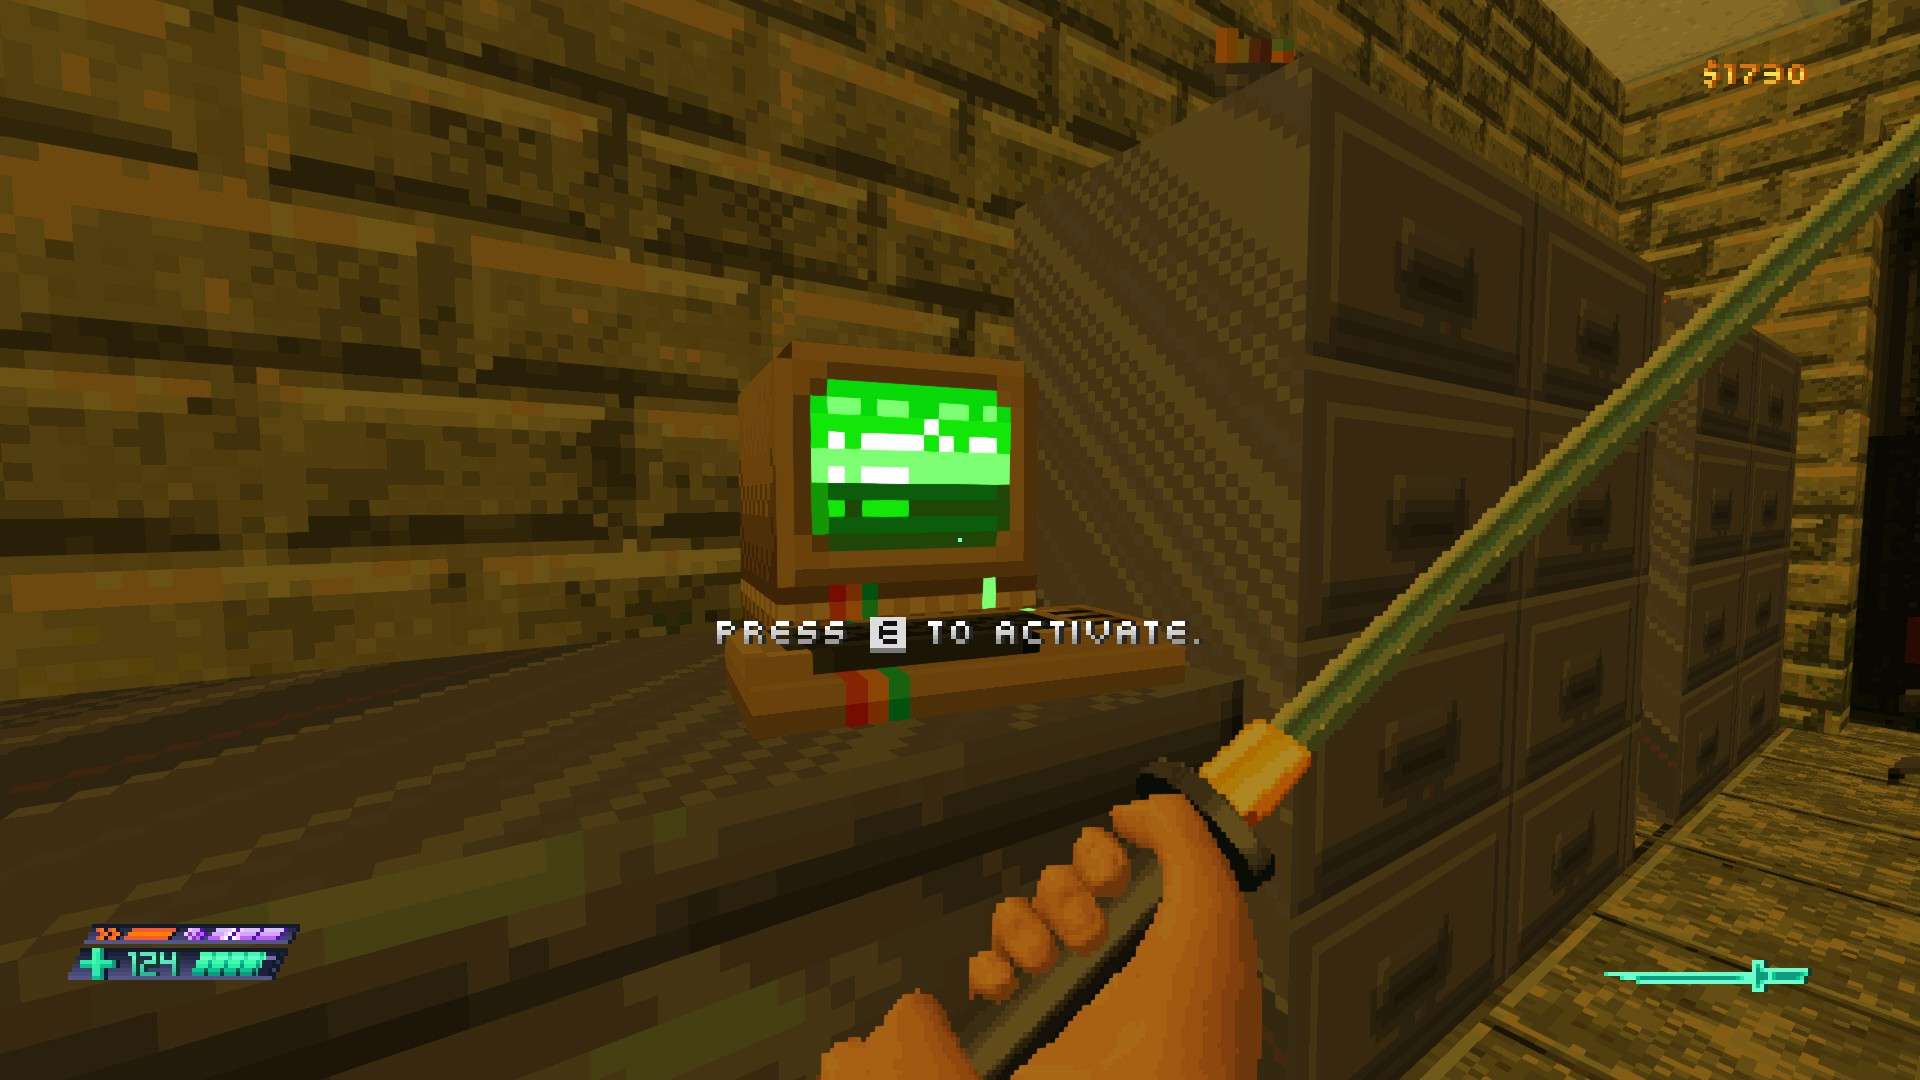
Use computer terminals to read.
The latest news and hack into security systems.
Become More Than A Human
Use interactive Machines to save your progress and improve your weapons… and yourself.
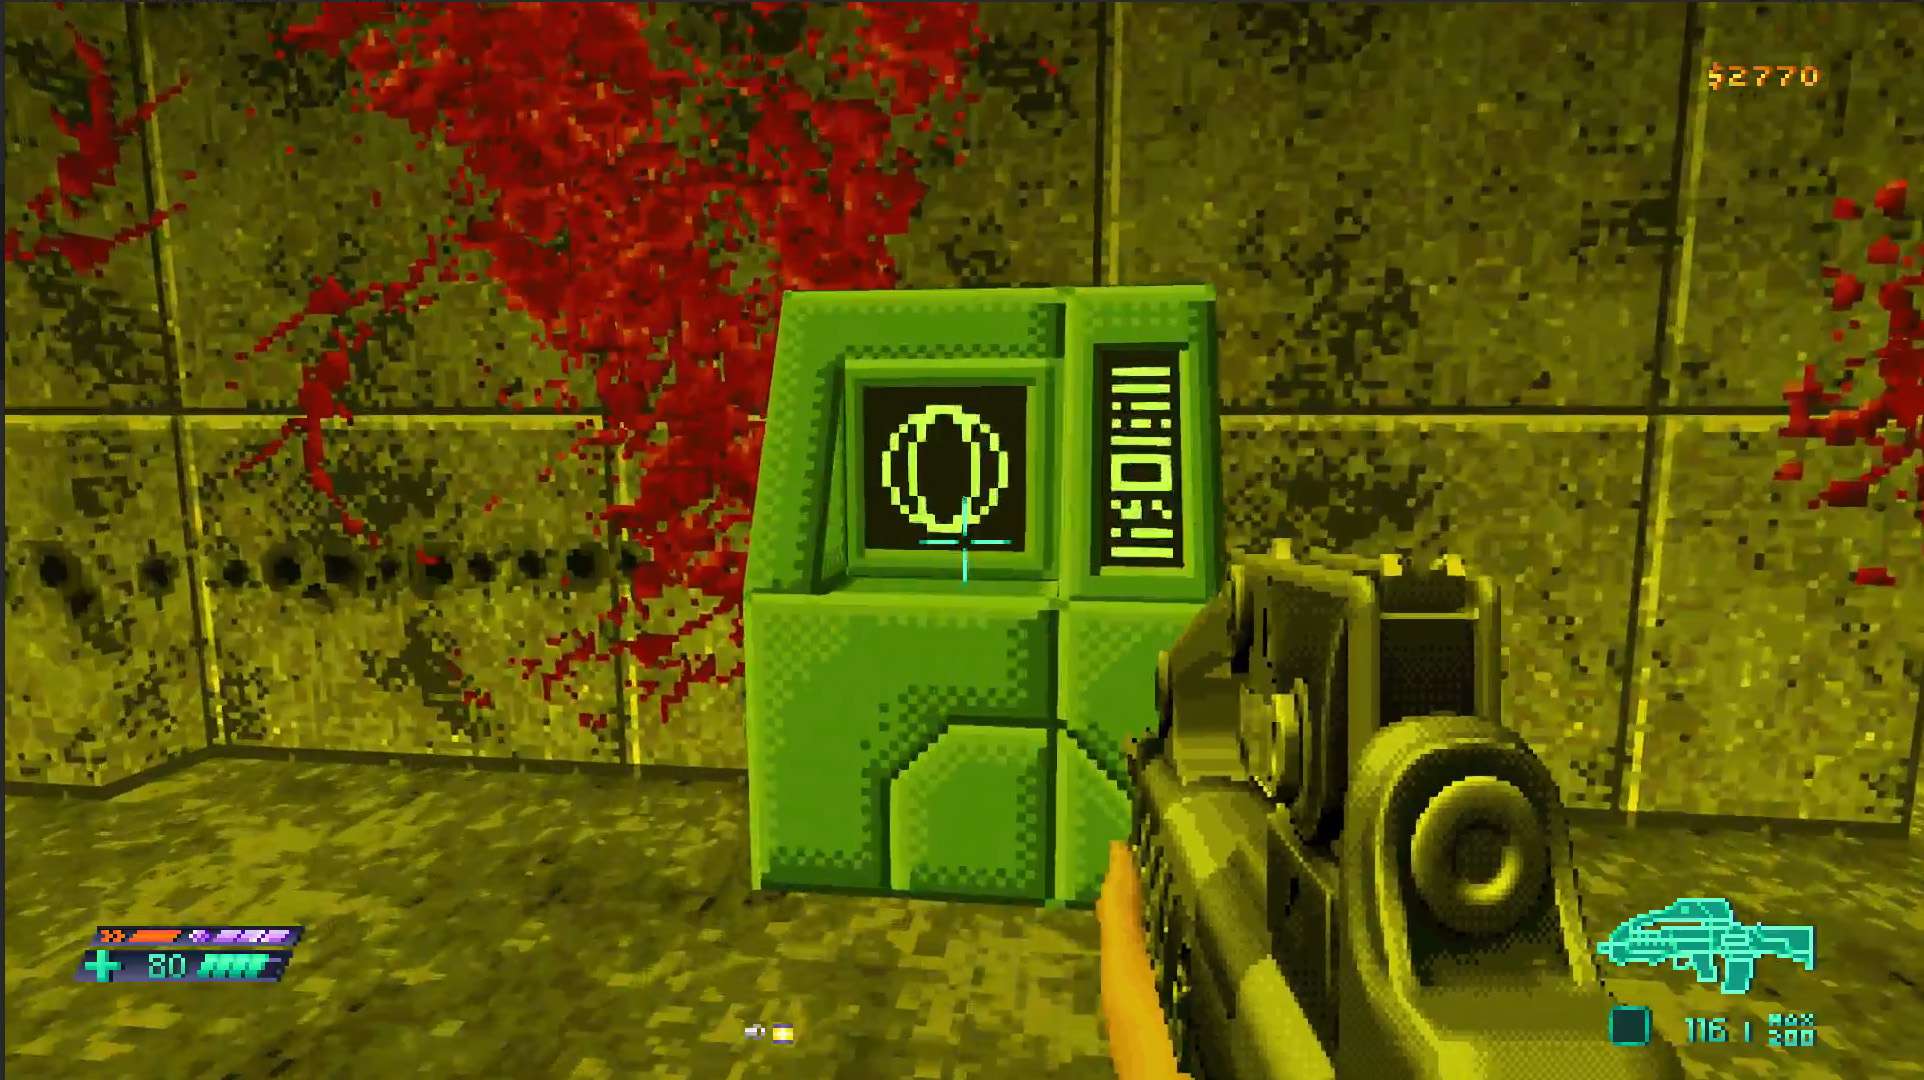
Interact with a Saving Machine to save your progress. Progress is also saved automatically upon entering a new area.
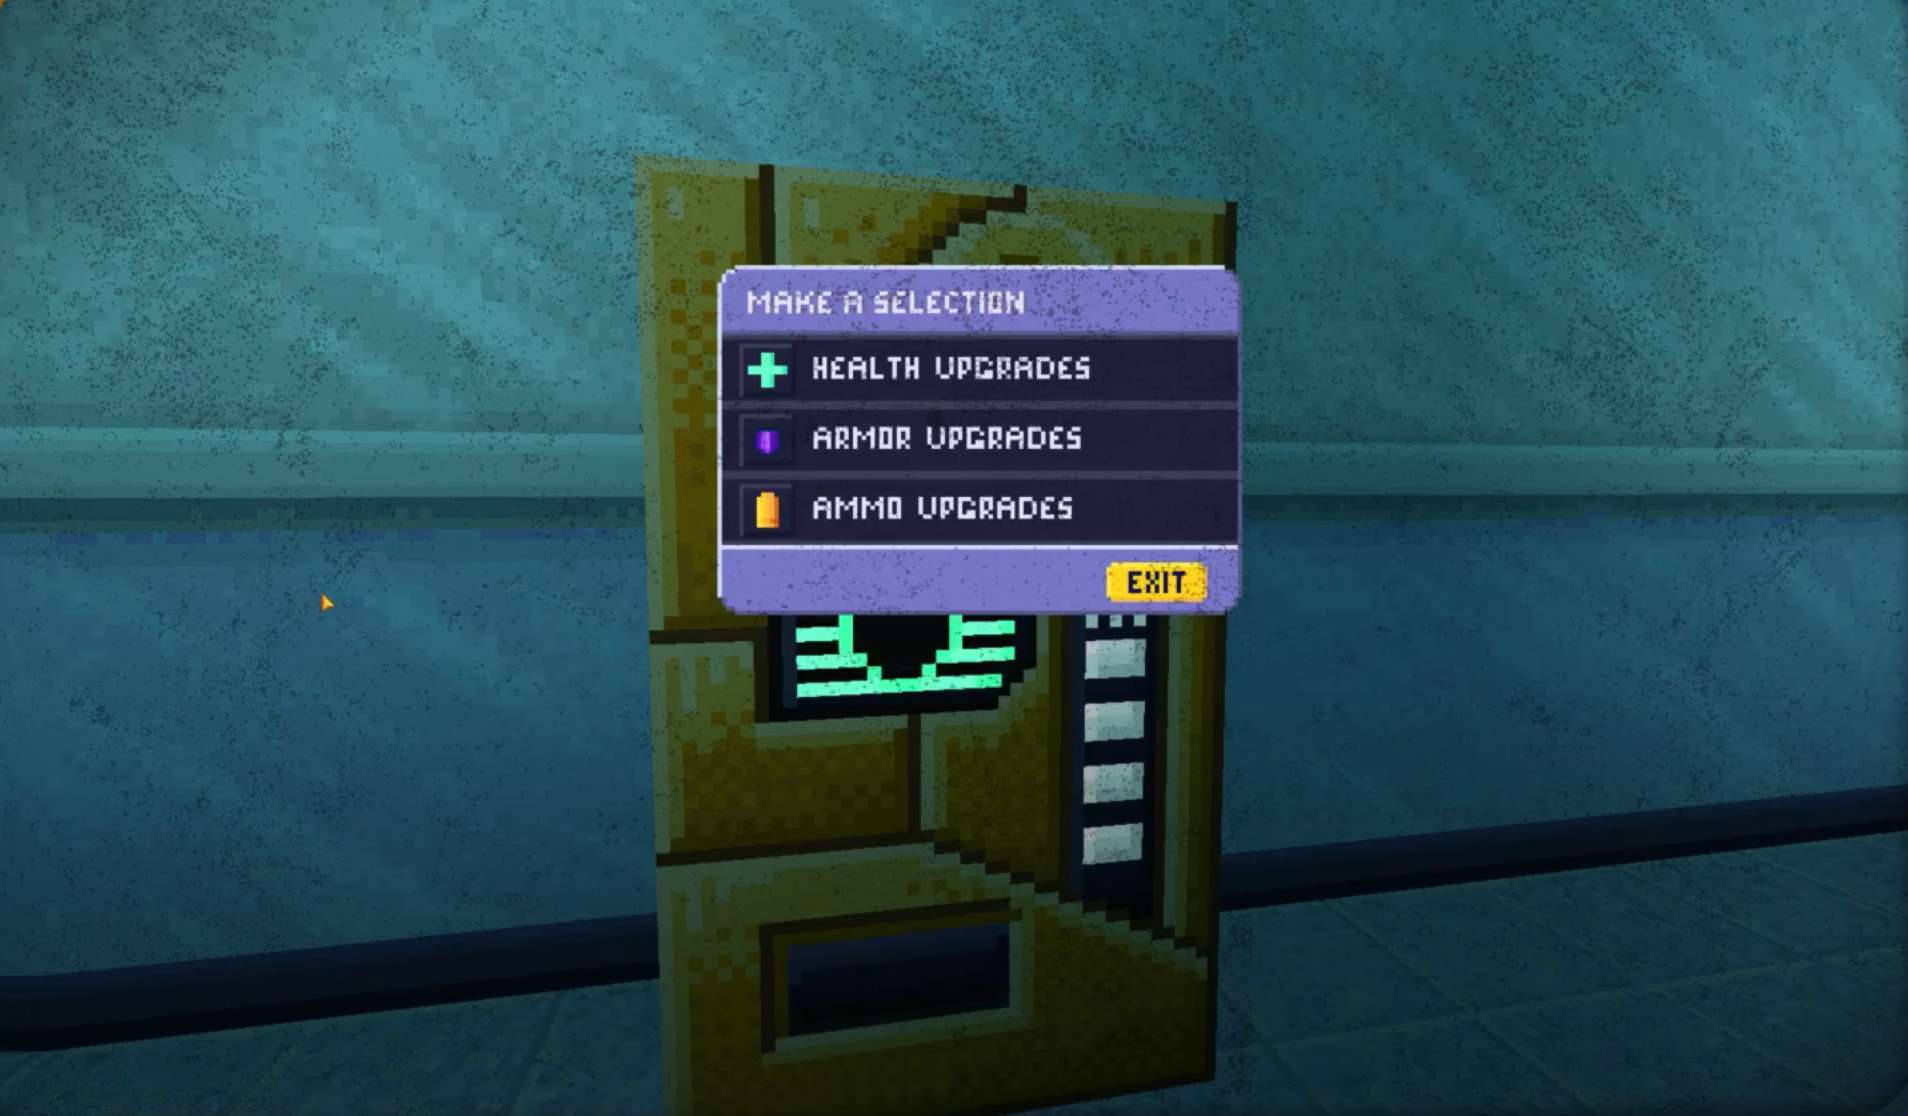
Use Upgrade Machines for ability and weapon improvements.
Got Lost? Get Unlost
Sunset City is vast and you need to find your way around it.
Interact with Infobots and NPCs to get clues and directions.
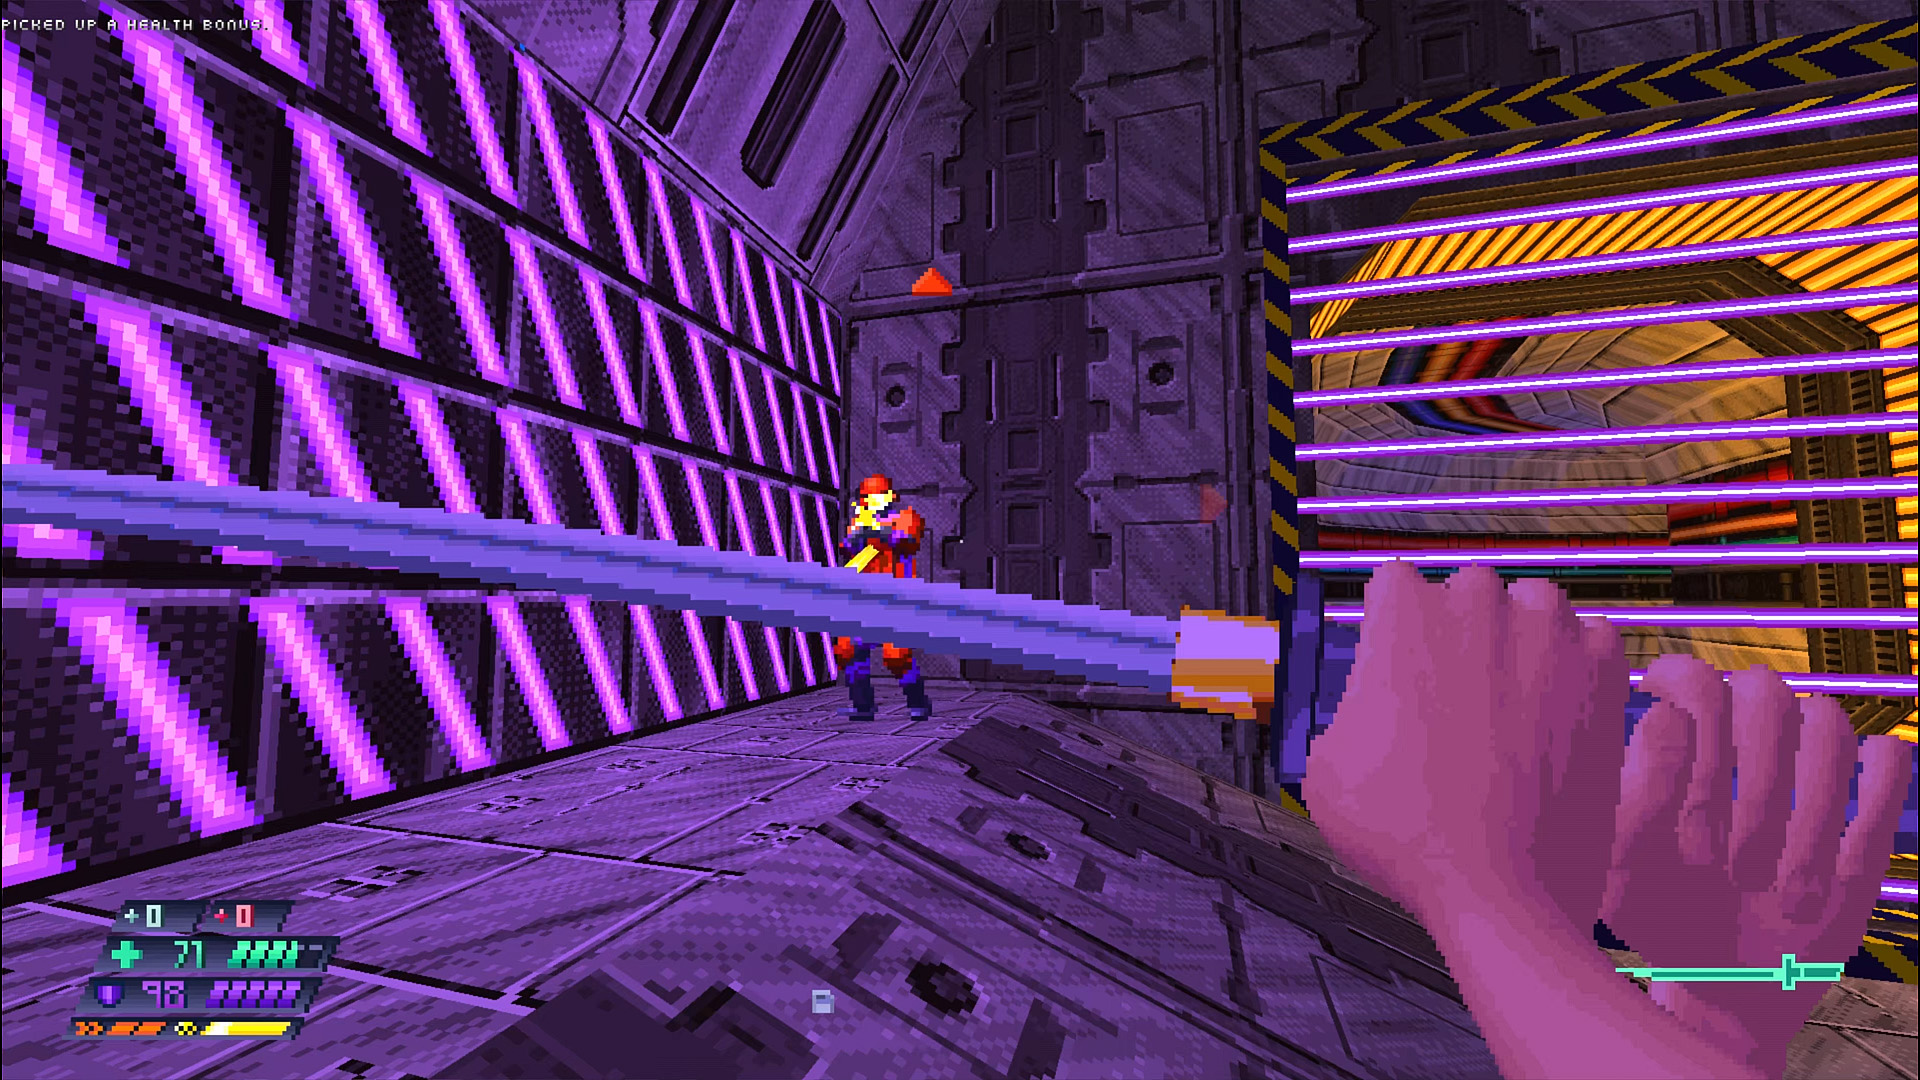
Enemies And Pickups
Fallen enemies will drop valuable resources: ammo, health, and money.

Use dismembered hands.
of high-ranked enemies to access closed areas via a fingerprints scanner.
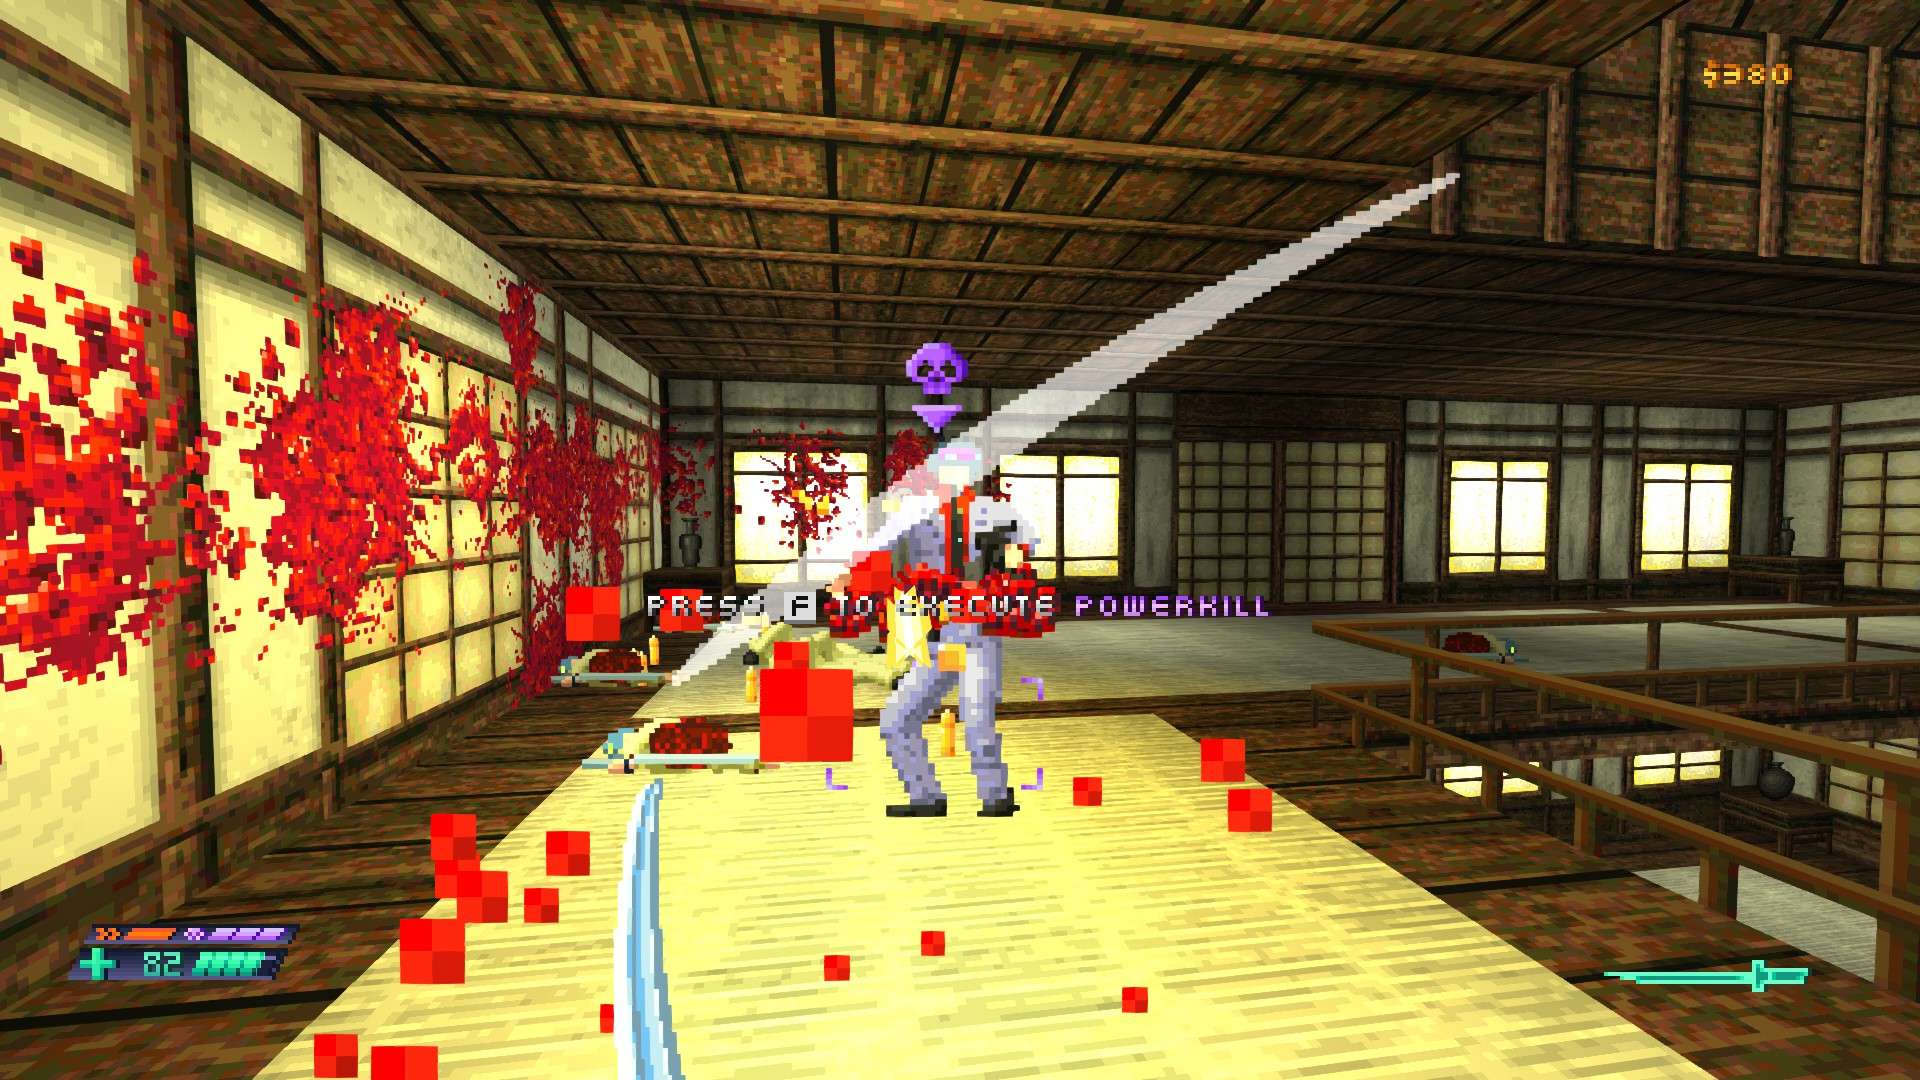
Fill up the Powerkill meter and use it to get an instant refill of ammo and health from a fallen enemy.
Game Modes
After finishing the introductory Training Simulation, you can choose the difficulty level.
[Choose Wisely! This cannot be changed later in the game.]
Novice
Enjoy the story and the world. Don’t die too often.
Average
A balanced and reasonable challenge. This is how the game was meant to be played.
Advanced
You will die a lot. But it is beatable. For hardcore shooter fans.
Walkthrough / Episode 1
- Complete the Combat Simulation and choose your gameplay difficulty by walking through the correct path: green/blue – novice, orange – average, red – advanced.
- Go to the Red Pawn shop in Old Town and interact with the NPC to obtain a katana.
- Find a building with a balcony on which a man in a pink suit stands – enter it and kill everyone. Pick up the pink enemy’s dismembered hand.
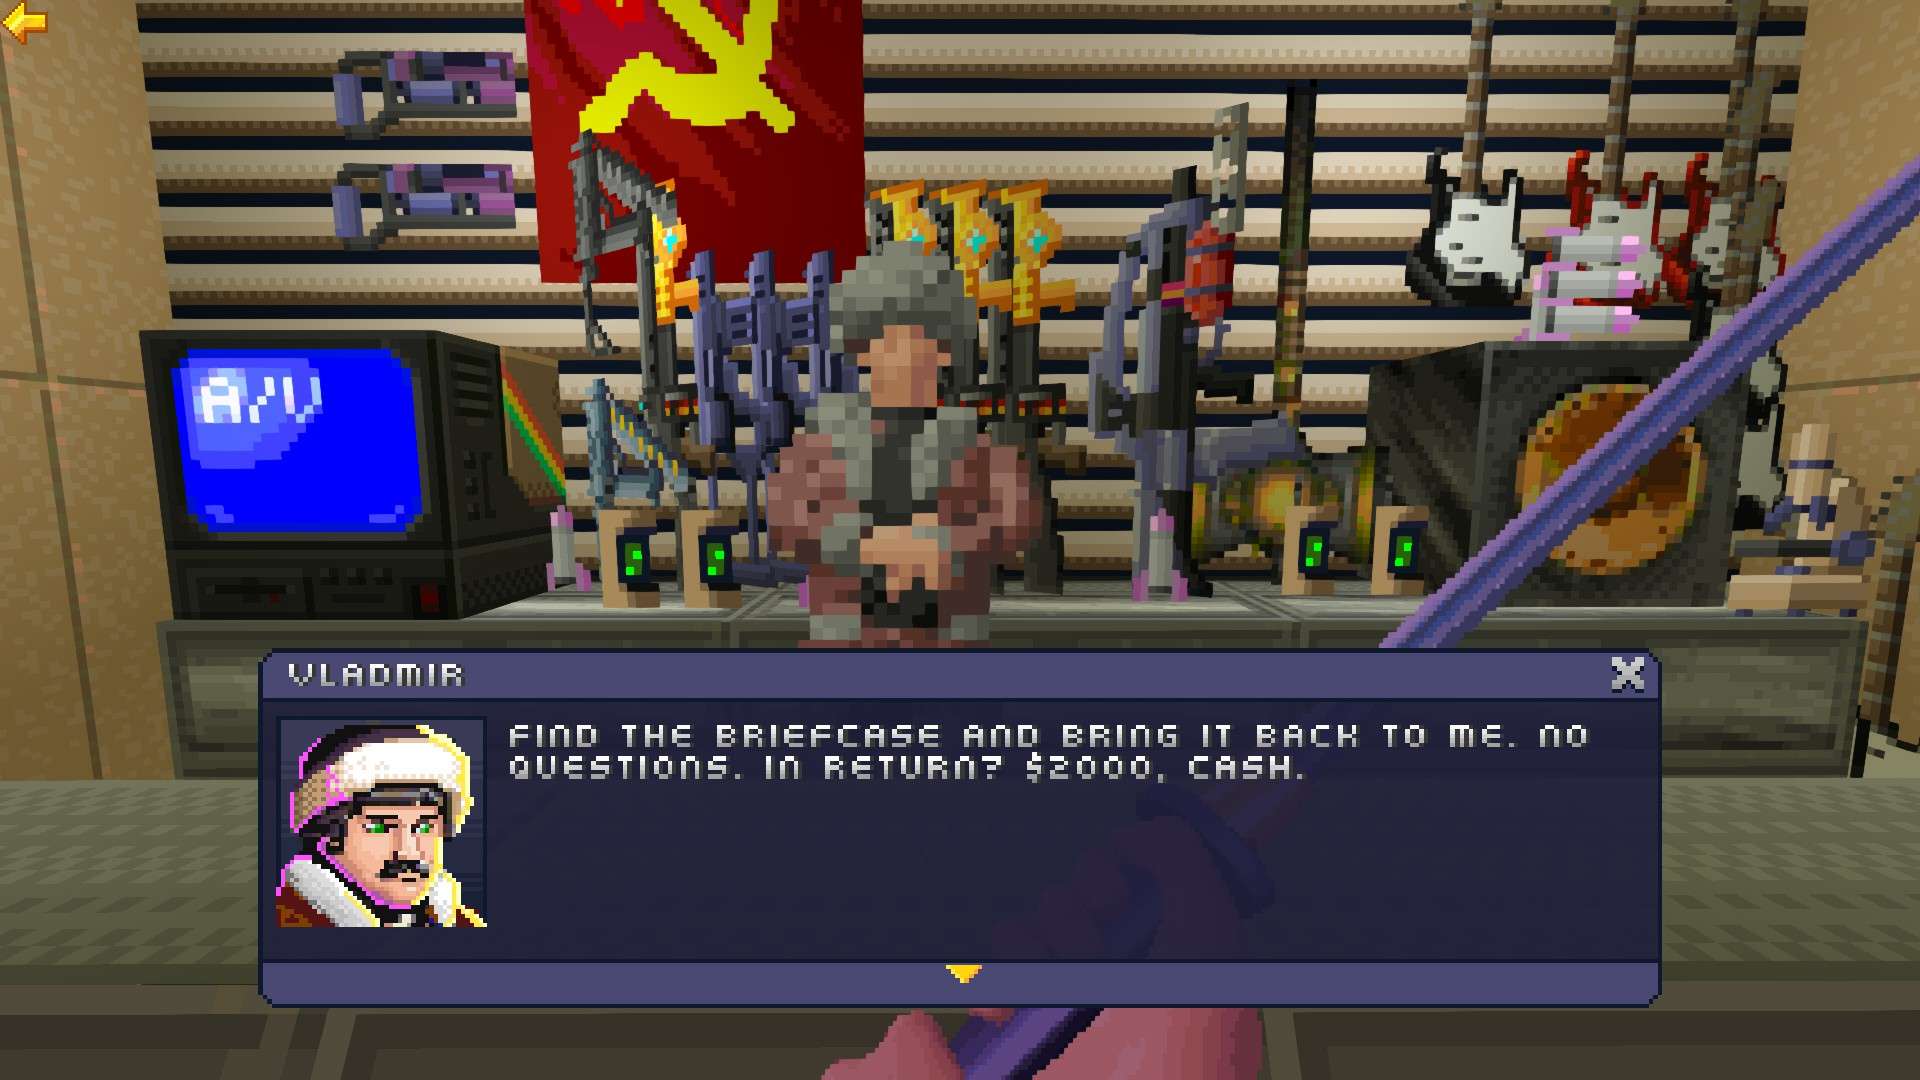
- Go back to the Red Pawn to obtain your reward. While talking to Vladmir you can also accept a new quest to retrieve a briefcase from the quarantine zone.
- Find a closed passage that requires the pink hand to enter. Interact with the scanner.
- Go through the passage, kill enemies and enter West Sunset Mall building.
- On the first floor, go through an automatic door (they light up green allowing you to enter), and use a computer to open the loading zone gate.
- Go to the loading zone, kill enemies and climb to the 2nd floor of the building.
- Go through another automatic door and use the computer to open the arcade gate.
- Enter the arcade and kill enemy waves. Use the computer to open maintenance gate.
- Go through maintenance gate [2nd floor] and progress further until you pick up the energy pistol weapon.
- Use the computer to open North access gates. Go through them.
- Climb the 2nd floor, go through the automatic door and open the food court gate by interacting with the PC.
- Go through the food court gate [1st floor] and kill enemy waves. Pick up a shotgun lying on the floor.
- Exit to the Market Street and clear the area from enemies.
- Find the correct passage leading to the Quarantine Zone, go through it.
- After entering the quarantine area choose the left path [through the wire fence].
- Look for the locked door and use the silver key obtained earlier from Vladmir to open it.
- Enter through the door and interact with a green terminal that you can shoot in order to unlock further passage.
- Obtain a briefcase in this area and clear enemy waves to escape.
- Exit the quarantine area and go back to Vladmir to give him the briefcase.
- Go back to Market Street and find a shop with the Trade & Repair banner. Interact with the merchant and accept a quest to destroy a soviet war mech in the West Sunset Quarantine Zone. You will receive a key to the quarantine zone.
- Go back to the quarantine zone and this time choose a path to the right.
- Go through the quarantine zone area up until you find a closed door that will open after interacting with it [you will use the key received from the merchant].
- Kill the mech boss.
- Pick up the two items that drop from the boss – a battery for the merchant quest, and a power cell that will allow you to open a new path to quickly exit the quarantine zone. You can interact with a machine in the boss area to put the power cell into it to open up the new path.
- Exit the quarantine zone. The shortcut will lead you to Slums – clear enemies in this area.
- Go back to the Trade & Repair merchant to complete the mech quest.
- In Market Street go through the building in the middle of this area, it will have two interactive locks in it. Interacting with them will open two new paths for you.
- Go through a blue passage. It will lead to you a zone that will have you kill multiple enemy waves. One enemy will drop a blue hand, pick it up.
- Go back to Market Street and go through one of the paths opened earlier, it will lead you to a door that can be opened by using the blue hand picked up just before.
- Pick up a Rifle in the room opened with the blue hand. In the same room, access the network by using the PC. Complete this network level.
- Back in Market Street, find The Wave banner and go through that passage to get to The Wave dance club.
- Enter the club and finish the fight sequence inside of it – you will gain a red hand from an enemy there.
- Leave the club and use the obtained red hand to open a door back on Market Street [it is located on the highest floor in this level].
- Interact with the PC inside that room to access the network. Finish this network level and go to Slums.
- Find an open room with a PC that will allow you to unlock South Tower Security.
- Enter through the newly opened door and unlock West Tower Security through the PC.
- Enter the newly opened door and unlock Parrott Lobby through the PC.
- Enter Parrott Lobby, interact with the elevator and clear enemy waves.
- Use the elevator and kill the NPC that drops the green hand.
- Go back to Old Town and use the green hand to open a new passage.
- Go through the passage and progress to ultimately enter a room with a PC. Interact with it to access the network. Finish this network level. Level gates to your target’s house will open.
- Go back to the Old Town and enter your target’s house.
- Defeat Apollo.
- Progress further into the house and kill your target. This is where the level ends.
Walkthrough / Episode 2
- Pick up the first gold disk.
- Install it at the first data terminal. Access the network at the same terminal.
- Inside the network, pick up the drill, drill through the ice, and pick up the # upgrade.
- Properly lead the gold ray of light to open up a new path, then enter the white ray [user access to archives will be granted].
- Quit the network.
- Progress further into the level.
- Pick up the second gold disk and progress further into the level.
- Once you reach a hub with three different closed paths, enter any data terminal and install a gold disk into it.
- Access the network at the same terminal.
- Pick up the spawned drill and select a new path by interacting with the red \ buttons. Select the red path for example.
- Drill through the ice and complete the puzzle inside this level [you will gain user access to engineering].
- Quit the network.
- Enter the newly opened red path and progress further to Programming and Development.
- Go around the map interacting with the green “+” interaction buttons to spawn enemies and progress further.
- Eventually pick up the third gold disk.
- After going around the level a little bit more you will unlock the center with Balthazar in it. Interact with the him.
- Go to any chosen data terminal inside this room, place a gold disk in it and access the network.
- Pick up the drill, choose a new path with the red interactive buttons, for example the gold path.
- Drill through the ice and complete the puzzle inside this level [you will gain user access to programming].
- Quit the network.
- Go back to the hub and enter the newly opened gold path. Progress further into the Programming path.
- Go around the map interacting with the green “+” interaction buttons to spawn enemies and progress further.
- Eventually pick up the fourth gold disk.
- After going around the level a little bit more you will unlock the center with MelchiorC in it. Interact with the NPC.
- Then go to any chosen data terminal inside this room, place a gold disk in it and access the network.
- Pick up the drill, choose a new path with the red interactive buttons, this time the last pink path.
- Drill through the ice and complete the puzzle inside this level [you will gain user access to antimatter].
- Quit the network. Go back to the hub and enter the newly opened green path. Progress further into the Antimatter Generator path.
- Go around the map, find a door you can unlock by interacting with a green lock button.
- Enter the outer part of the map and interact with the green terminal to turn it off – it will spawn enemies that you will need to kill to progress further.
- Progress further by going round the outer rim, turn off another terminal and kill spawned enemies.
- You will now be able to go back and find the fifth gold disk on the pipe you were walking on.
- Continue killing enemies and turn off another terminal. After killing the last wave of enemies you should now be able to enter the center of this level with Casper inside. Interact with the NPC.
- Then go to any chosen data terminal inside this room, enter a gold disk into it and access the network. You should have all paths in the network completed by now, just quit the network.
- Interact once again with Casper NPC and choose to help him. He will give you a red card.
- Go back to the hub and enter the red path once again. Use the received red card to enter a locked room. Progress through the locked room and interact with terminals.
- Once done, find another locked room and enter it thanks to the red card. Once again progress through the locked room and interact with terminals.
- When done, find the last (3rd) locked room and enter it thanks to the red card. Progress through the locked room and interact with terminals.
- After shutting down the last terminal you will kill Balthazar, and proper animation will be played.
- Enter the room with Balthazar and pick up the item dropped from him. Kill enemy waves and go back to the hub.
- Go back to Casper in the Antimatter Generator path [green path] and interact with him. Agree to help him kill Melchior and you will gain a gold card.
- Go back to the hub and go to the gold path once again.
- Go through the door previously locked, you will be able to unlock it thanks to the gold card. Clear all enemies and interact with possible terminals.
- Similarly find the second previously locked door, enter it, clear enemies and interact with all possible terminals.
- Find the third previously locked door, enter it, clear enemies and interact with all possible terminals.
- After clearing the third locked room you will kill Melchior. Go to the room with Melchior, pick up the item dropped from him, clear enemies and go back to the hub.
- Go back to Casper in the “Antimatter Generator” path [green path] and interact with him.
- Kill the boss Mirage. This is where this chapter ends.
Walkthrough / Episode 3
- This episode brings a twist to the gameplay: it’s much more open and dynamic and you will need to rely on your combat and tactical skills. First, interact with Raven to give him your weapons and open a path deeper in the level.
- Find Yuri. After completing the conversation you will be ambushed. Escape by jumping down the opening..
- Interact with Raven and you will be given your weapons back. Progress further into the level, clear all enemies from the map.
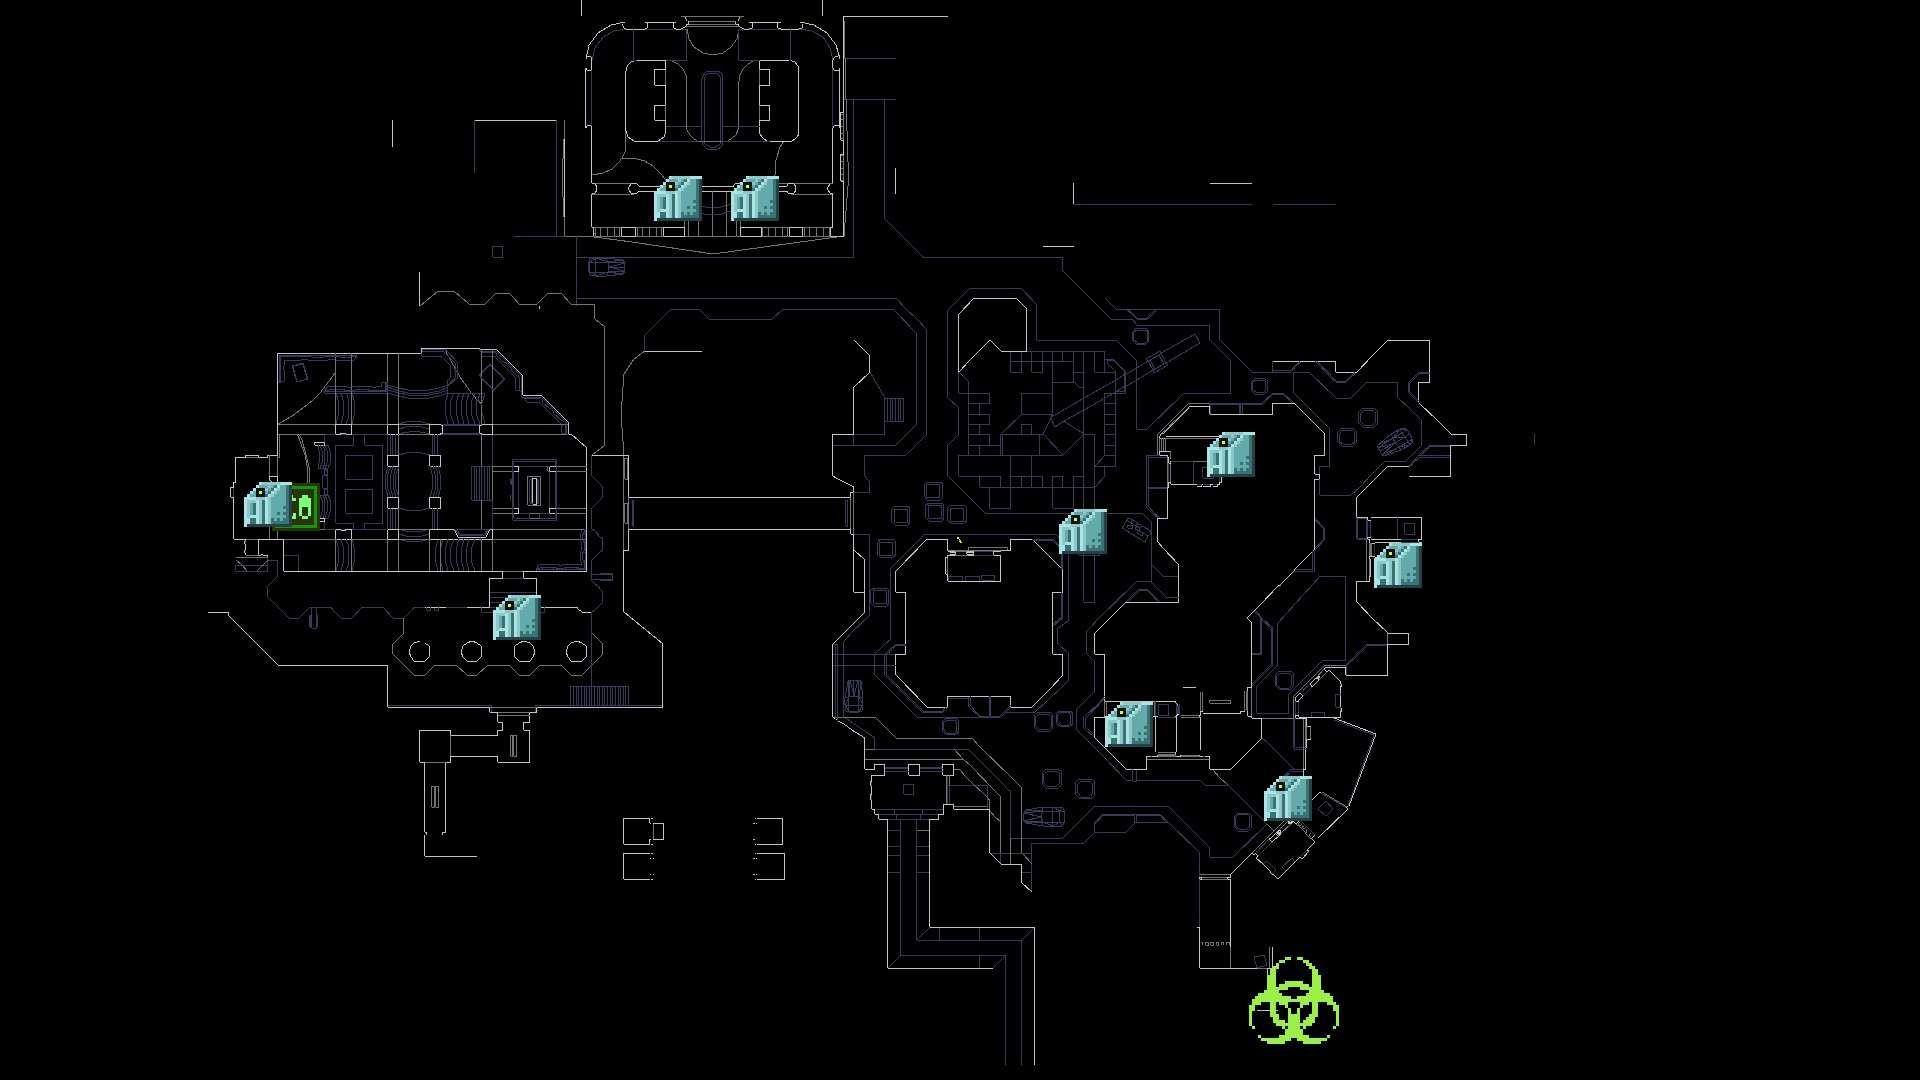
- Start interacting with turrets. Capture them by accessing the network through them and completing the mini-games. Your objective in these mini-games is to make the arrow go into the gold ray of light.
- After capturing all 7 turrets, a new terminal will show on the map. Interact with it to start the fight sequence.
- Defence sequence will start where you have to protect the core integrity from incoming waves of enemies [total of 6 waves]. Collect turret gizmos dropped from enemies to rebuild the turrets when they get destroyed
- They will help you deal with the enemies.
- After successfully defending the core from 6 waves of enemies the chapter ends. Congrats, you’ve beaten the Early Access chapters!
Be the first to comment