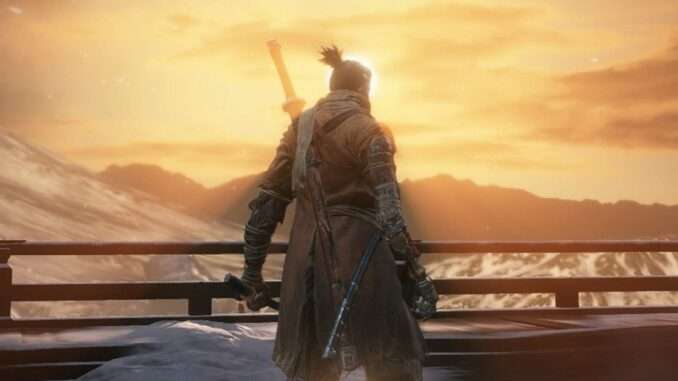
Simple and brief guide on how to beat the Demon of Hatred in Sekiro: Shadows Die Twice.
Guide to Defeat Demon of Hatred
Note: Credit goes to musashi
Utility of Shinobi Prosthetics
Suzaku’s Lotus Umbrella:
- 1 Spirit Emblem Per Use
With this tool, you negate any fire damage his physical attacks do besides his double sweep in Phase 3. Simply time your umbrella as if it is your sword and you can perform a follow up high damaging umbrella counter attack if you are close enough. The best move to utilize this tool is for countering his high jump, especially if you want to play aggressively.
- Malcontent’s Ring: 4 Spirit Emblems Per Use
This tool is extremely simple. You only have 3 uses where you can blow this finger whistle and it allows for free attacks. Best used when combined with high damaging Combat Arts or a flurry of attacks.
Strategy
As usual with Sekiro, the Shinobi Prosthetics are not absolutely required but are of great convenience when attempting to beat this boss without cheese.
First thing to note is that this will be a lengthy fight on your first playthrough. Depending on how much you have upgraded your Healing Gourds or Attack Power, you can slightly quicken the fight but you still need to understand the fundamentals of the fight.
Demon of Hatred does very high damage and has numerous massive AoE attacks! That said, I know a lot of people will tell you to treat him like a Dark Souls boss for this reason but my approach is quite different than playing passively against large enemies. He is not particularly a hard boss, at least he never has been in my experience (beat him on my 5th try without any prosthetic tools so it is possible).
For this fight, I actually prefer to be extremely aggressive. This is because yes, DoH has massive AoE attacks, but his most exploitative weakness is actually that he can not harm you and will whiff most of his melees if you are very close to his leg or groin area.
With this playstyle, you mainly want to watch out for what attacks can hit you if you are close. Essentially, any time he stomps/kicks the ground, you want to be ready to deflect or block this. Deflecting is obviously ideal as you will recover quicker.
On occasion, when you deflect his physical attacks, you will be pushed back a bit so it is extremely important that you dodge forwards right after your deflect and then attack. This insures proper spacing and your safety by his potential arm swipe follow-up attack that occurs in Phase 2-3 more often.
The other way to avoid these attacks is by timing your dodges anytime he stomps however, with 6 frames of invincibility, it takes a skilled hand to achieve this.
Other notable attacks include a rare headbutt or head slam down the middle. Use the same principle, deflect or dodge and continue your turn to attack.
Sticking to his right leg (your left) / groin region, always go for 2-3 attacks and do NOT get greedy! You are able to fit in a variety of different moves in these windows however, this is a very basic guide so I will not be going in depth that much BUT you can fit a single Mortal Draw after many of his attacks if you are close and he does not use his disengaging, spacing attacks.
So again, It is possible to go for more but do so at your own risk. You will be punished heavily for greed.
The main problem that makes this boss so tedious, is how often he will disengage and create space between you or demand that you create space from him. As soon as you detect the following attacks, simply sprint backwards or sprint and time your jump.
His high jump attack has a large AoE and you will need to back up and possibly jump as he lands however, this move is actually great for getting attacks in because you can grapple back on him. If you mistime this grapple, you will not be damaged however you won’t be back at the ideal range on him.
He also performs an attack where he shoots tracking fireballs at you. The solution for this is quite simple: run away to your left or right. As soon as you see him do a sort of head spin animation where he roars, you know the attack is over and you can go attack him in his recovery (it is quite a long recovery so fit in attacks).
During his 2nd phase, he will do a long range, straight fire attack that is a perilous attack. Treat this similar to his jump attack if you are far away because it can hit you. If you are close, this will whiff. If you are mid-far range, you can always sprint to your left or right and time the jump. This also allows for a follow up grapple.
In his 3rd phase, he has possible follow ups to previous physical attacks. A notable one to mention is that he usually follows up an attack from his left arm after his long stomp from his left foot. As previously mentioned, dodge forward after deflecting the stomp and attack.
The final move I will talk about is an attack he exclusively performs in his final phase. This is an easy to time but tricky sweep attack. The trick is that after his first sweep, he performs another sweep. Simply time both jumps to counter this attack.


Be the first to comment