
Quick tutorial on how to change your character’s looks.
Guide Contents
Before You Start
Note: Credit goes to Internet Boy
I recommend being at least somewhat familiar with basic file editing before attempting this. We’ll be editing your saves in this guide and there’s a lot of stuff you can potentially mess up in these files. At the very least be as careful as possible. If you’re confident enough to continue, keep the following in mind:
- Make sure to always back up any file you intend to edit
- You’re going to need a text editor, I use Notepad++
- This guide is intended for Windows users, but you can probably still follow it as long as you can find the save files yourself
- I haven’t played through an entire game with an edited save file, which means I can’t guarantee changing your appearance won’t have some catastrophic, world ending consequences further down the line
- If you permanently mess up your game, that’s not my fault and I’ll probably pretend to not even know what you’re talking about if you confront me about it
Finding Your Save Files
Your save files are located in “C:\Users\[USER]\AppData\LocalLow\Soda Den\Roots of Pacha\saves”. You can get here by:
- Press ‘Windows + R key’
- Type in ‘%APPDATA%\..\LocalLow’ without the quotes
- Navigate through the folders ‘Soda Den > Roots of Pacha > Saves’
Inside this folder will be another folder named a bunch of numbers. In this folder are your character folders. I recommend backing these up before continuing. You’re not going to be able to tell which character is which from their folder names, so let’s just move on to the next section. Just pick one at random for now.
Changing Your Appearance
Inside the character folders are three files:
- header.json
- save.json
- save-prev.json (might be missing if you’re on the first couple days)
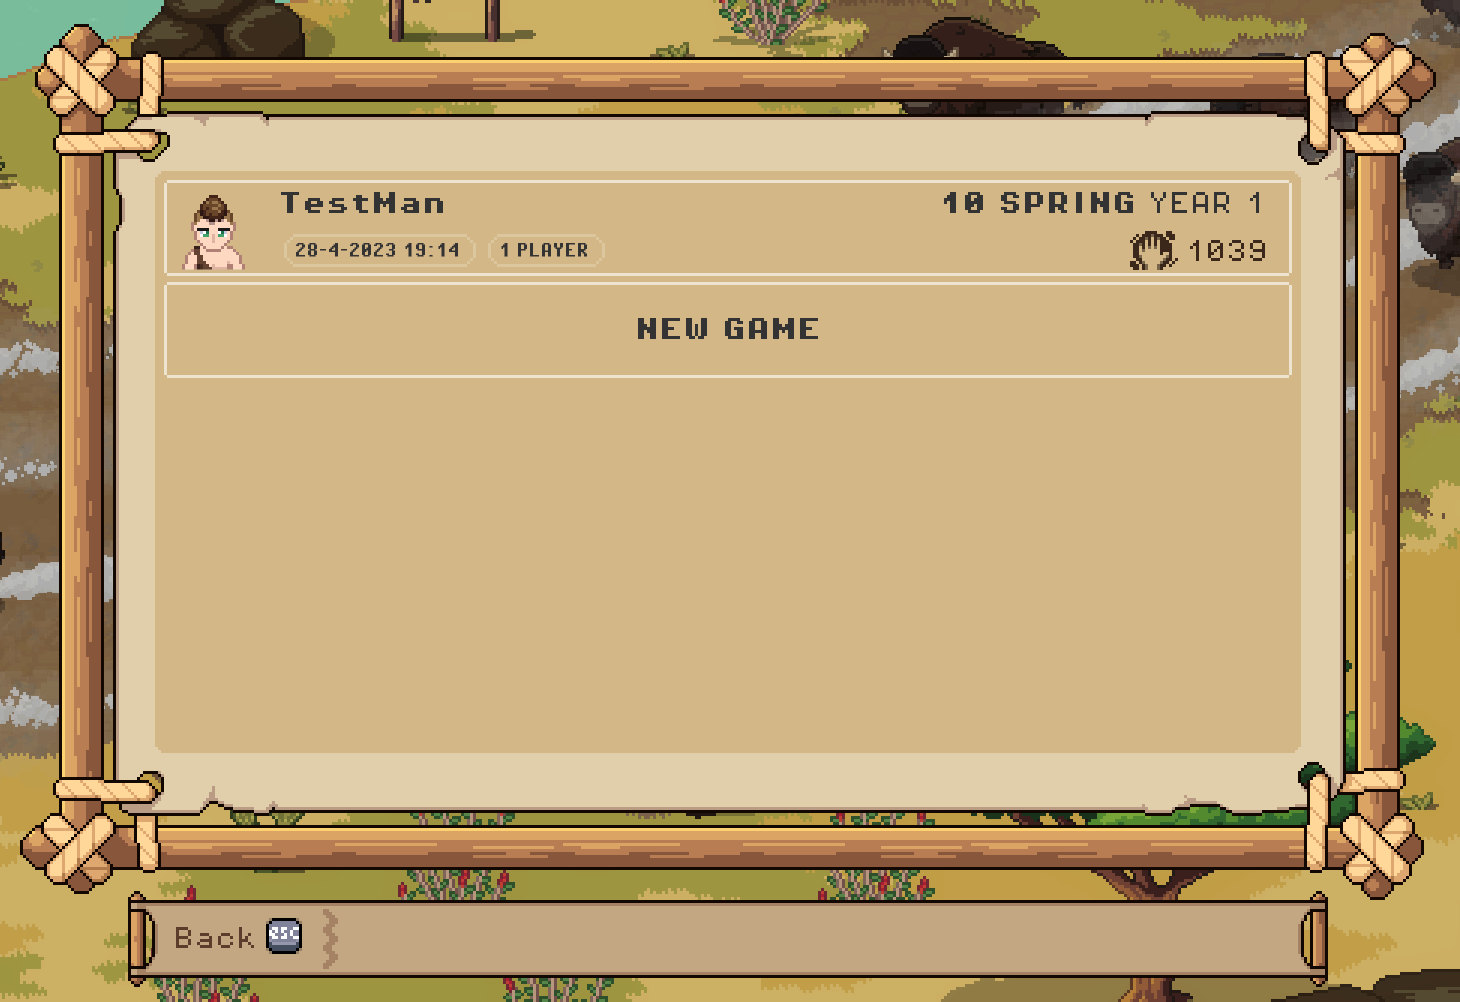
We’re here for the save.json file. Open this up with your text editor of choice. Don’t get overwhelmed by all the text, JSON files are visually messy like that. Press CTRL+F and type in ‘body’ without the quotes and press enter if it hasn’t already found something. You should be looking at something like this:

If you had multiple characters and weren’t sure which one you were changing, this is how you can find out. To the left of the ‘Body’ value is your character’s name (my guy is called TestMan). If it’s not the character you want to edit, open another save.json file until you find them.
Changing these values isn’t always straightforward. For instance, TestMan’s body in the above picture says 0 in the save file, but in the character creation menu in-game it’s actually body 1. Because of this I recommend you just make a second character that has the appearance that you want, and use this new character’s save file to edit your old one.
So for instance, I want to change my character’s body type:
- Make a new character that has the body type I want
- Play through the game until it saves (you can just immediately jump into bed once you get control of your character)
- Close the game and open both this new character’s save file, and my old one
- Notice that my new character has a ‘Body’ value of 1
- Go to your old character, find the ‘Body’ value and change it to 1
You could also copy/paste the entire appearance section at once if you feel comfortable doing that. I’d personally recommend just manually changing the values around since there’s a pretty big chance of messing up the file’s formatting by copy/pasting large sections.
Don’t forget to save your file after editing it, by the way.
Custom Colours
You might have noticed the colour values aren’t singular, but 4 seperate numbers. These are RGBA values, and you can edit them to any colour you want!
The values are, from left to right:
- Red
- Green
- Blue
- Alpha (or transparency)
You can edit these values to make custom colours for your character. You can find RGBA colour pickers online to figure out what numbers to use for the colour you want. Just keep in mind that normal RGB uses values from 0 to 255, but these save files use RGB 0-1 where the values range from 0 to 1. Make sure to use a colour picker that reflects that.
My Save File Hasn’t Changed
If you jump straight back into the game you might notice the character on your save file still looking the same as before. This is because your in-game appearance and your save file’s appearance are split up in seperate files, if you want to fix this you’ll have to also edit the header.json file.
This one is much easier to navigate and the relevant parts are the same so I doubt you’ll have many issues with it if you succesfully changed your character’s appearance earlier.
Closing Remarks
And that’s how you do it! Let me know if there’s anything I missed, if anything is unclear or if I got something wrong in this guide. I don’t write guides that often and this is all just stuff I figured out by experimenting for a couple hours.
Some final things to remember:
- BACK UP YOUR FILES. Seriously!!!
- Your save folder might be located somewhere else if you have multiple hard drives and/or partitions. You probably didn’t need me telling you that if you managed this though
- It looks like your character’s clothes are kept pretty close to where the appearance values are. You can mess around with those if you want, I haven’t so I can’t help you with it
- Some values might be missing at first, for instance if your character doesn’t have a beard you won’t see a beard value. You can just add the value in, use a new character file as an example if you’re unsure of how and where to do so
Be the first to comment