
Building in Rising World is fairly easy once you figure out the key combos needed to manipulate the materials. Unfortunately, the game relies on a world grid for block placement. While you can rotate blocks to create angled constructs, it becomes more difficult as the complexity increases.
Guide Contents
Guide to Create Angled Structures
Note: Credit goes to Ricebug
Introduction
To make this process easier, you need to create whatever diagonal construction you’re planning—in this case, an entryway and build it separately. Then, you can save it as a blueprint, import it into the main structure, and place it.
This guide will take you step-by-step on how to do that. It should also provide training on some of the routine building commands in Rising World.
Before you get started, go to your main structure and clear away any blocks where this entryway will be located. Once you place the blueprint, then you can add the necessary elements to finish it.
Initial Setup
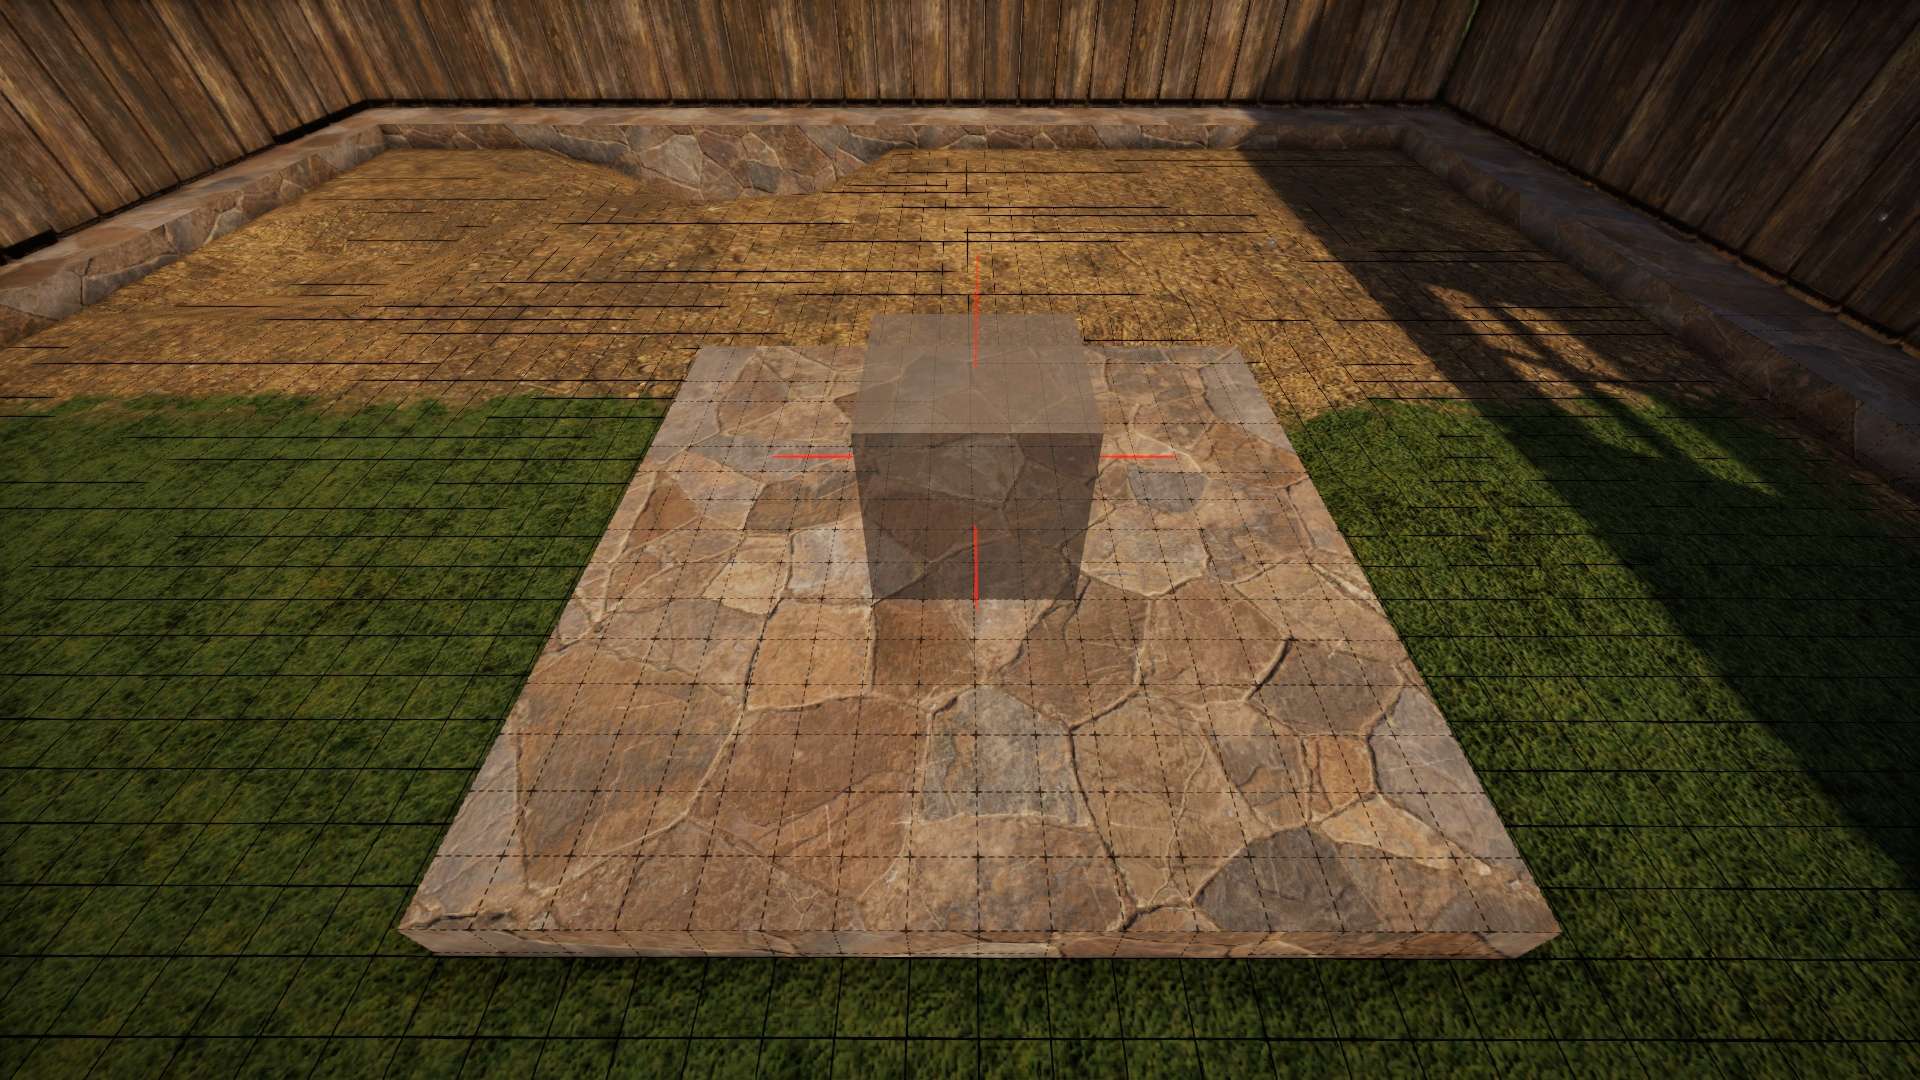
- Open up a blank map (I use a map just for fooling around with) and create a foundation 4 blocks X 4 blocks, using the maximum grid size.

- Press ‘C’ to open up the Radial Menu. Select Scale Precision to .5.
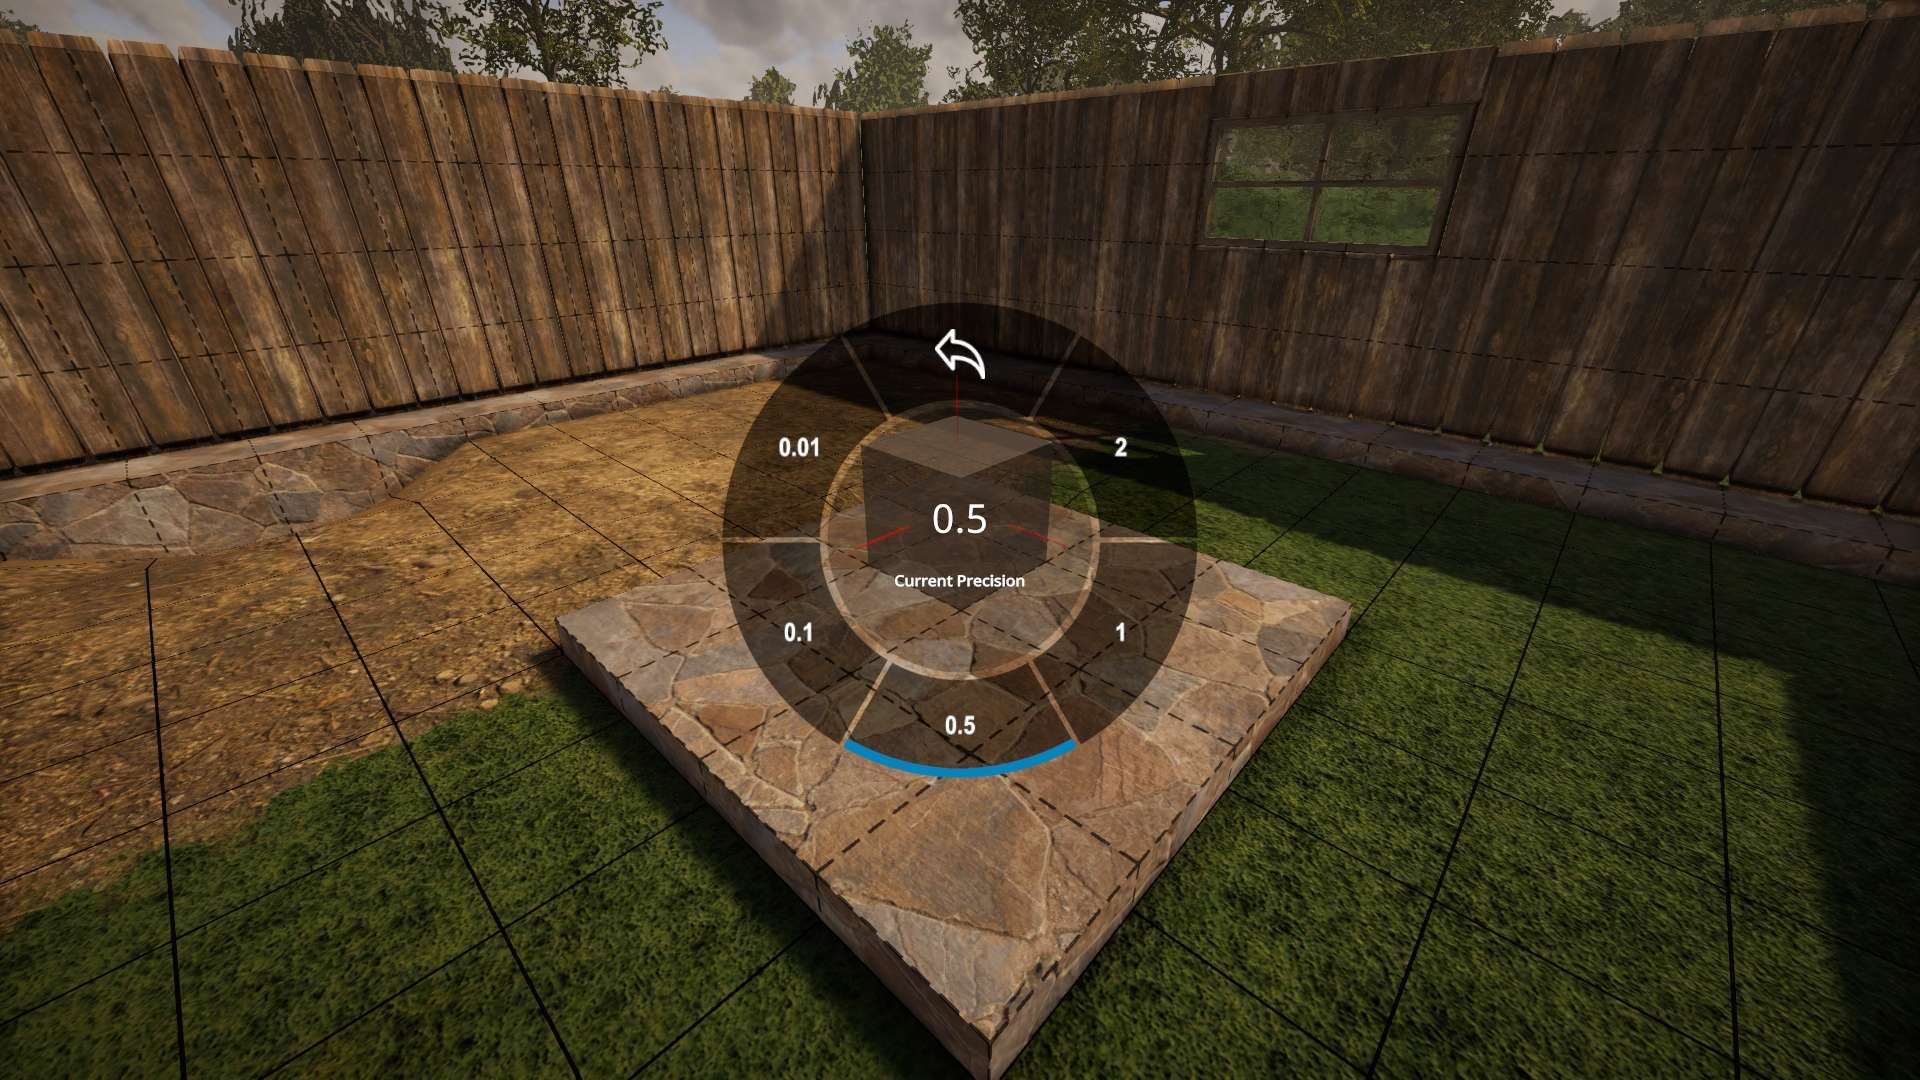
- Press the minus key (-) on the numeric keypad twice. This should set the grid size to .25.
Entry Walls
- Select the material you want for the walls.
- Position a normal block of this material onto the foundation you constructed.
- Hold down the Left Shift key and press the right cursor (4 times) until you have a block measuring 3 units long.
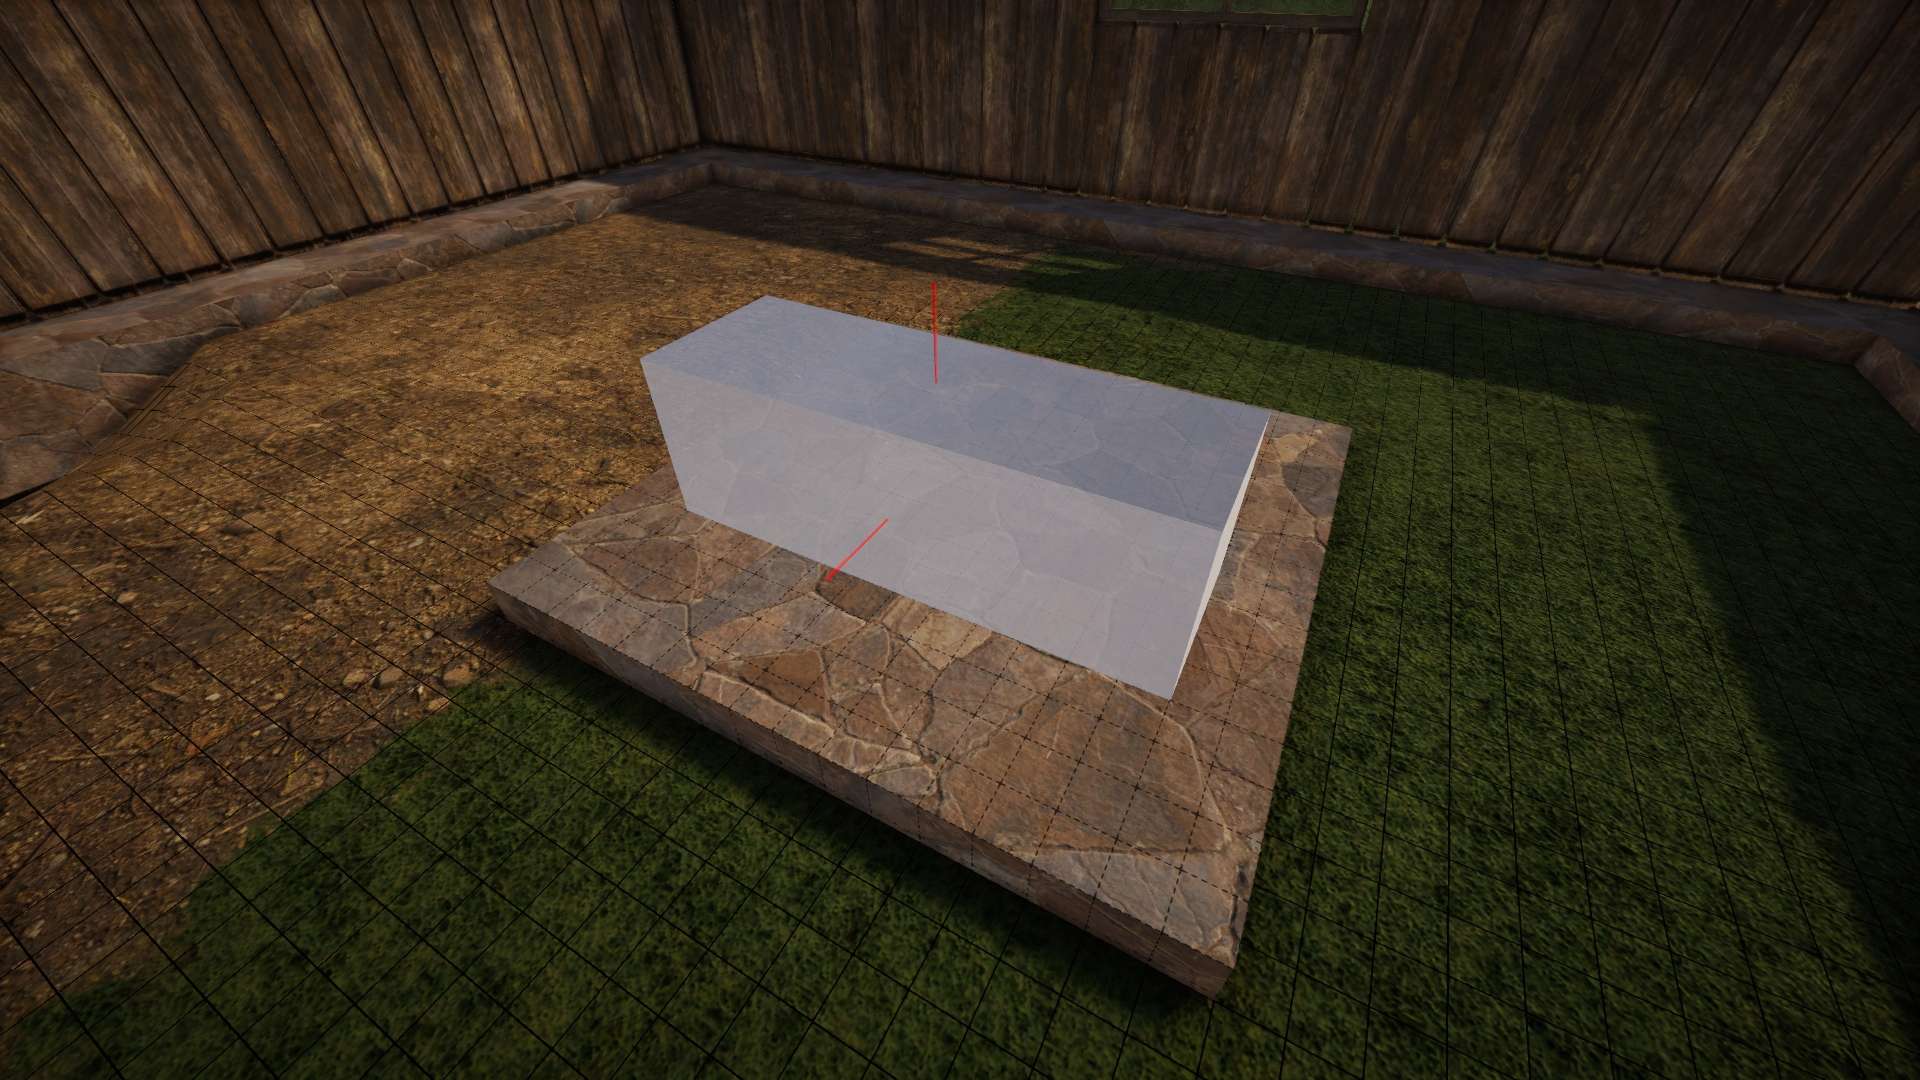
- Hold down the Left Shift key again and press the down cursor so that the X dimension is .5 in width.
- Hold down the Left Shift key and press the PageUp key (6 times) until the Y dimension is 4.
- Right-click to place the wall permanently.
- You want the wall placed so that it sits .5 from the foundation’s X and Z edges.
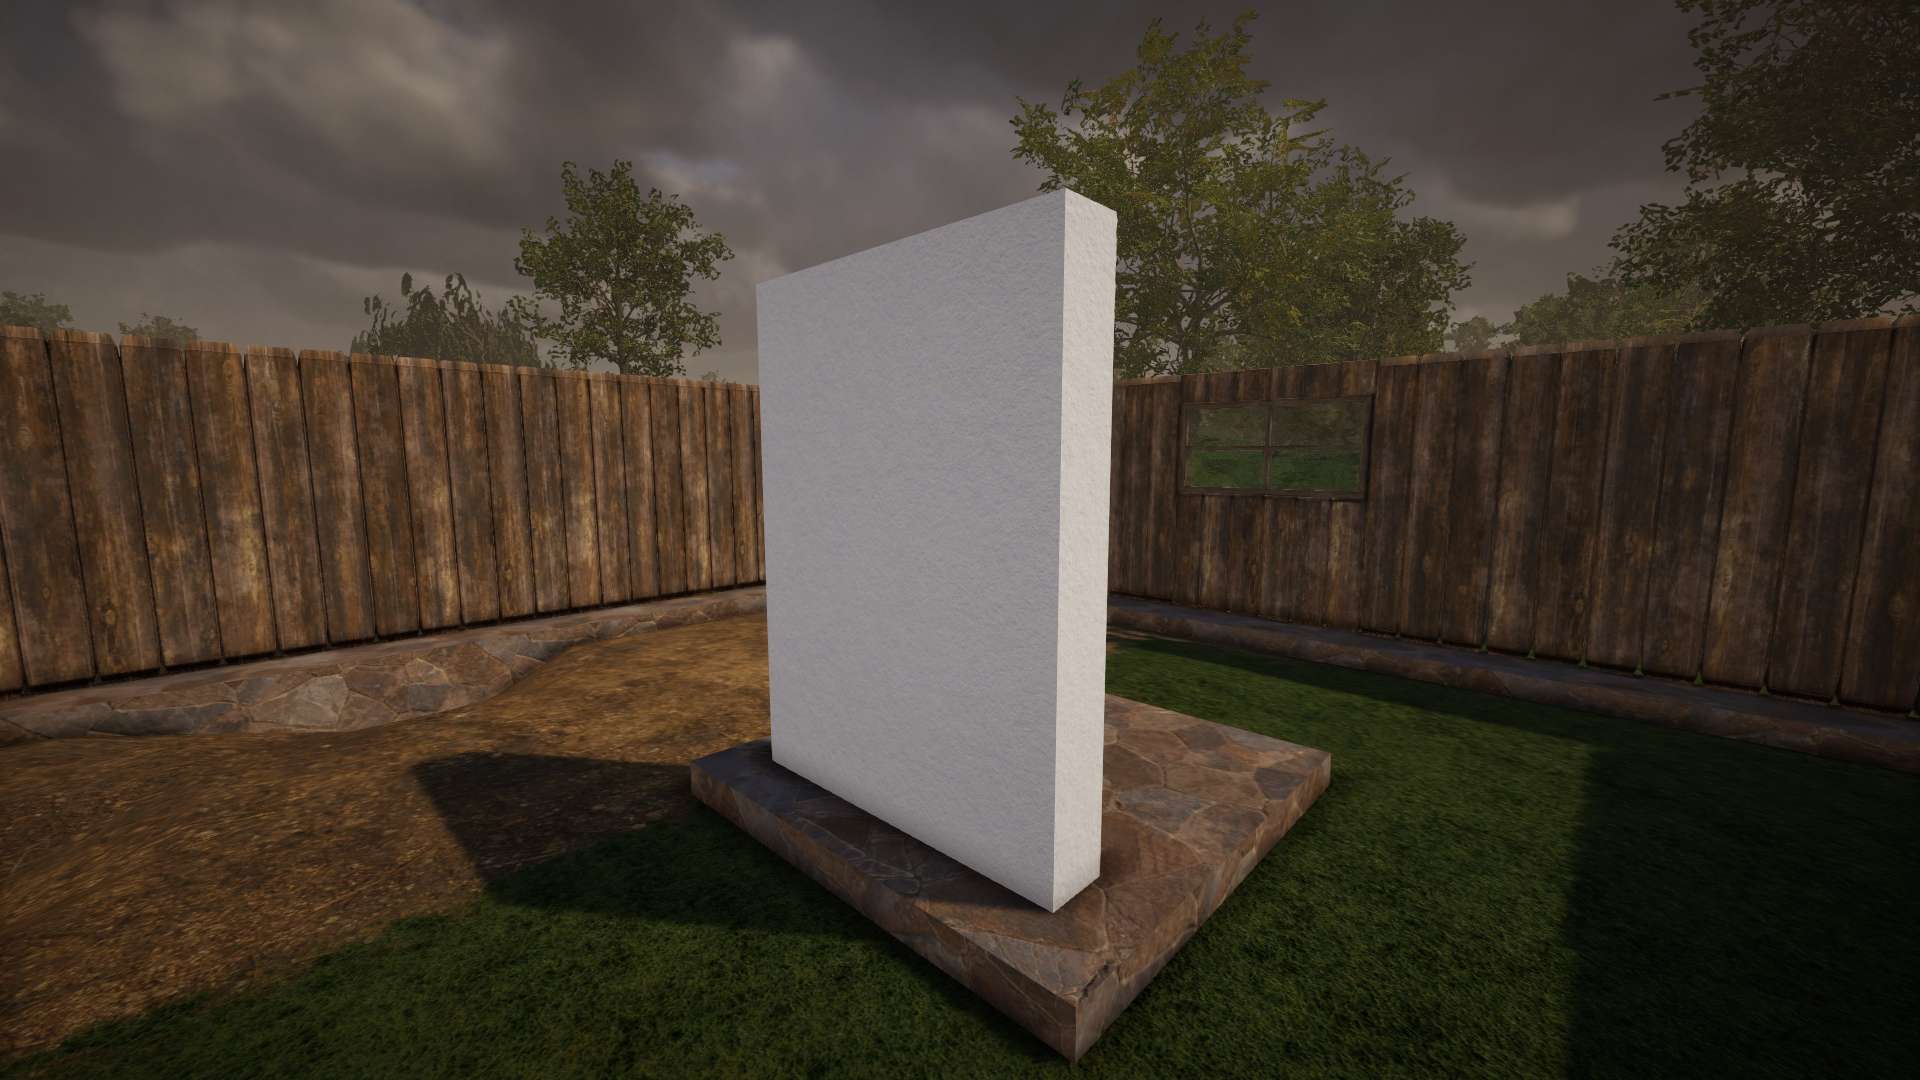
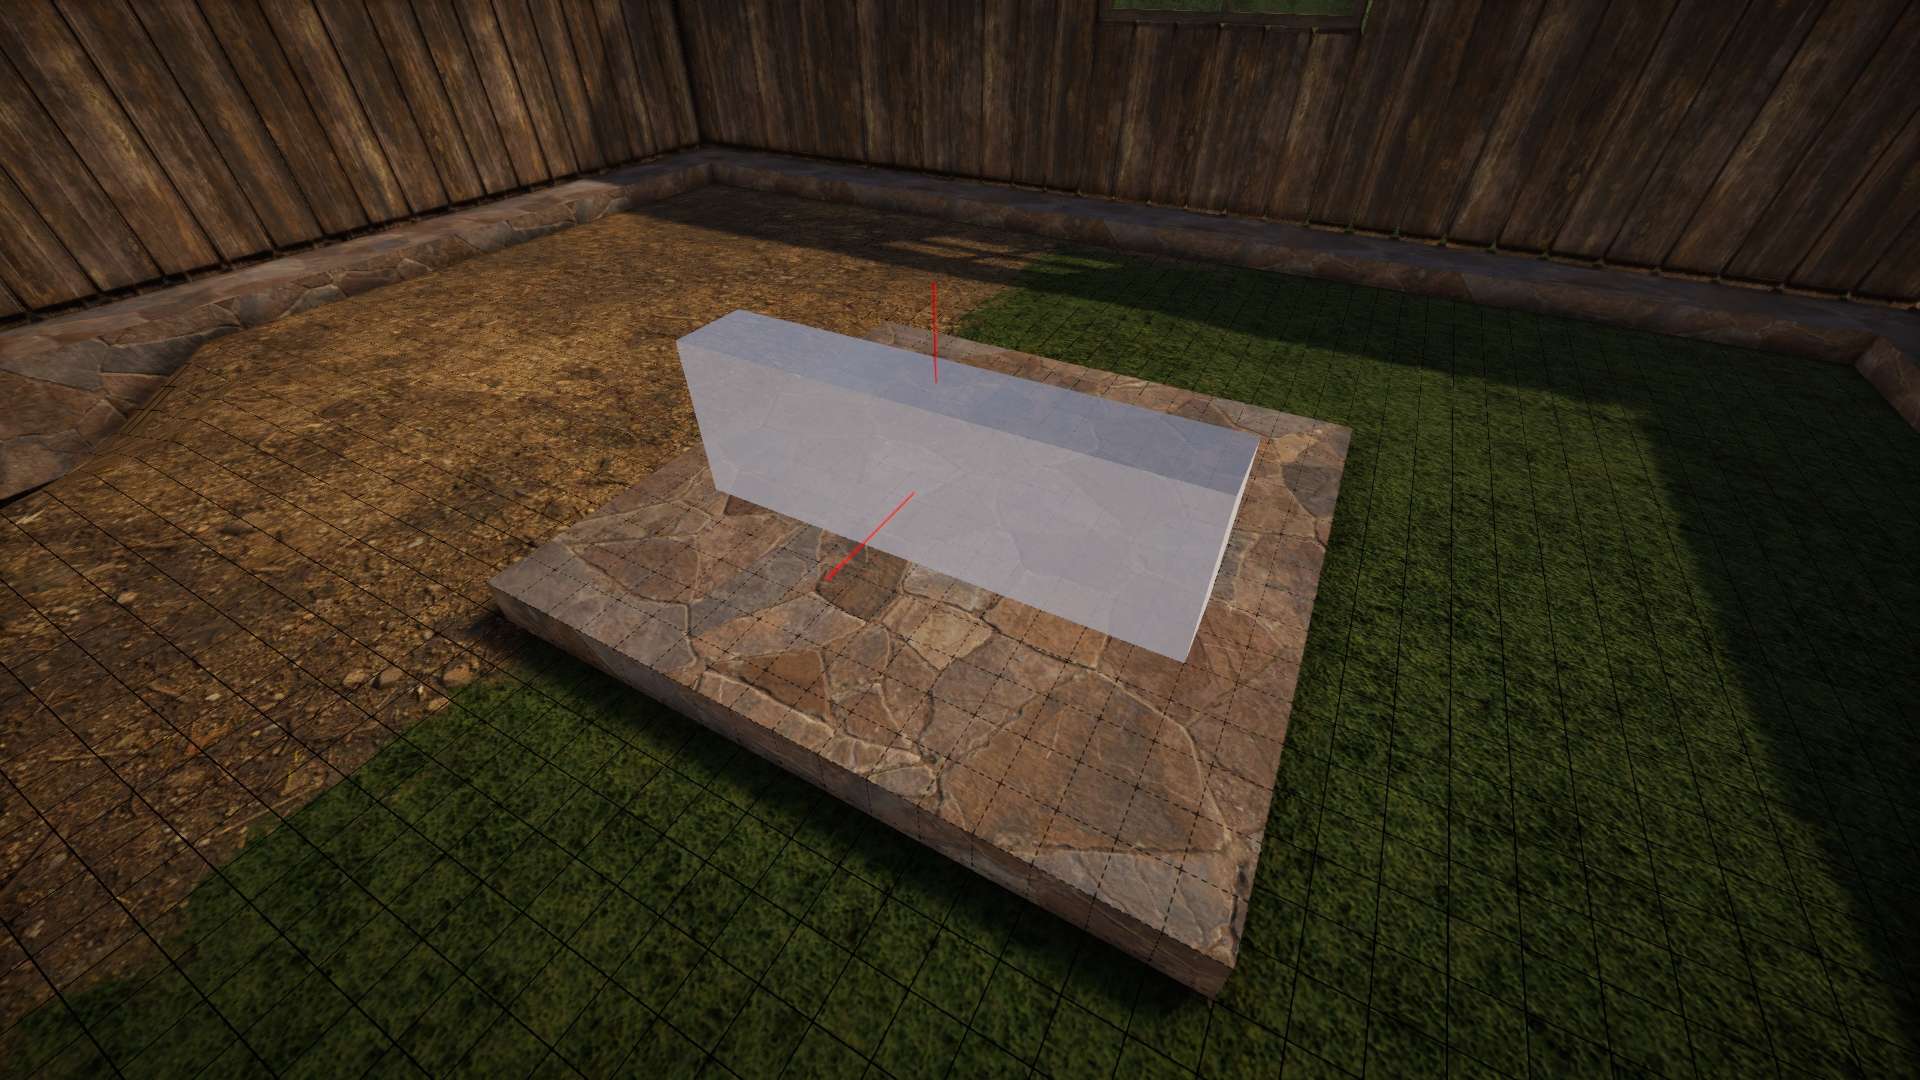
Once the wall is where you want it, “lock” it in place by pressing the right CTRL key on your keyboard. This enables Manual Positioning, which allows you to move around while the piece you’re manipulating stays in place.
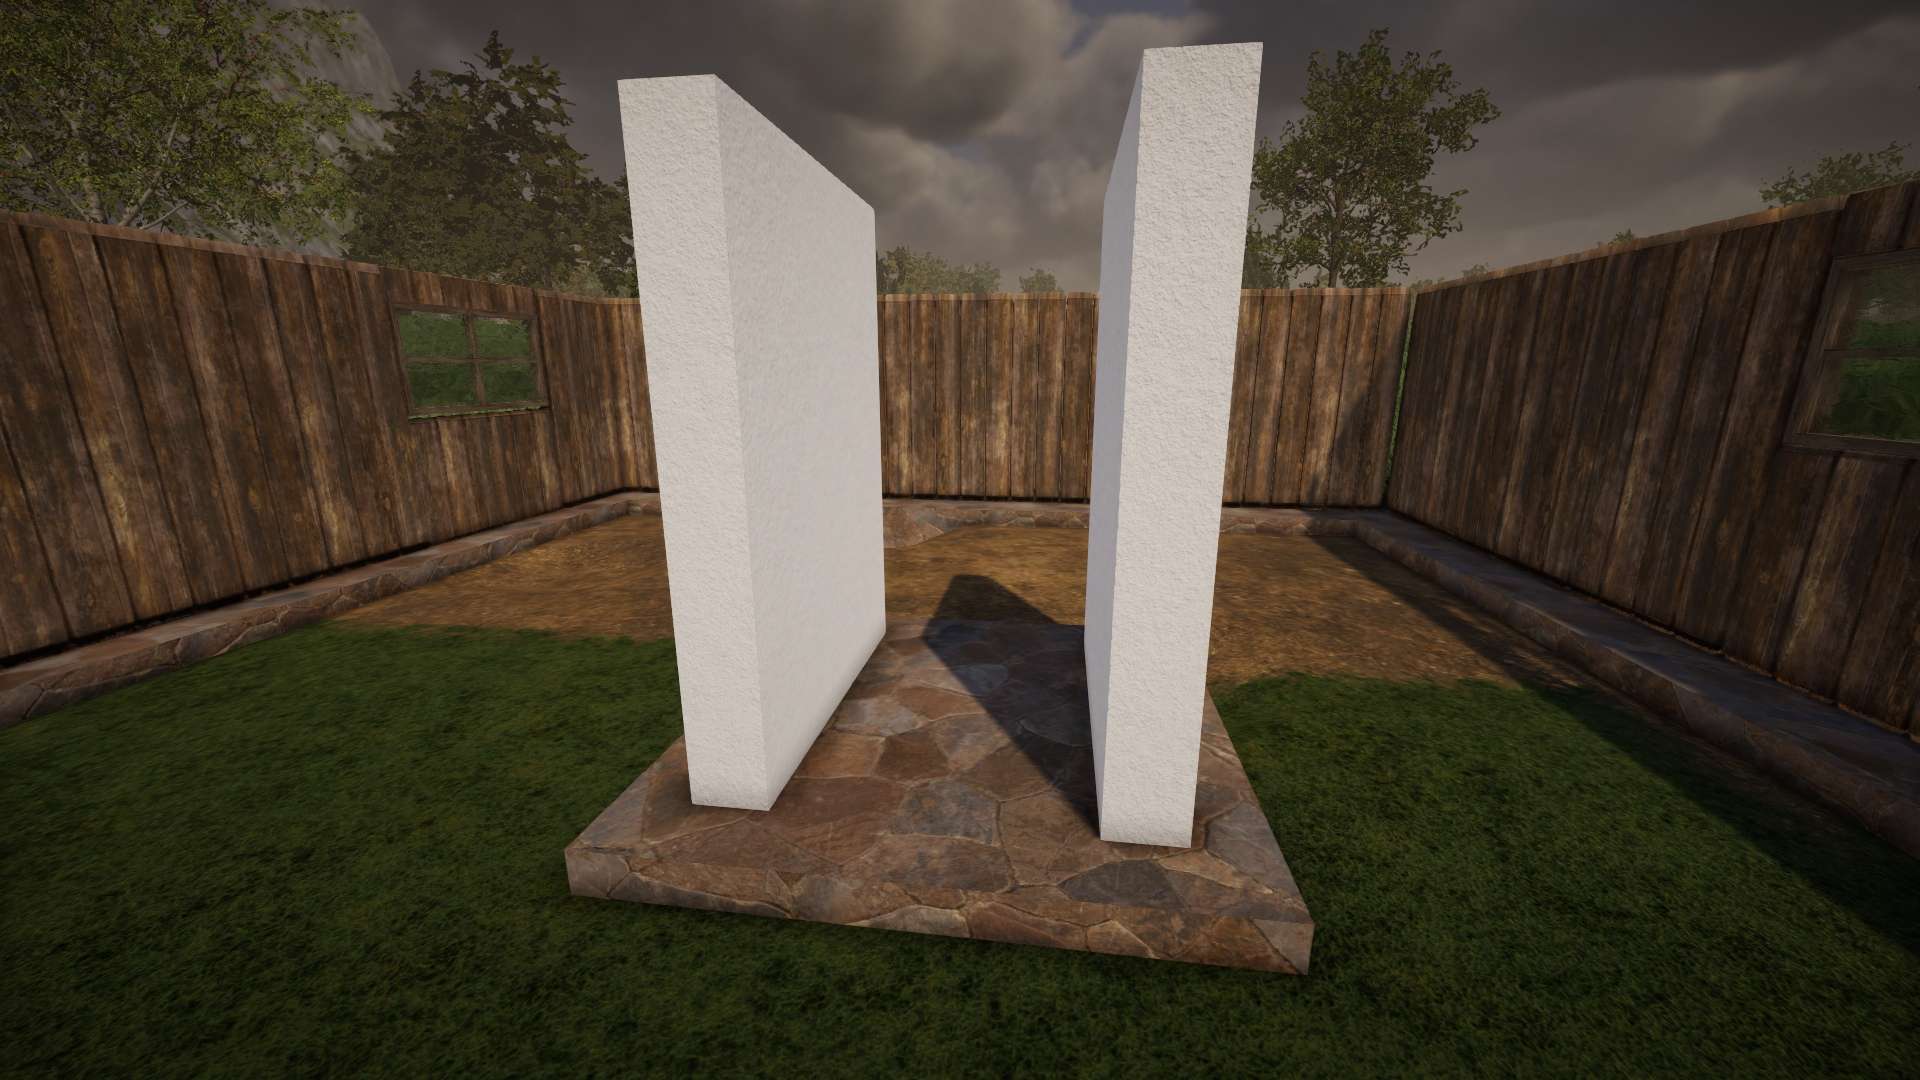
As soon as you place the wall, a copy will be made. However, you can’t see it because it’s co-existing in the same place with the “placed” wall. This is the great thing about Manual Positioning.
Press on your right cursor key a few times and you’ll see the copy move away from the original wall. The copied block will be the same size. Go ahead and place this wall so that it mirrors the other wall, making sure that it is .5 units from the foundation edges.
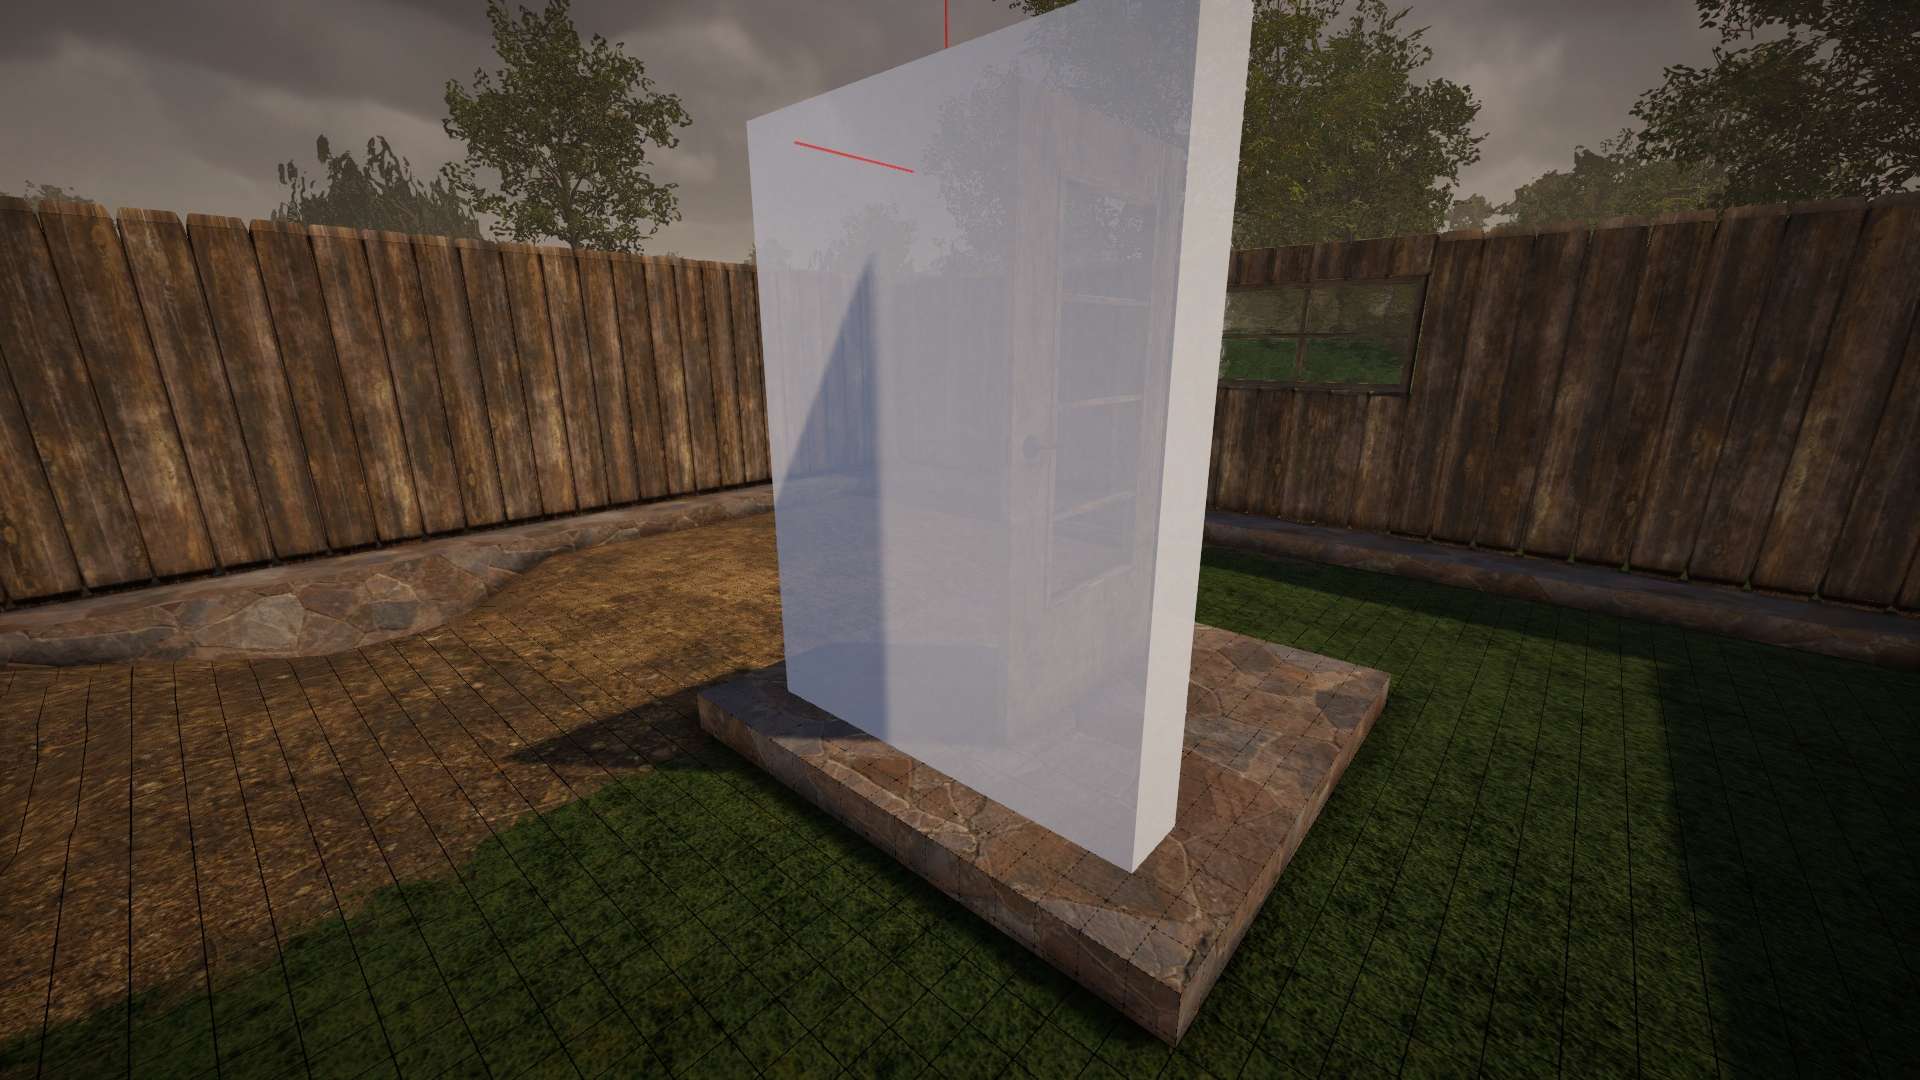
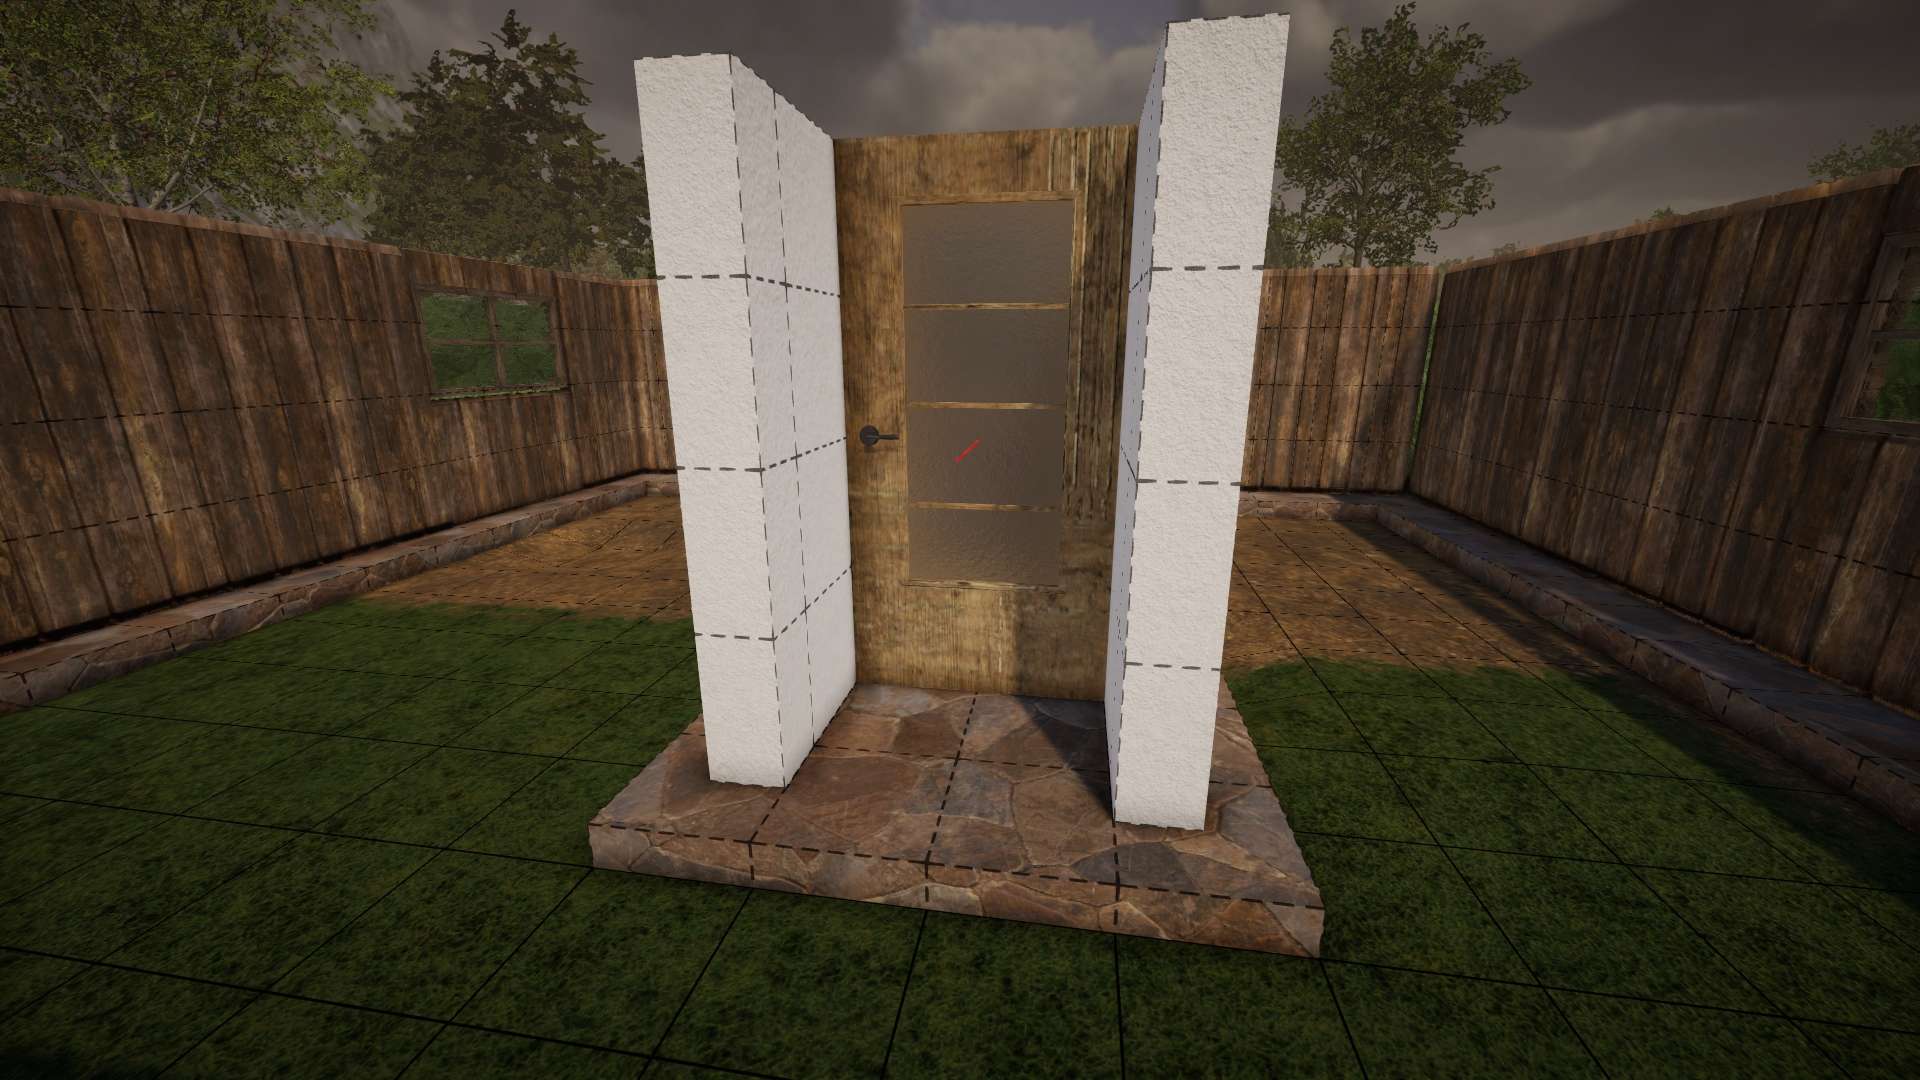
Adding A Door
- Select a door (RW only has one at the time of this writing.).
- Press ‘G’ to turn on the grid and make sure it’s at the max size.
- When you place the door, it should fit exactly between the two walls. The top should also match the height of the walls. If not, go back and check your Radial Menu defaults and grid measurements.
Adding A Ceiling (Optional)
Depending on how your main structure is being built you may or may not want to add a ceiling to this entryway.
- Set the grid to .25.
- Press the right Ctrl key again to enable Manual Positioning, which freezes the block in place while allowing you to move around in Fly mode.
- Press F2 to turn on Fly mode. Press the spacebar 3 times to rise above your work so that you can look down on everything.
- Call up the same material you used for the walls and re-size the block as follows.
- With the block showing, press Shift-PageDown until the Y dimension is .5.
- Press the PageUp key to raise the block to the top of the door and walls. It doesn’t have to be exact. We just want everything to be clear.
- Open the Radial Menu again to reduce the Scale Precision to .1.
- Press Shift-Right Cursor until the block measures 3 on the X axis.
- Press Shift-Up Cursor to enlarge the block to 3 on the Z axis. With the proper sizing in place, Right-Click to place the block.

Making the Blueprint
- Open up the console (~) and type item blueprint 1. You should now have an empty blueprint in your task bar (providing it wasn’t full).
- Click on one corner of the entry way. Go to the opposite corner and click again. A blue box should show.
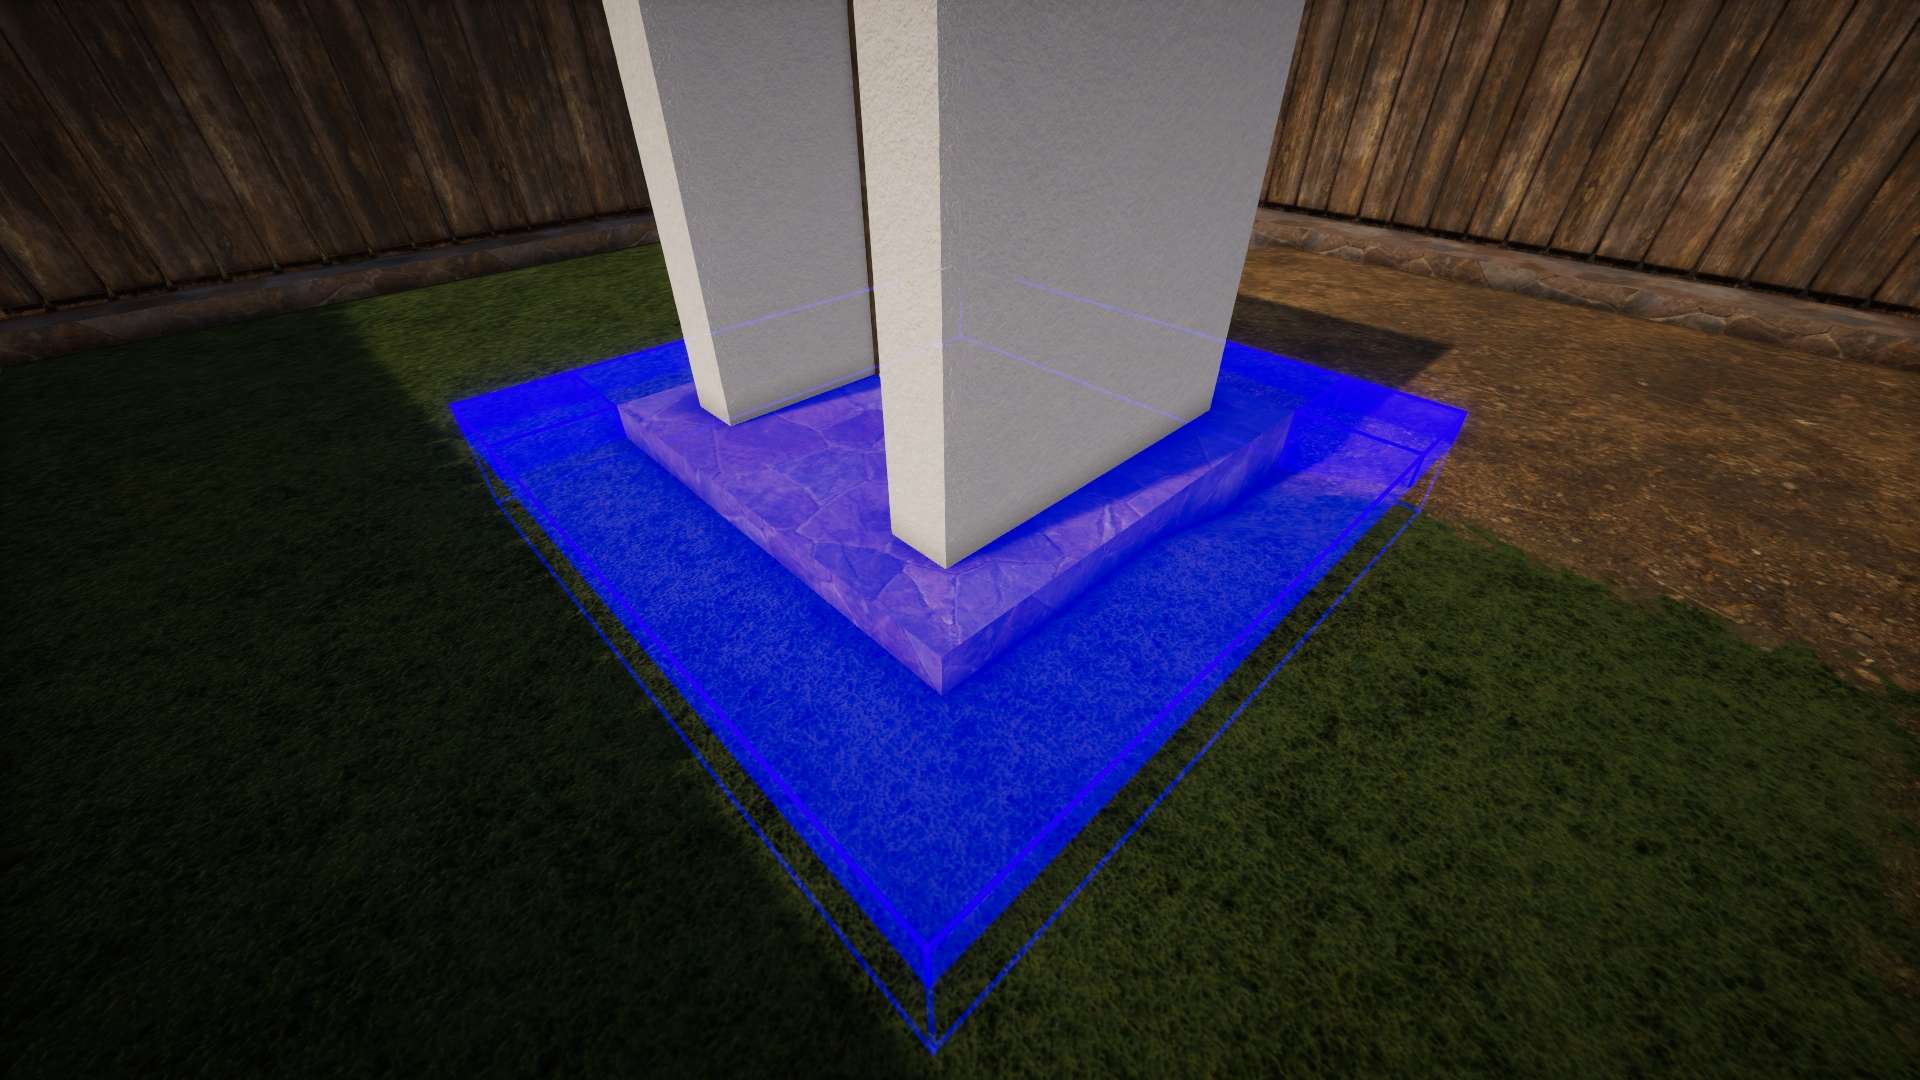
- Press Shift-PageUp to raise the blue box until it encompasses the entire entryway.

- Position your camera so that it presents itself to take a screenshot of your construct.
- Press the RMB. Fill in the information in the dialog window.

- Press SAVE. All blueprints are stored in the Blueprint folder, found in your SteamApps directory:
- …Steam\steamapps\common\RisingWorld_New Version\Blueprints
To load your entryway, press B, select it. Make sure your Rotation Precision is at .45. Press the left or right cursor keys to rotate the blueprint until it’s at the correct orientation. Right-click to place it within your main building and place the necessary blocks to fill in any gaps.
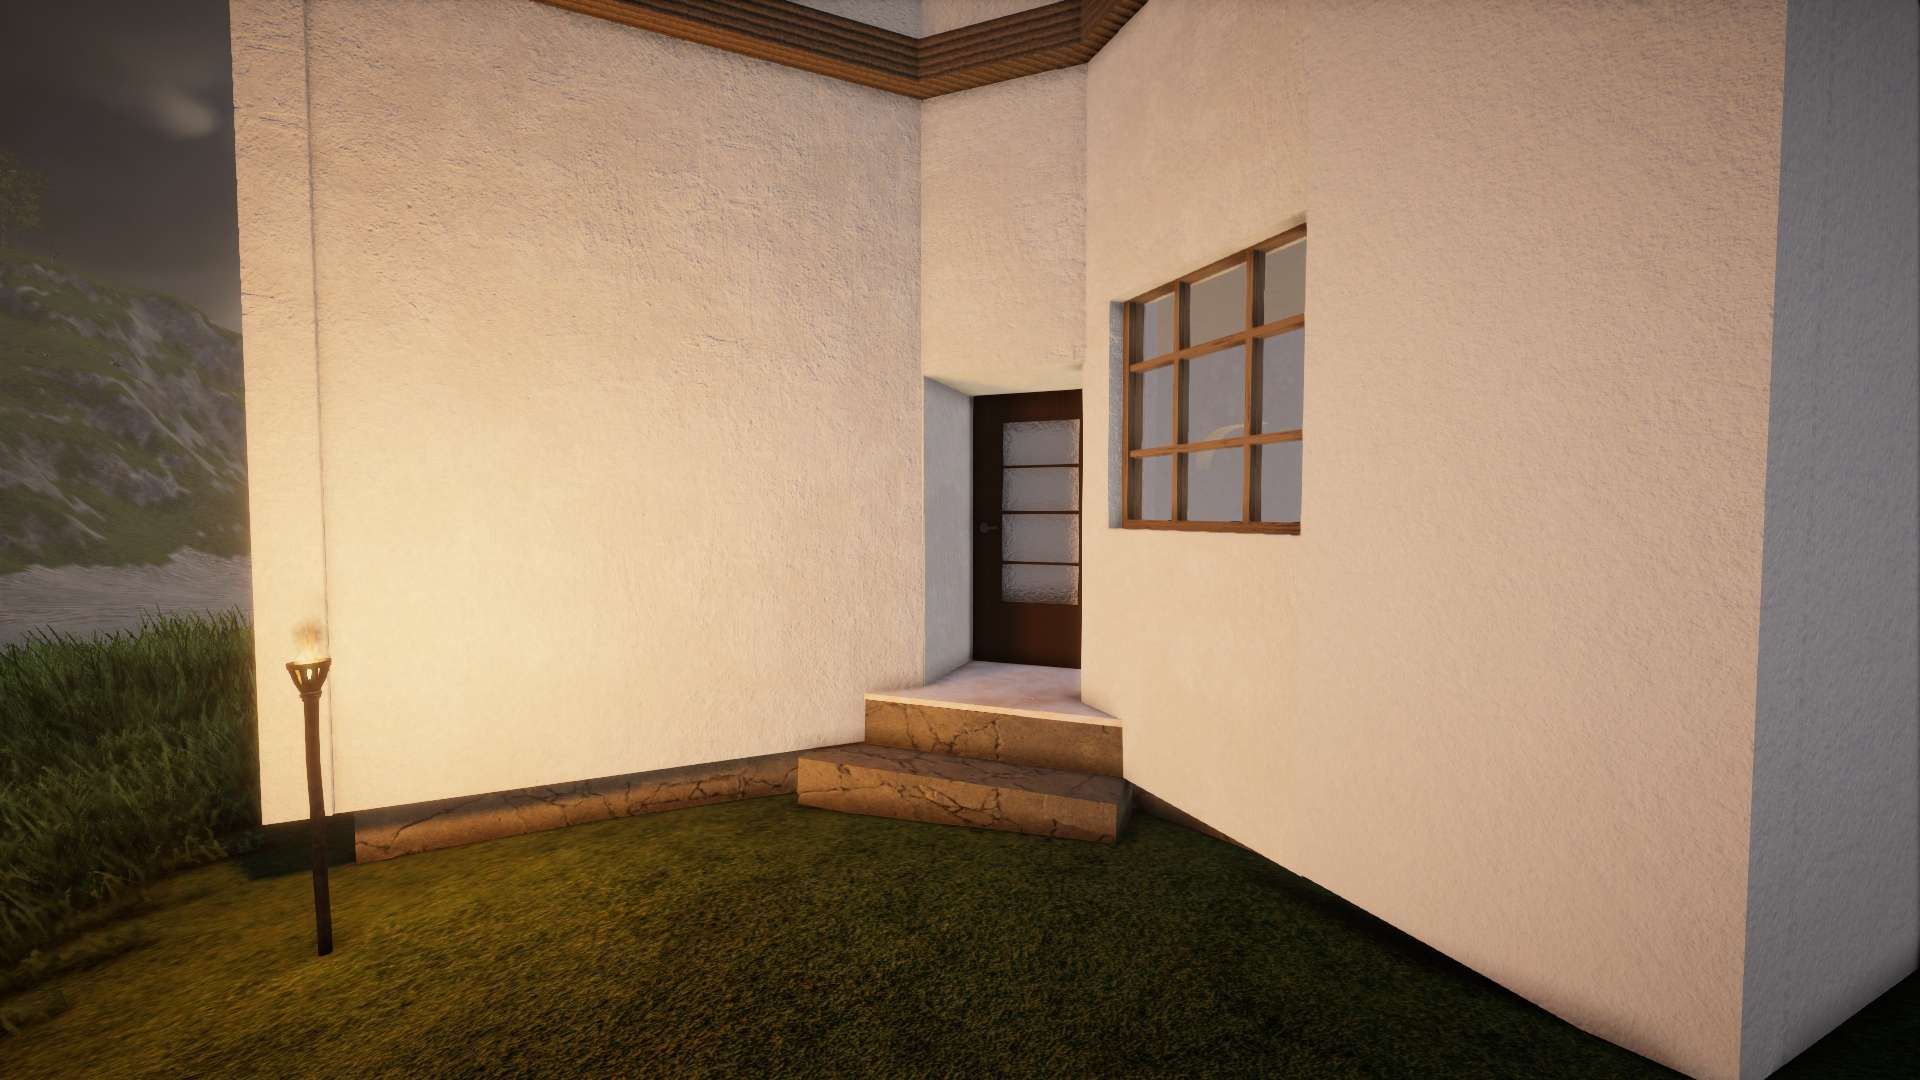
If everything went OK, you should have a nice angled entryway to use in your house.
Be the first to comment